
Pumpkin whoopie pies are a fun and festive treat! Pumpkin puree adds a mildly sweet flavor and creates a gorgeous orange color. The soft, cakey cookies are stuffed with spiced cream cheese filling for the perfect mini dessert.

Jessica’s Recipe Science
- Use all-purpose flour for its 10-13% protein, promoting enough gluten formation for a chewy bite without being too crumbly.
- Melted butter creates a tighter, chewier crumb, giving the cake more structure for sandwiching.
- Extra powdered sugar makes the cream cheese filling stiffer and stickier, so it stays between the soft cakes.
Jump To a Section
Why It Works
This pumpkin whoopie pie recipe is the answer when craving a sweet treat loaded with fall flavors. They’re a soft-baked cookie hybrid with a springy cake-like texture. The batter is piped out into circles and puffs up into domed tops. Each portable dessert is irresistible when filled with sweet and sticky cream cheese.
The pies start with a classic cake batter technique to create a sturdy but tender texture. Mixing eggs, sugar, melted butter, and pumpkin creates a luxurious base. Adding flour to the wet ingredients until just incorporated ensures that the cakes stay tender but not crumbly. Loaded with pumpkin pie spice, this mini indulgence is great for the holidays.
Ingredients You’ll Need
- Pumpkin: I use canned Libby’s 100% pure pumpkin puree. It has a light sweetness, mild flavor, and smooth texture, giving these pies an electric orange color.
- Flour: All-purpose flour contains 10 to 13% protein, giving the cake structure with a tender chew. The texture of these pumpkin whoopie pies are light, slightly springy, and holds its shape. We certainly don’t want the cakes to break apart in your hand like a super tender yellow cake. That’s where choosing the right type of flour comes in.
- Spices: A classic blend of pumpkin pie spices and salt is added to the batter. Cinnamon, nutmeg, ginger, cloves, and allspice add that perfect holiday touch. Vanilla adds warm baked aromas.
- Eggs: Eggs are whipped to create a light and soft texture in the cakes.
- Sweetener: Granulated sugar helps to create air pockets in the eggs when whisked while adding sweetness to the batter.
- Butter: Melted butter creates a tighter, slightly chewier crumb. The denser cake holds a better structure when sandwiched together with the filling. It also coats the flour proteins to reduce water absorption and develop gluten, thus keeping the pies tender.
- Baking Soda: Gives the batter a quick lift in the oven as bubbles form, preventing a flat, dense cake texture.
- Cream Cheese Filling: A combination of softened butter, powdered sugar, cream cheese, and cinnamon.
See the recipe card below for all ingredients and measurements (US and metric).
Ingredient Substitutions
This pumpkin whoopie pie recipe is easy to customize! Try these delicious options:
- Pumpkin Options: You can also use homemade pumpkin puree for this recipe. Avoid using pumpkin pie filling; it’s already sweetened and seasoned, which could throw off the flavor balance.
- Sweetener: Swap out ⅓ of the granulated sugar with dark or light brown sugar for a hint of molasses flavor.
- Filling: Anything sticky enough to sandwich the pies together could be added. Marshmallow cream, Nutella, peanut butter, almond butter, and vanilla sugar cookie frosting are tasty.
How to Make Pumpkin Whoopie Pies
Step 1: Preheat the Oven
Set your oven racks to the upper-middle and lower-middle positions to ensure even baking. Preheat to 350ºF (177ºC), the ideal temperature for pumpkin whoopie pies to rise properly and bake without over-browning. Line two large baking sheets with parchment paper to prevent the pies from sticking and promote a smooth, even surface.

Step 2: Combine the Dry Ingredients
Whisk together the flour, cinnamon, ginger, nutmeg, cloves, allspice, baking soda, and salt in a medium bowl. This blend of warm pumpkin spices gives the whoopie pies their signature fall flavor, while the baking soda provides the necessary lift for a soft, cake-like texture.
Pro Tip: Mixing the dry ingredients separately ensures even distribution throughout the batter, so every bite is perfectly balanced.

Step 3: Whisk the Eggs and Sugar
In a stand mixer, whisk the eggs and sugar until pale and fluffy. This step is crucial for incorporating air into the batter, giving the whoopie pies a light and tender texture. The sugar helps stabilize the eggs, ensuring they hold onto the air for that perfect lift in the oven.
Step 4: Add the Pumpkin and Butter
Add the pumpkin puree, melted butter, and vanilla to the egg mixture. Whisk until everything is fully combined. The pumpkin adds moisture and a natural sweetness, while the melted butter brings richness to the batter. Vanilla enhances the warm, spiced flavors, tying all the ingredients together for a smooth, flavorful base.

Step 5: Make the Batter
On low speed, gradually add the flour mixture to the wet ingredients. Mix for about 30 seconds, just until everything is combined.
Tips for Perfect Execution: This slow mixing helps incorporate the dry ingredients evenly without overworking the batter, which is key to keeping the whoopie pies soft and tender. Be careful not to overmix, as this can result in a denser texture.

Step 6: Pipe the Batter
The easiest way to shape the whoopie pies is to add them to a pastry bag and pipe them into circles. The batter is slightly thick but easy to control. I use a large round tip (806 size) and pipe about 1 tablespoon of the thick batter. You can also spoon them onto the sheet pan and use the flat side of a spoon to create circles.
Step 7: Bake
Bake the pumpkin whoopie pies for 10 to 12 minutes or until they’re set, and lightly spring back when touched. Halfway through baking, rotate the pans and switch their positions on the racks. This ensures even baking, as it allows both trays to receive consistent heat for perfectly cooked, fluffy cakes.

Step 8: Cool
Let the whoopie pie cakes cool on the baking sheet for 5 minutes to set their structure. Then, carefully transfer them to a cooling rack to finish cooling completely. This helps prevent the bottoms from becoming soggy and ensures a nice, even texture throughout.
Step 9: Make the Cream Cheese Filling
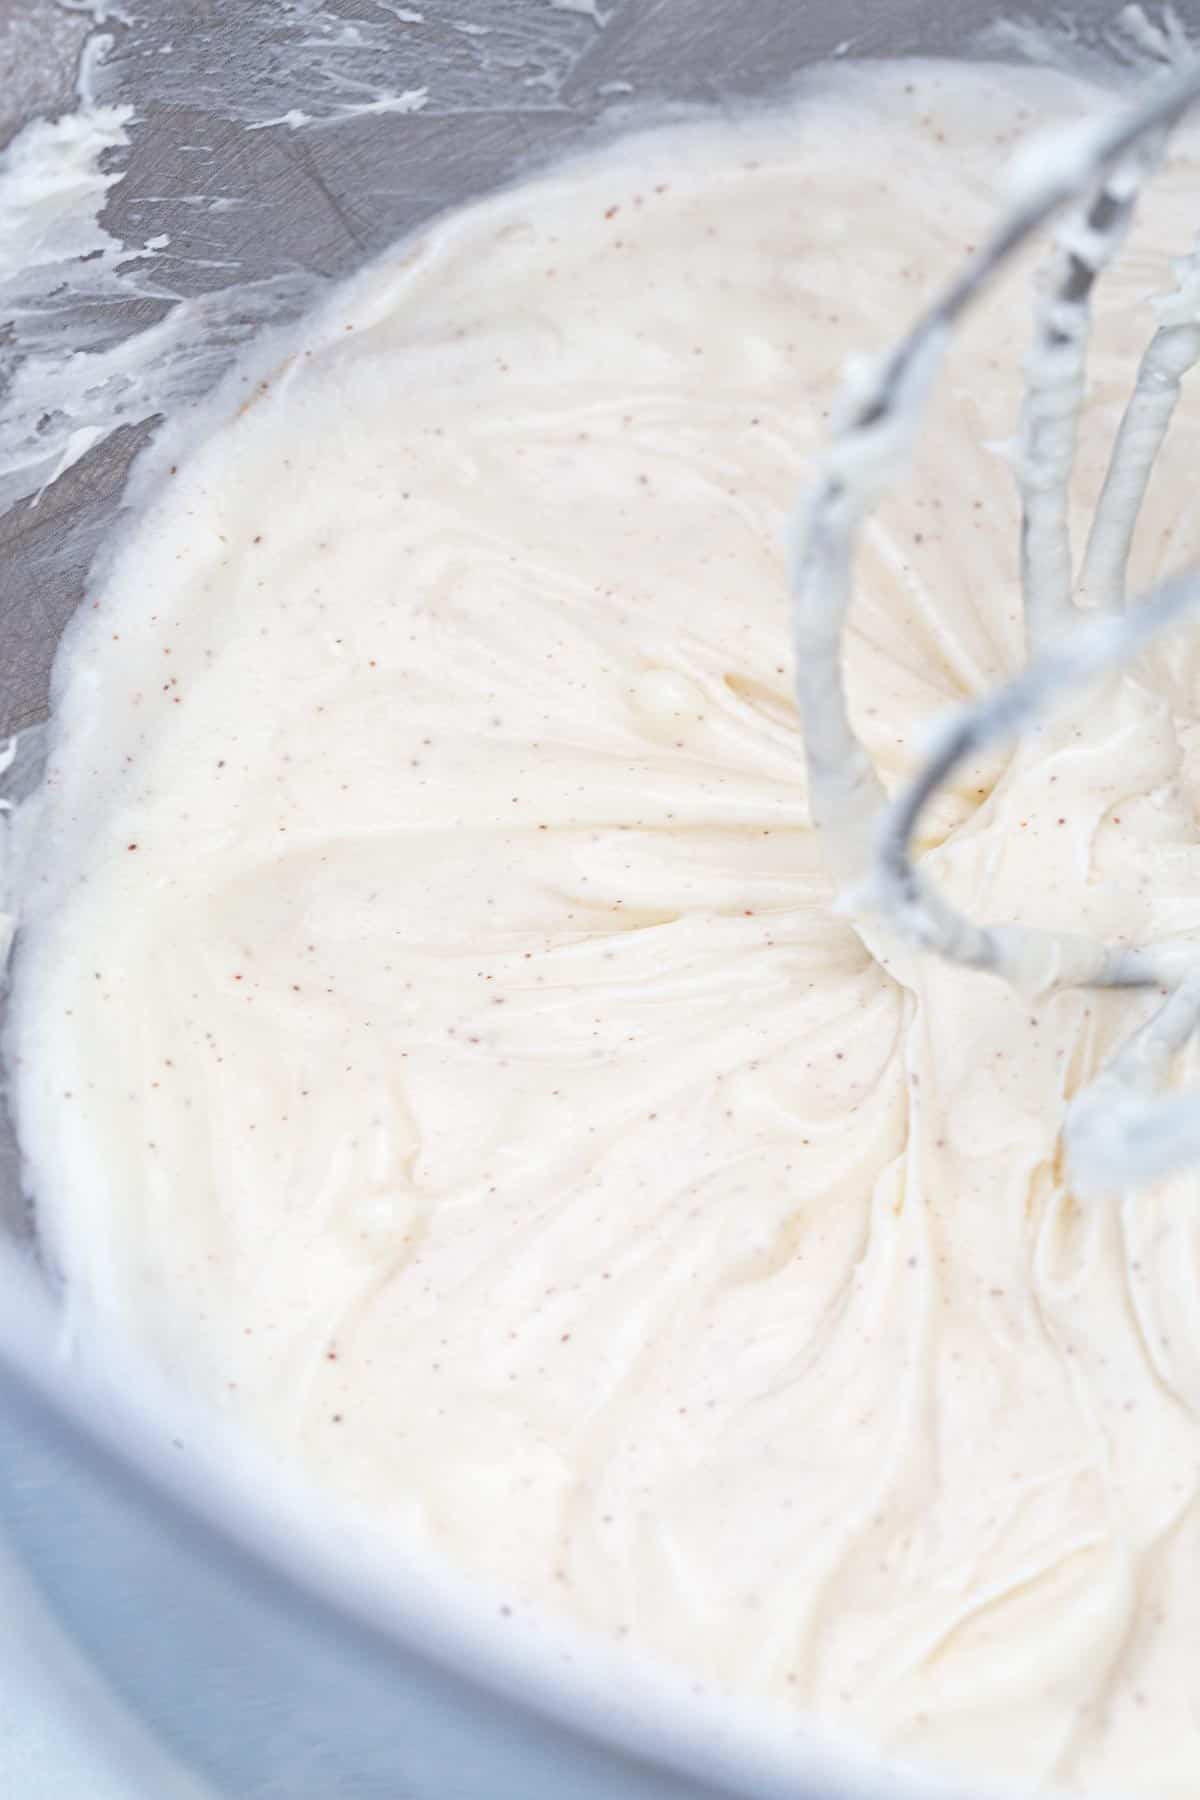
In a stand mixer, beat the softened butter and powdered sugar on medium-high for 2 minutes until fluffy. Add cream cheese, one piece at a time, mixing until smooth. Finally, mix in the cinnamon until well incorporated.
Pro Tip: My cream cheese frosting recipe filled the whoopie pies. However, I adjusted it to have a little more powdered sugar than a traditional frosting so that it would be stiffer and sticky.

Step 10: Fill the Pies
Spread 1 to 2 teaspoons of frosting on the flat side of a cake, then sandwich it with another. Gently press until the filling reaches the edges for an even, delicious bite.

Frequently Asked Questions
Classic whoopie pies are like the best part of muffins—the tops—sandwiched together with a creamy filling. This creates a mini, handheld, cake-like treat. Each bite is soft, springy, and easier to eat than a cupcake with frosting on top. Popular variations include chocolate, gingerbread, and pumpkin flavor. If you have leftover cake batter, try making whoopie pies!
Your whoopie pies might be sticky because ingredients like pumpkin puree moisten them. When left at room temperature, that moisture can cause them to become tacky on the surface. To prevent this, once they’ve cooled to room temperature, store them in the fridge to keep them from getting sticky.
Any thick and sticky filling can be used in whoopie pies. Popular options are vanilla creme, marshmallow fluff, and cream cheese filling.
More Pumpkin Recipes


If you tried this Pumpkin Whoopie Pie Recipe, please leave a 🌟 star rating and let me know how it went in the 📝 comments below!
Pumpkin Whoopie Pies

Ingredients
Pumpkin Whoopie Pies
- 1 cup all-purpose flour
- 1 teaspoon ground cinnamon
- ¼ teaspoon ground ginger
- ⅛ teaspoon ground nutmeg
- ⅛ teaspoon ground cloves
- ⅛ teaspoon ground allspice
- 1 teaspoon baking soda
- ¾ teaspoon kosher salt
- 2 large eggs
- ¾ cup granulated sugar
- 1 cup canned pumpkin puree
- 6 tablespoons unsalted butter, melted and cooled
- ½ teaspoon pure vanilla extract
Cream Cheese Filling
- 4 tablespoons unsalted butter, softened
- 1 cup powdered sugar
- 4 ounces cream cheese, cut into four pieces, softened
- ⅛ teaspoon ground cinnamon
Instructions
- Preheat the Oven – Set the oven racks to the upper-middle and lower-middle positions. Heat to 350ºF (177ºC). Line two large baking sheets with parchment paper and set aside.
- Combine the Dry Ingredients – In a medium bowl, whisk together flour, cinnamon, ginger, nutmeg, cloves, allspice, baking soda, and salt.
- Whisk the Eggs and Sugar – In a stand mixer fitted with a whisk attachment (or hand mixer) add eggs and sugar. Whisk at medium-high speed until pale and fluffy, about 3 minutes.
- Add the Pumpkin and Butter – Add the pumpkin puree, melted butter, and vanilla. Whisk on medium speed until combined, 30 seconds.
- Make the Batter – At low speed, slowly add the flour mixture until combined with the wet ingredients, about 30 seconds.
- Pipe the Batter – Add the batter to a piping bag fitted with a large round tip (806 size recommended). Pipe about 1-tablespoon-sized batter (about 1 ½ inch circles) onto the parchment paper spaced at least 1 inch apart. About 20 cookies should fit on a large baking sheet. Repeat with the remaining batter in the other pan.
- Bake – Bake until the cakes are set, 10 to 12 minutes. Rotate halfway through and switch the locations.
- Cool – Cool the cakes on the baking sheet for 5 minutes, then transfer to a cooling rack.
- Make the Cream Cheese Filling – In a stand mixer fitted with the whisk attachment (or hand mixer), beat the softened butter and powdered sugar at medium-high speed until pale and fluffy, 2 minutes. Add cream cheese, one piece at a time and mix until smooth. Add the cinnamon and mix until incorporated.
- Fill the Pies – Spread about 1 to 2 teaspoons of frosting on the bottom half of a cake, and then sandwich together with another half. Lightly press until the filling just reaches the edges.
Notes
- Using Pumpkin Pie Spice: Homemade pumpkin pie spice or store-bought can be used. Add 1 ¾ to 2 teaspoons of the blend to the mixture instead of the individual spices in the ingredient list.
- Larger Whoopie Pies: Pipe 2 tablespoon-sized mounds and spread them into a circle with a spoon. Bake for about 12 minutes.
- Make-Ahead: Cakes and frosting can be made a day ahead and stored separately in an airtight container. Allow the frosting to warm slightly at room temperature before filling.
- Storage: Unfrosted whoopie pies can be stored in a container on the countertop for up to 3 days. Frosted cookies should be stored in a container in the refrigerator for up to 5 days. Allow pies to come to room temperature before serving.
- Recipe adapted from The Perfect Cookie, America’s Test Kitchen
Nutrition Facts
Percent Daily Values are based on a 2000-calorie diet. All nutritional information is based on estimated third-party calculations. Each recipe and nutritional value will vary depending on the brands you use, measuring methods, and portion sizes per household.


Judy says
I bet your little ones are enjoying all the pumpkin cooking going on at your house Jessica. These would be fun to make for a get together. I hope I have one soon. Think the ladies at church would enjoy these. Take care. xoxo