
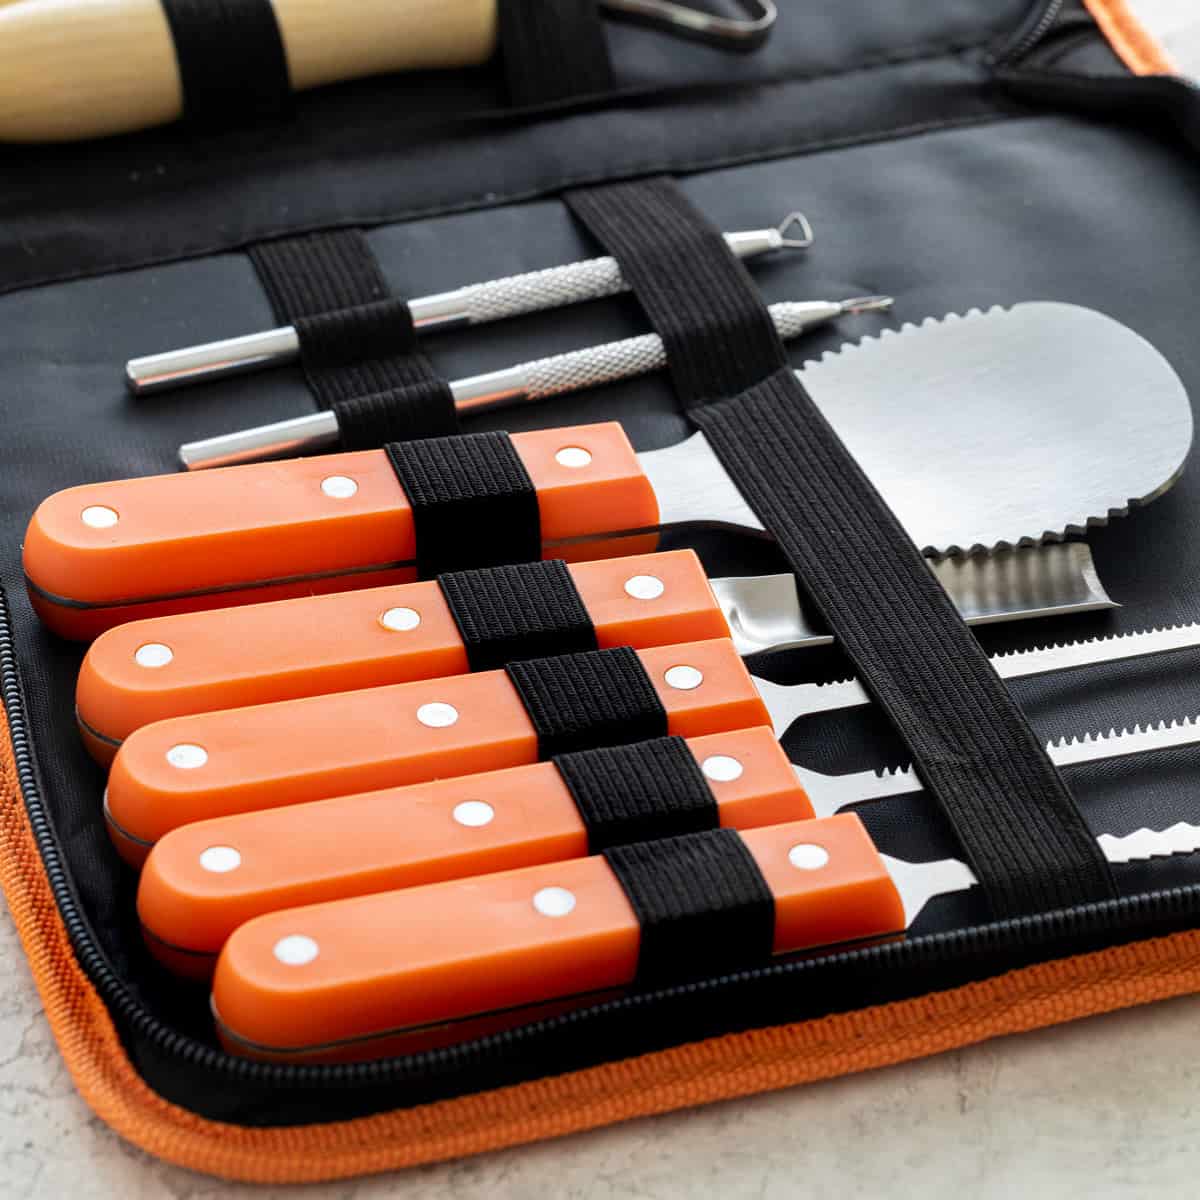
Knowing what pumpkin carving tools you need will help you create a festive jack-o’-lantern with ease. This guide covers the basics, like knives and spoons, plus chisels, saws, and loops for more intricate, elaborate designs.
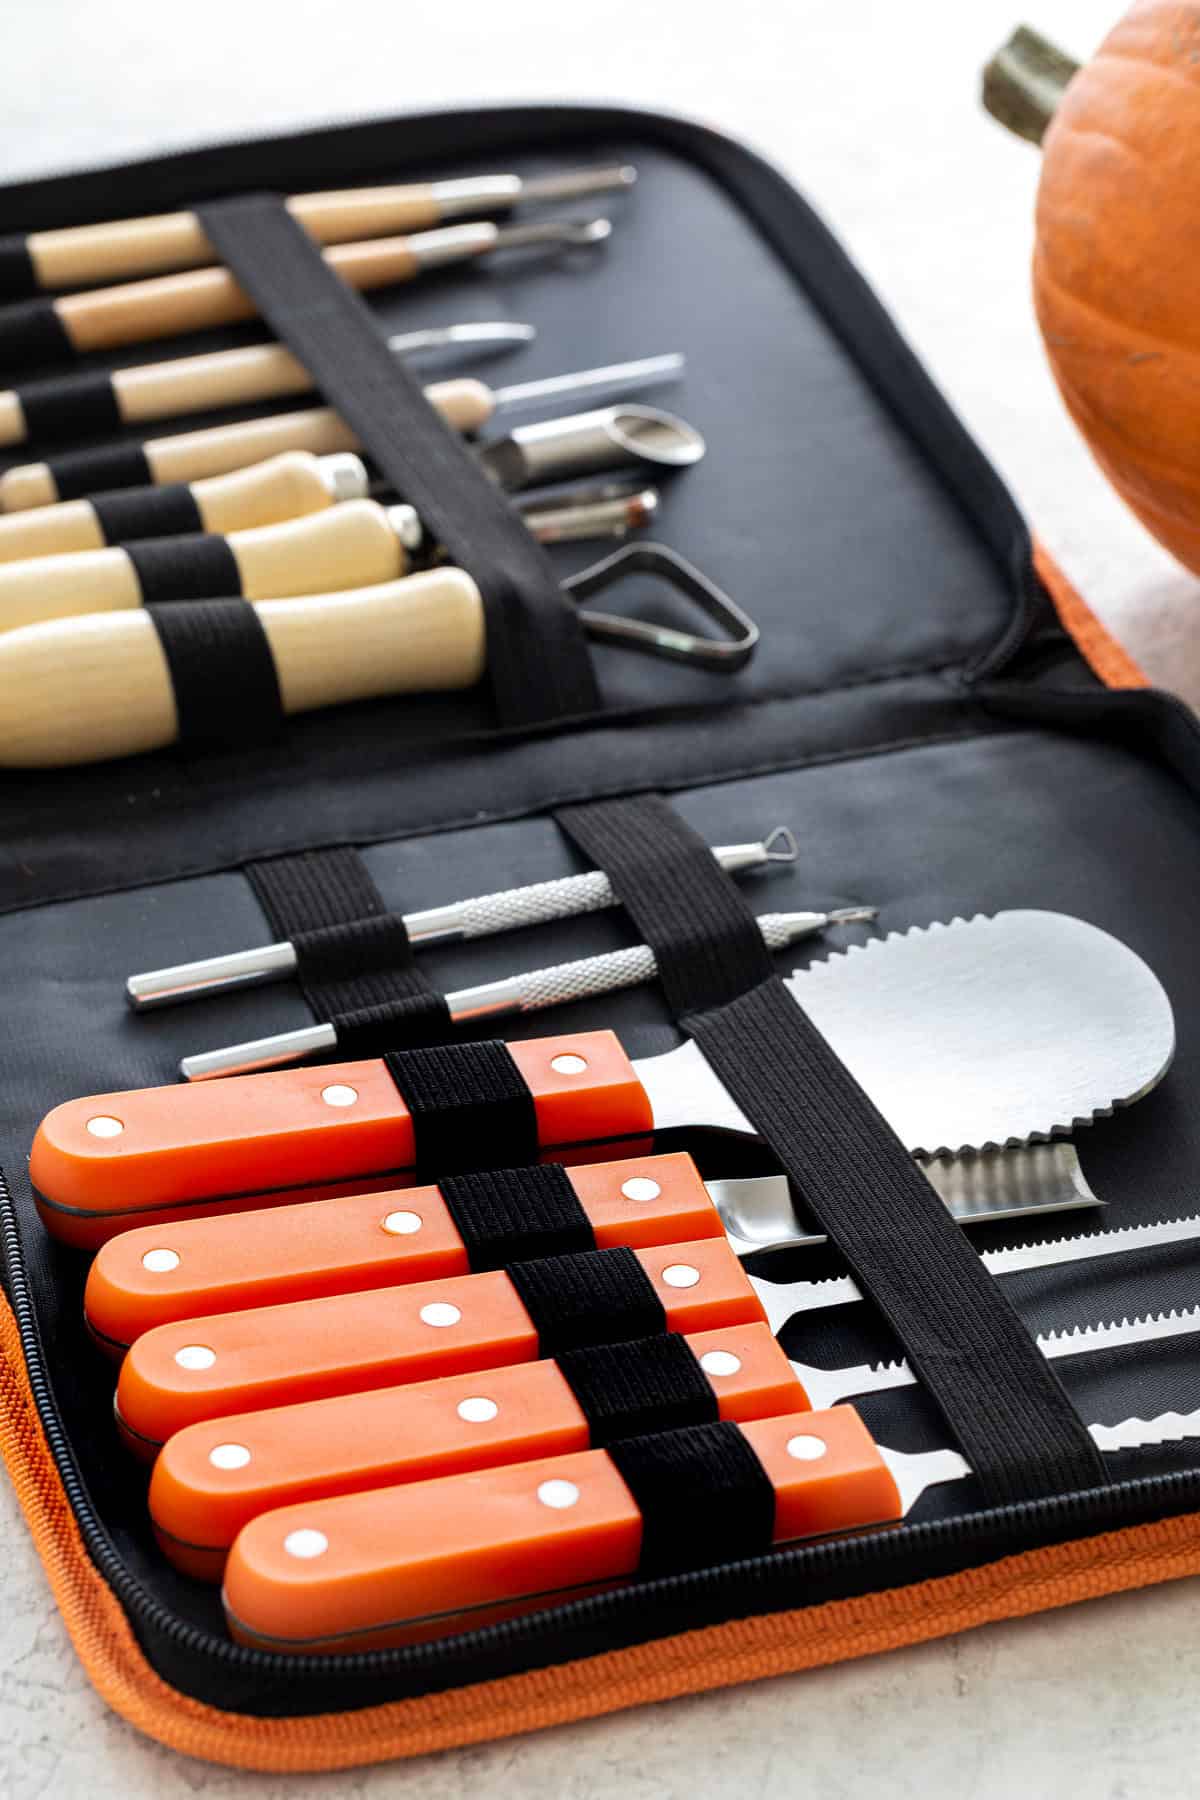
When you’re ready to carve a pumpkin, do you know what tools to grab to make the task easy? You’d be surprised by how many essential tools you need for a basic jack-o’-lantern. To elevate your carving game, it’s worth investing (not too much) in better pumpkin carving tools that last.
Each year, I try new pumpkin designs, especially since my kids request more detailed images. I used to buy those plastic and flimsy pumpkin carving kits because they were cheap and disposable. But they broke, took forever to use, and never looked as nice as I hoped.
This guide covers different-sized saws, chisels, needles, and loops to make carving smoother and more professional. You’ll be excited to break out your kit when fall rolls around!
Common household tools
For basic carving, you most likely already have four things at home for a quick carving session.
- A serrated knife with a thin blade, about 6 to 8 inches long, works well. A back-and-forth sawing motion with the “teeth” helps cut shapes out of the thick flesh.
- To remove the pulp inside, a large spoon or ice cream scooper can help scrape the pumpkin walls.
- An X-ACTO knife, edge razor blade, or paring knife can help score the design.
- A power drill can also make holes and cut through giant pumpkins with thick walls.

Pumpkin Carving Tools
Professional pumpkin carving tools (for any level!)
Although these everyday kitchen tools are convenient, I find a more professional pumpkin carving kit is an affordable investment. It just makes the process more straightforward, enjoyable, and, most importantly, safe. Plus, you can get more creative with your design! Look for reusable tools made of heavy-duty stainless steel with securely mounted handles.
Fine-tooth saws

These are the ones you commonly find in grocery store kits. They come in different sizes: fine (intricate cuts), medium (patterns), and large (lid and large cuts), making it effortless to maneuver different designs. The sharp serrated edges make it easy to cut through thick pumpkin walls.
Pumpkin scooper and scraper

These scoopers usually have sharper, sometimes serrated, spoon edges. This design helps to scrape off the fibers, pulp, string, and seeds from the pumpkin cavity. You want the inner walls to be clean and clear for carving.
Double-ended needle and cleanup tools

To make tracing easier for basic and detailed designs, use a needle tool to pierce small holes in the skin. Use the dots to transfer the design and then connect them with a marker or freehand to avoid dark lines left on the pumpkin. The cleanup tools help to add small details and remove any unwanted pieces of pumpkin.
Etching and relief chisel

The chisel takes design to the next level. It easily scores and removes the layer of pumpkin skin. This creates layers of texture and color contrast. You can also use it to make wider openings and cuts in the flesh.
Hole cutting tool

Easily make circles for eyes, nose, ears, and other designs with this sharp, long circular hole cutter.
Large sculpting ribbon loop tools

Make peeling large areas of pumpkin skin much faster. You need to use some pressure, but removing the other areas is easy once it starts to lift off. Use the tools for shaping the flesh for the first round of design shaping.
Double-ended detail sculpting ribbon loop tools

Refine your design with smaller loop tools after using the large ribbon loops. Use for shaping cuts and flesh. This tool helps give dimension and realistic features to your design.
Intricate detail sculpting ribbon loop tools

Sculpt precisely and intricately with these small loops.


Leave a Comment