
Impress that special someone with a chocolate molten lava cake recipe. Just six simple ingredients create a tender cake with oozy chocolate filling.

Jessica’s Recipe Science
- All-purpose flour’s 10-13% protein content creates a minimal gluten network, ensuring a soft cake texture with a molten center.
- A 60% cacao bittersweet chocolate bar enhances lava cakes with intense flavor and smooth melting properties for a gooey core.
- Precise bake time ensures the edges are set and the tops crack slightly while the centers remain slightly jiggly.
Jump To a Section
Featured Comment 26
“These cakes are truly amazing. So so so yummy. They deliver three different textures in one small cake. They present beautifully.”—Megan
Why It Works
Do you want to show someone special how much you care? Treat them to a warm, chocolate molten lava cake. Whether it’s Valentine’s Day or just a cozy evening at home, this dessert will surely impress and bring smiles. Imagine their delight as they take the first scoop, breaking through the delicate cocoa shell to discover the rich, gooey chocolate center. This indulgent treat is not just delicious—it’s a heartfelt gesture that speaks volumes.
Despite its complex appearance, chocolate molten lava cake is surprisingly simple. The secret to those three distinct textures—the slightly crisp exterior, tender edges, and silky, molten center—is mastering the baking temperature and timing. Getting it right means the outer layer cooks through while the inside remains a molten chocolate center, offering a delightful contrast with every bite. It’s a perfect example of how a little science in the kitchen can lead to mouthwatering results.
Ingredients You’ll Need
- Butter: Adding butter to chocolate cake batter enhances both texture and flavor. The fat in butter creates a silky consistency when melted with chocolate, enriching the cake’s mouthfeel. It also slows the coagulation of egg proteins during baking, helping maintain the cake’s gooey center and preventing it from setting too quickly.
- Chocolate: I use a Ghirardelli 60% cacao bittersweet baking chocolate bar. The dark chocolate gives an intense flavor without adding extra cocoa powder. Chocolate bars melt more smoothly and consistently, which is essential for achieving the rich, flowing center that defines molten chocolate lava cakes.
- Eggs: Adding whole eggs and extra egg yolks to chocolate lava cakes provides structural integrity and enhances creaminess. The egg whites solidify to give shape, while the rich yolks add moisture and lecithin, creating a smooth, fudgy center.
- Sugar: Granulated sugar enhances flavor by balancing cocoa’s bitterness, retains moisture for a tender texture, and helps develop a pleasing crust for textural contrast.
- Salt: Salt is added to enhance and balance the chocolate’s rich flavors while reducing bitterness.
- Flour: Adding a small amount of all-purpose flour, typically 10-13% protein, provides enough structure to hold the cakes together while maintaining their moist, tender texture.
See the recipe card below for all ingredients and measurements (US and metric).
Ingredient Substitutions
This chocolate lava cake recipe is easy to customize! Try these delicious options:
- Make it Gluten-Free: It’s easy to swap with gluten-free flour with just a tiny amount of flour needed to create a delicate cake structure. Try my Nutella lava cake for a flourless chocolate cake option!
- Chocolate Options: Other types of chocolate can be used. Use milk, semi-sweet, or dark chocolate for a sweeter flavor. Although you can use chocolate chips, the center may not be as fluid after baking because they have a lower percentage of cocoa butter than bars.
- Sweetener Swaps: Try adding brown sugar for a molasses note or coconut sugar. You can use honey or maple syrup, but the cake will be moister instead of crisper on the edges.
- Fillings: Add fruit jam, preserves, homemade Nutella, or caramel sauce.
- Toppings: Add powdered sugar, whipped cream, mint leaves, or fresh berries.
How to Make Chocolate Molten Lava Cake
Step 1: Preheat the Oven
These chocolate lava cakes are baked at very high temperatures, heating the oven to 450ºF (230ºC) to ensure a gooey molten center. The high heat helps the edges set quickly without cooking the center.
Step 2: Prepare the Ramekins
Brush 8-ounce ramekins with melted butter and dust the insides with flour. This makes the cakes easy to remove. Place them on a baking sheet to make removing them from the oven easier.
Quick Substitution: If you want smaller portions, use 6-ounce ramekins. This will also make a few more cakes.

Step 3: Melt the Chocolate
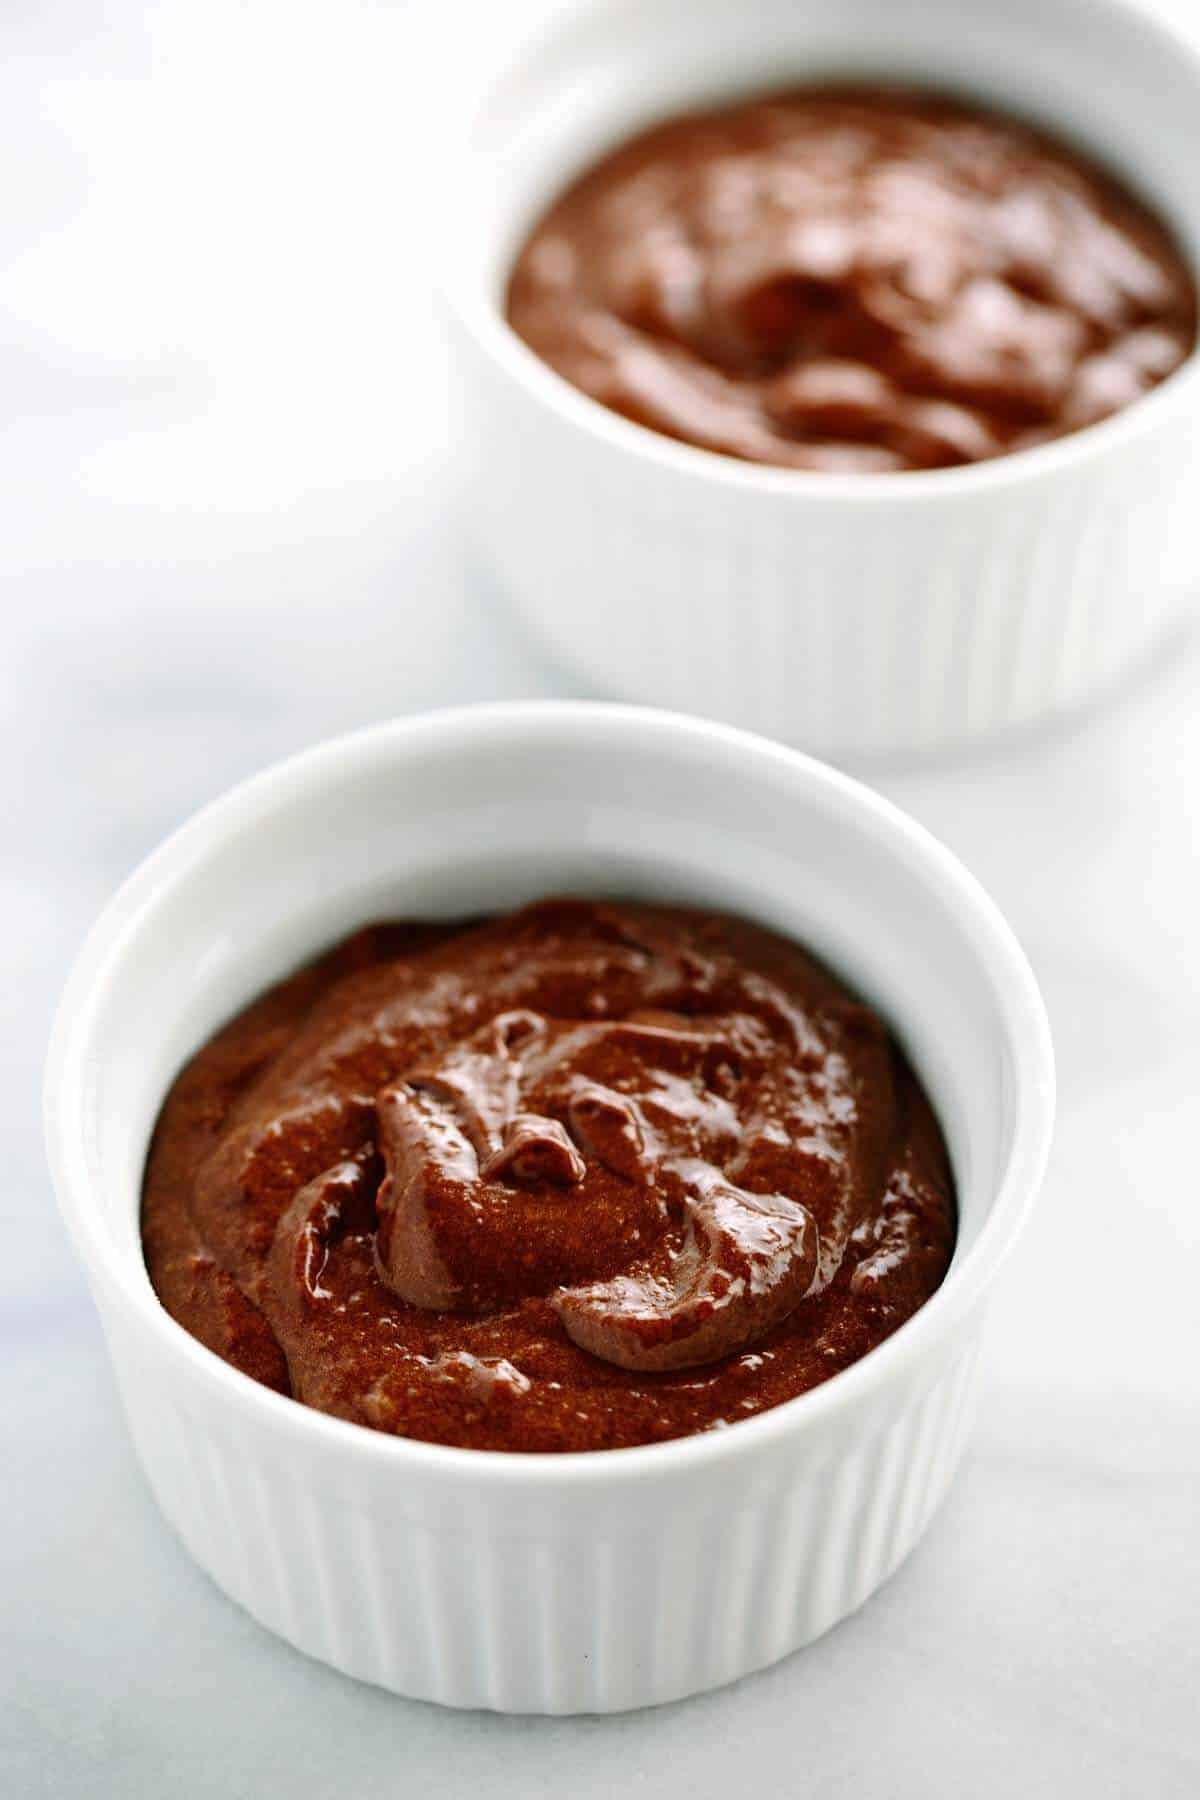
The chocolate lava cake recipe has just six ingredients: bittersweet chocolate, butter, eggs, sugar, flour, and salt. That’s it! It starts with melting chopped chocolate and butter together over a double boiler. They will meld into one gorgeous chocolate sauce. Take the chocolate mixture off the heat to prevent burning.
Pro Tip: You can melt the chocolate and butter in a microwave-safe bowl. Heat in 15 to 30-second bursts, stirring in between, until melted.
Step 4: Combine the Ingredients
To create a light and airy cake structure without using chemical leaveners, whip whole eggs and egg yolks with granulated sugar using a hand or stand mixer until the mixture is thick and pale, incorporating air to form a light foam. Gently fold melted chocolate into this egg mixture, then stir in a small amount of all-purpose flour for added structure. This will produce a pourable, fudgy batter ideal for achieving a rich chocolate cake.
Step 5: Bake
Evenly distribute the batter into prepared ramekins and bake on a baking sheet for 9 minutes. Each minute in the oven is crucial to achieving the iconic molten center.
Overbaking will solidify the center, so test a cake before serving and use visual cues to know when to remove it from the oven. The edges should be set, the top crackled, and the center still slightly jiggly to indicate it’s still lava in the middle. Room-temperature cakes will cook faster than refrigerated batter.
Here’s what I observed when testing different cooking times:
No Refrigeration Before Baking-
- 8 minutes: More lava (about 75%)
- 9 minutes: The perfect bake time; about 50% cake to 50% molten lava center
- 10 minutes: More cake texture (25% lava)
- 12 minutes: A moist and tender cake, but no lava
Refrigerated Before Baking-
- 10 minutes: About 60% lava center
- 11 minutes: About 40% lava
Bake time depends on if you want more cake vs. lava center. Both room temperature and refrigerated cake batter are delicious. I noticed that the refrigerated cake had a more decadent chocolate ganache-like center.

Step 6: To Serve
After baking, let the cakes cool in their ramekins for one minute. Loosen them by running a knife or small spatula around the edges. Then, cover each ramekin with an inverted dessert plate.
Using an oven mitt, carefully flip each one over and let it stand for 10 seconds. Gently lift the ramekin with a gloved hand, using a spatula or knife to help unmold the cake. Finish by sprinkling powdered sugar on top and serve immediately for the best experience.
Tips For Perfect Execution: Each minute changes the amount of cake-to-lava ratio. So set a timer and promptly remove it from the oven at the indicated time, and only let the ramekin sit for 1 minute before unmolding. The hot ramekin will cause carryover cooking if the cake is left inside too long.

Frequently Asked Questions
In culinary terms, “lava cake” is a specific kind of molten cake, typically chocolate, distinguished by its liquid center. Often, “lava cake” and “molten cake” are synonymous, used to describe desserts with a similar, flowy middle.
You can use a cupcake or muffin pan to bake lava cakes, an effective ramekin alternative. Remember to grease the pan to prevent sticking thoroughly, adjust the baking time since smaller portions cook faster, and fill each cup about 2/3 full to ensure the centers remain molten. Whether serving directly from the pan or transferring to plates, handle gently to preserve the delicate molten core.
Chocolate lava cake is not simply undercooked cake; it’s a precisely engineered dessert. The recipe and baking process are designed to cook the outer layer while keeping the center molten. This effect is achieved by carefully controlling the baking time and temperature, ensuring the exterior sets into a cake-like structure and the interior remains liquid, creating the signature gooey center.
You can cover and refrigerate the portioned batter a day in advance. This is great for planning and saving time—no extra messes to clean up during your romantic celebration. Just pop them in the oven straight from the refrigerator when you’re ready to serve dessert.
More Sweet Treats


If you tried this Chocolate Molten Lava Cake Recipe, please leave a 🌟 star rating and let me know how it went in the 📝 comments below!
Chocolate Molten Lava Cake

Ingredients
- 9 tablespoons unsalted butter, divided
- 6 ounces bittersweet chocolate, 60% cacao baking bar, chopped
- 2 large eggs
- 2 large egg yolks
- ¼ cup granulated sugar
- ⅛ teaspoon kosher salt
- 2 tablespoons all-purpose flour, more for dusting ramekins
- powdered sugar, for dusting
Instructions
- Preheat the Oven – Set the oven rack to the middle position. Preheat the oven to 450°F (232°C).
- Prepare the Ramekins – Melt 1 tablespoon of butter in a microwave-safe dish, for about 30 seconds. Brush it on the inside of four 8-ounce ramekins. Lightly coat with flour and tap out the excess. Set the ramekins on a baking sheet.
- Melt the Chocolate – In a double boiler, over simmering water, melt 8 tablespoons of butter with the chocolate. Whisk to combine until smooth, then remove from heat.
- Combine the Ingredients – Using a stand mixer with the whisk attachment or hand-held mixer, beat the eggs and egg yolks, sugar, and salt at high speed until thickened and pale, about 3 minutes. Quickly fold the chocolate into the mixture. Fold in the flour until just combined.
- Bake – Evenly divide the batter into the prepared ramekins. Bake on the baking sheet for 9 minutes, or until the sides are set, the tops slightly cracked, and the centers are slightly jiggly.
- To Serve – Let the cakes cool in the ramekins for 1 minute. Run a knife or small spatula along the sides a few times to release. Cover each ramekin with an inverted dessert plate. Wear an oven mitt and carefully turn each one over, and let stand for 10 seconds. Use a spatula or knife to lift the corner of the ramekin and a gloved hand to lift and unmold the cake. Sprinkle with powdered sugar and serve immediately.
Recipe Video

Notes
- Do Not Over-Bake: I find that each additional minute will result in a noticeably less molten chocolate cake filling.
- Make Ahead: Portion the batter in ramekins and cover with plastic wrap. Refrigerate for several hours before baking or up to 24 hours in advance. Bake straight from the refrigerator for 10 to 11 minutes.
- Butter Substitute: Substitute coconut oil for the butter.
- Make it Gluten-Free: Substitute all-purpose flour with gluten-free flour.
Nutrition Facts
Percent Daily Values are based on a 2000-calorie diet. All nutritional information is based on estimated third-party calculations. Each recipe and nutritional value will vary depending on the brands you use, measuring methods, and portion sizes per household.


Christine says
I’ve been a fan of your recipes for a few years now and my son wanted to make a dessert for his birthday. I knew I could rely on your recipes to be yummy and simple…so we found this recipe and it was so delicious and easy. We premade the batter before dinner and used a muffin pan which worked out so well and baked for 10 minutes after refrigeration. We loved it with a scoop of vanilla bean ice cream. We also used Guittard semisweet chocolate and was perfect! Thank you so much and we will definitely make it again for the upcoming holidays!
Jessica Gavin says
Thank you for you support over the years, Christine! I love that you made the lava cakes in a muffin pan. I’m sure other home bakers will find your experience helpful. Happy birthday to your son!