
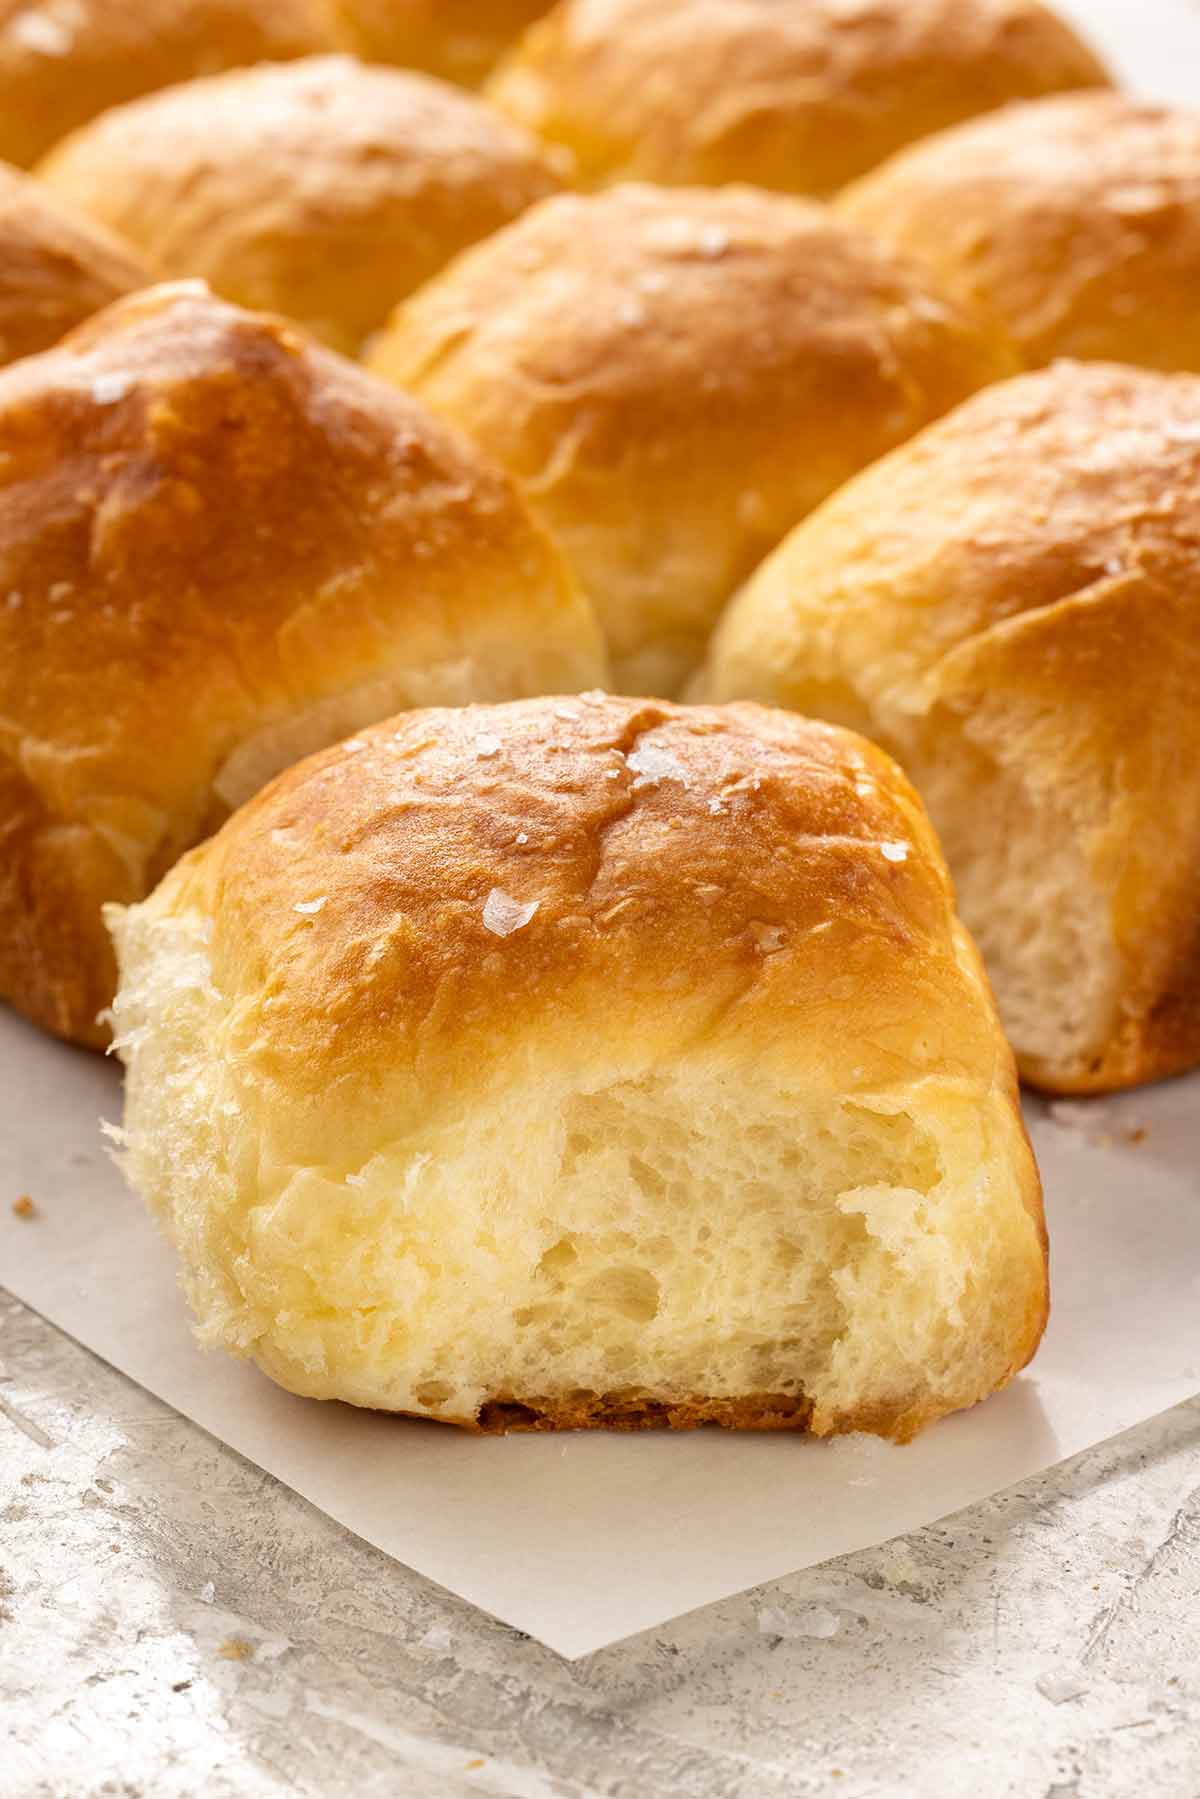
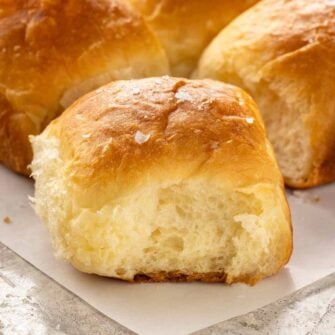
This soft dinner rolls recipe makes buttery, fluffy rolls perfect for sharing around the holiday table. A simple cooked flour paste helps lock in moisture, keeping each roll tender and soft long after baking.
Jessica’s Recipe Science
- Cooking a portion of the flour with water gelatinizes the starch, helping the dough retain more moisture for softer rolls.
- Autolyse hydrates the flour and develops gluten, helping create soft, fluffy rolls that hold the tangzhong’s extra moisture.
- Letting the dough rise twice until doubled in size gives the yeast time to produce carbon dioxide for an airy texture.
Why It Works
These soft dinner rolls get their tender texture from a simple technique called tangzhong. Don’t worry, it’s simpler than it sounds! It involves cooking a small portion of flour with water to form a thick paste. Heating the flour gelatinizes its starch, allowing it to hold more water than uncooked flour alone. That extra moisture helps keep the rolls soft and tender after baking and cooling. I use a similar technique in my super soft sticky buns recipe to create a tender, fluffy dough.
Whole milk, egg, and butter give the rolls their rich flavor and delicate crumb, while bread flour provides enough gluten structure to help them rise beautifully. This easy recipe is perfect for Thanksgiving, Christmas, or any family dinner when you want warm, homemade bread on the table. You can prepare the dough ahead of time, bake the rolls fresh for your meal, or freeze leftover rolls to enjoy later.
Jump To a Section
Ingredients You’ll Need
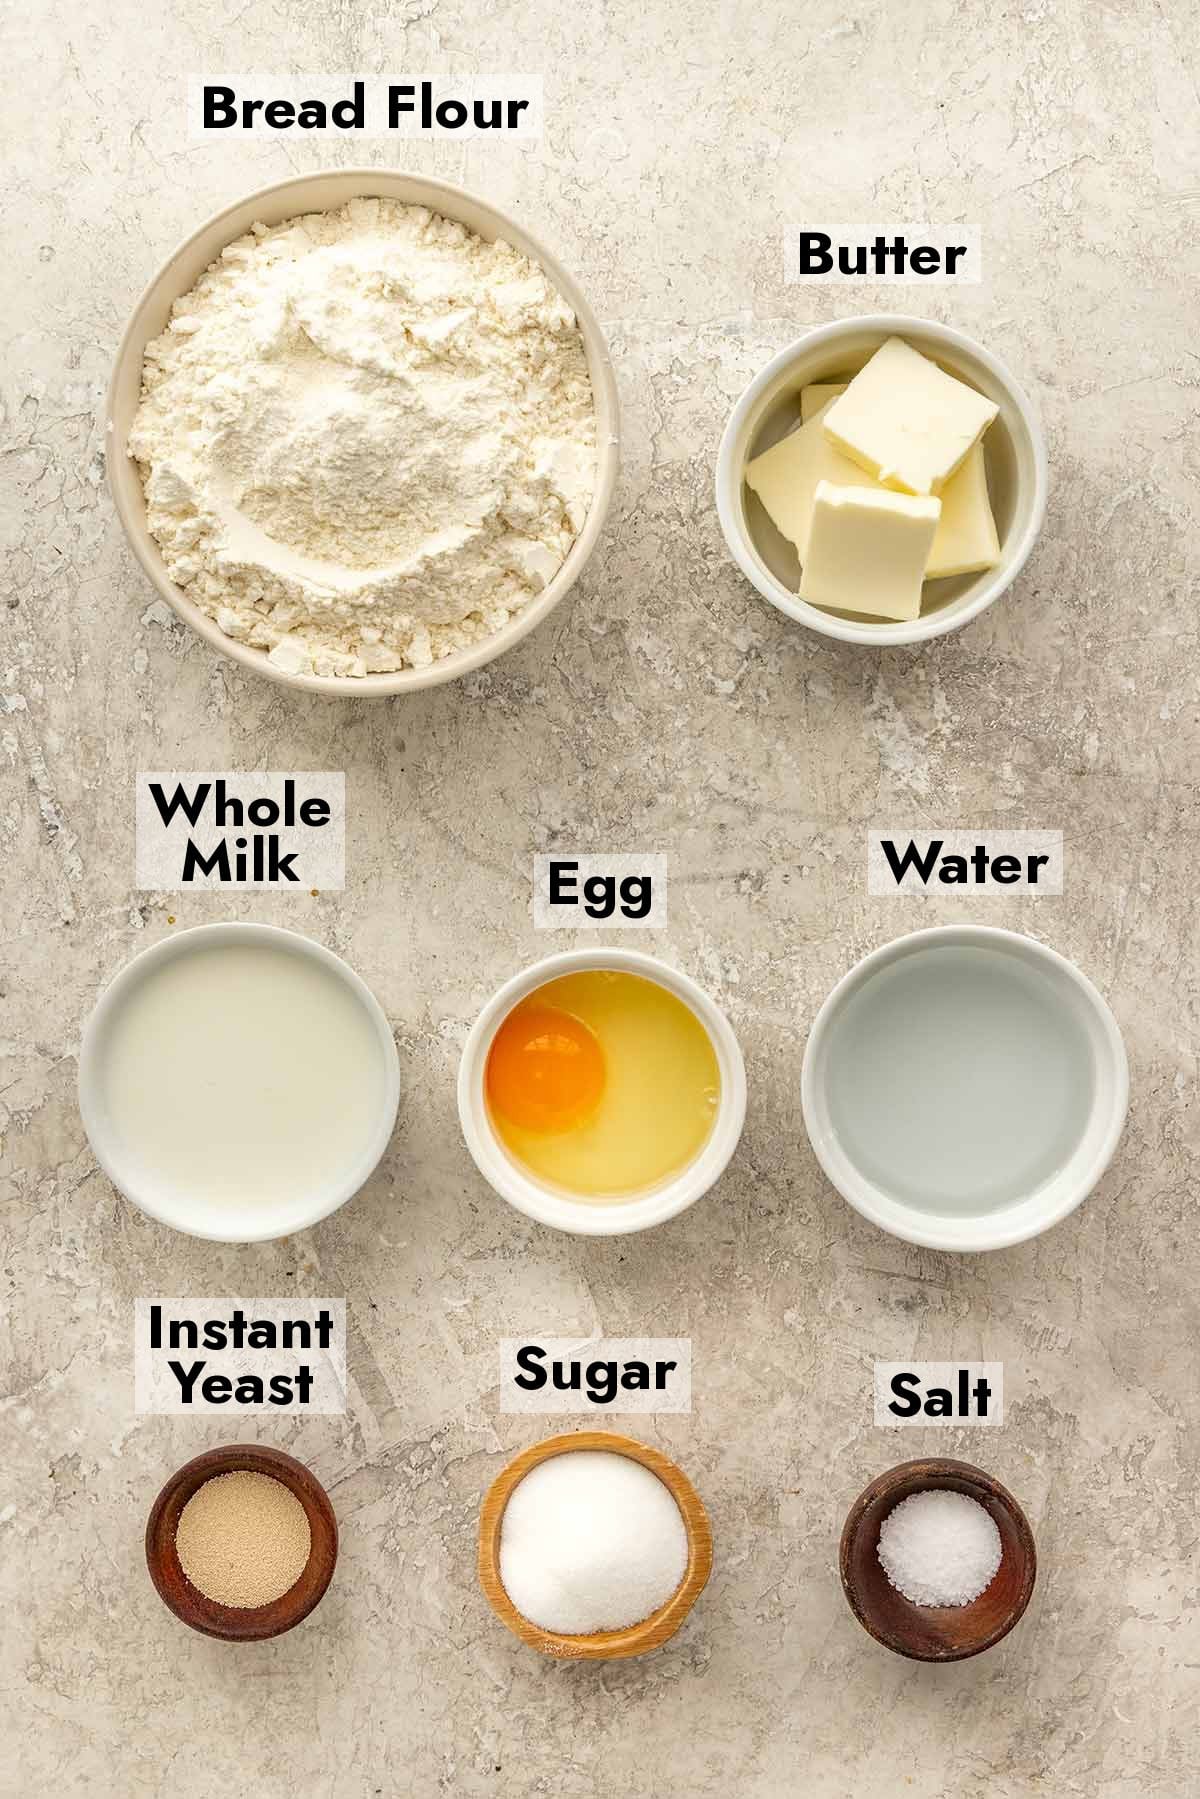
- Bread flour: I use bread flour for its higher protein content (over 12%), which helps develop the gluten network needed to trap gas and create a fluffy, structured roll. Weighing the flour with a kitchen scale helps prevent adding too much, which can make the dough dense and dry.
- Water: Water combines with a portion of the flour to create the cooked flour paste. Heating the mixture allows the starch to gelatinize and retain extra moisture.
- Whole milk: Milk adds moisture, richness, and a subtle sweetness. Starting with cold milk helps control the dough temperature during mixing.
- Egg: Egg proteins help set the crumb as the rolls bake, while the yolk contributes fat for a tender texture and richer flavor.
- Instant yeast: Yeast produces carbon dioxide as it ferments sugars in the dough, helping the rolls rise and develop their light texture. Instant yeast can be mixed directly with the flour without being dissolved in liquid first.
- Sugar: Granulated sugar provides food for yeast fermentation and adds a hint of sweetness to balance the buttery flavor.
- Salt: Salt enhances flavor and helps regulate yeast activity and gluten development, giving the rolls a balanced taste and structure.
- Unsalted butter: Softened butter adds richness and tenderness to the dough. I use unsalted butter so I can control the amount of salt in the recipe.
- Melted butter: Brushing the warm rolls with melted butter adds a delicious buttery finish and helps keep the tops soft.
See the recipe card below for all ingredients and measurements (US and metric).
Ingredient Substitutions
This dinner rolls recipe is easy to customize! Try these delicious variations:
- Flour Substitutes: You can substitute other types of flour to make the rolls. All-purpose flour has slightly less protein than bread flour, developing a weaker gluten structure that may produce rolls with less height and fluffiness. Hold back a little milk at first and add more as needed until the dough is soft and slightly tacky. For whole wheat flour, replace up to 25% of the bread flour by weight to maintain a softer texture, as the bran interferes with gluten development and absorbs more liquid.
- Yeast: When baking with yeast, substitute the same amount of active dry yeast, but dissolve it in a portion of warm milk with a little sugar first. Let it sit for 5 to 10 minutes until foamy before mixing the dough.
- Butter: Use salted butter in place of unsalted butter to brush on the tops of the golden brown rolls. You can also add some honey to the melted butter for a hint of sweetness. Brush with garlic butter, herbs, and Parmesan for a savory twist!
- Add Egg Wash: For a shinier top on the rolls, mix 1 large egg with 1 tablespoon milk or water, then brush the tops before baking.
- Herbs: Add 1 to 2 tablespoons of finely chopped fresh rosemary or thyme, or 1 to 2 teaspoons of dried Italian seasoning for a savory variation. Mix the herbs into the dough or stir them into the melted butter before brushing over the warm rolls.
- Cheese: Fold ¼ to ½ cup of finely grated Parmesan or sharp cheddar into the dough for a savory twist. Add it toward the end of kneading to help maintain gluten development and avoid adding too much moisture or fat.
How to Make Dinner Rolls
Step 1: Make the Flour Paste
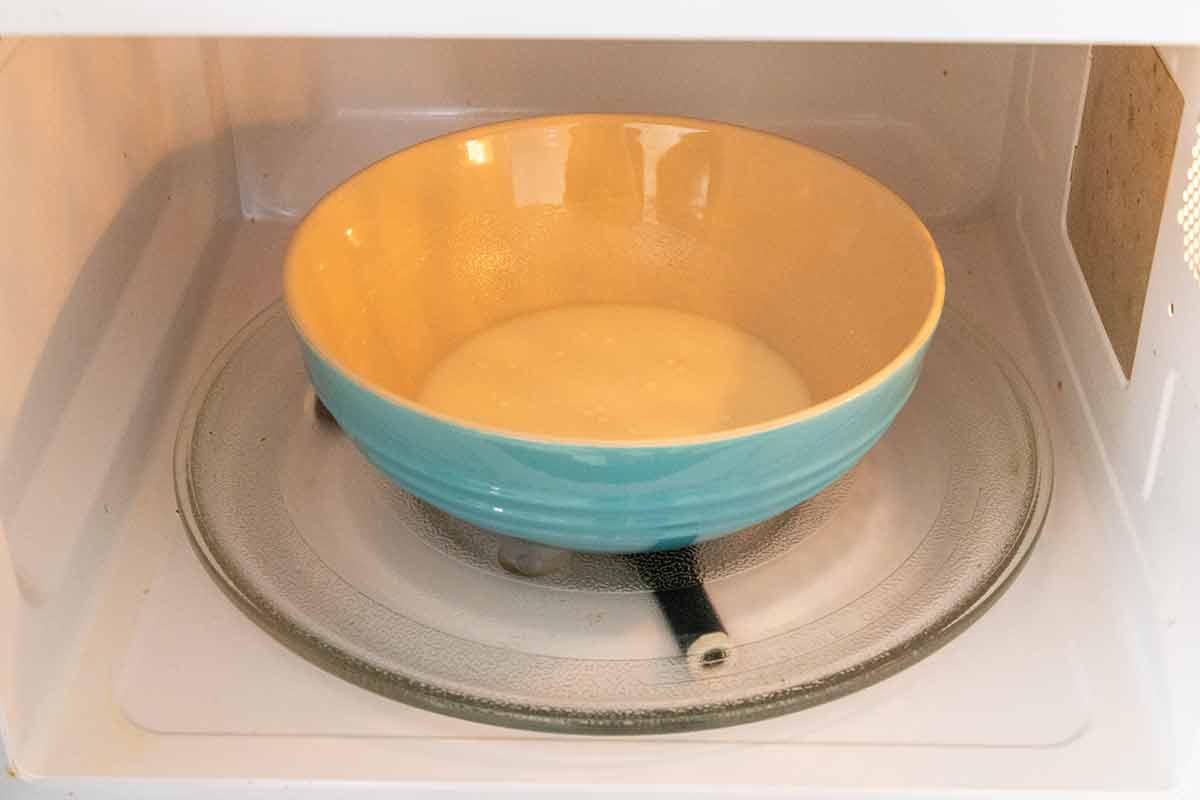
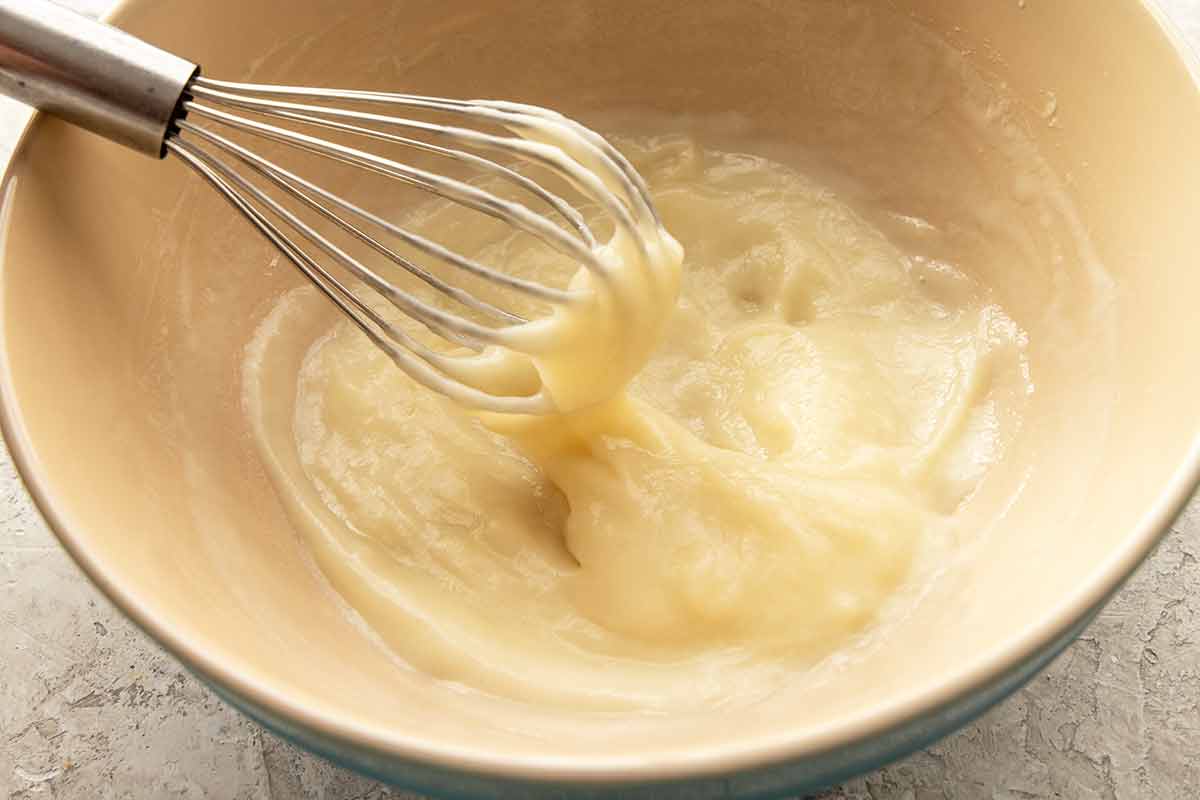
Whisk the water and bread flour together in a microwave-safe bowl until smooth. Microwave, whisking at intervals, until the mixture thickens into a very thick paste. I found that the paste thickened significantly once it reached about 125 to 130°F (52 to 54°C).
Ingredient Chemistry: Cooking the flour gelatinizes its starch, allowing it to absorb and hold more moisture. This technique, called tangzhong, helps the dinner rolls stay soft and tender, even after they cool. However, it makes less protein available for gluten formation, so shaping the rolls to build structure is important.
Step 2: Mix the Dough
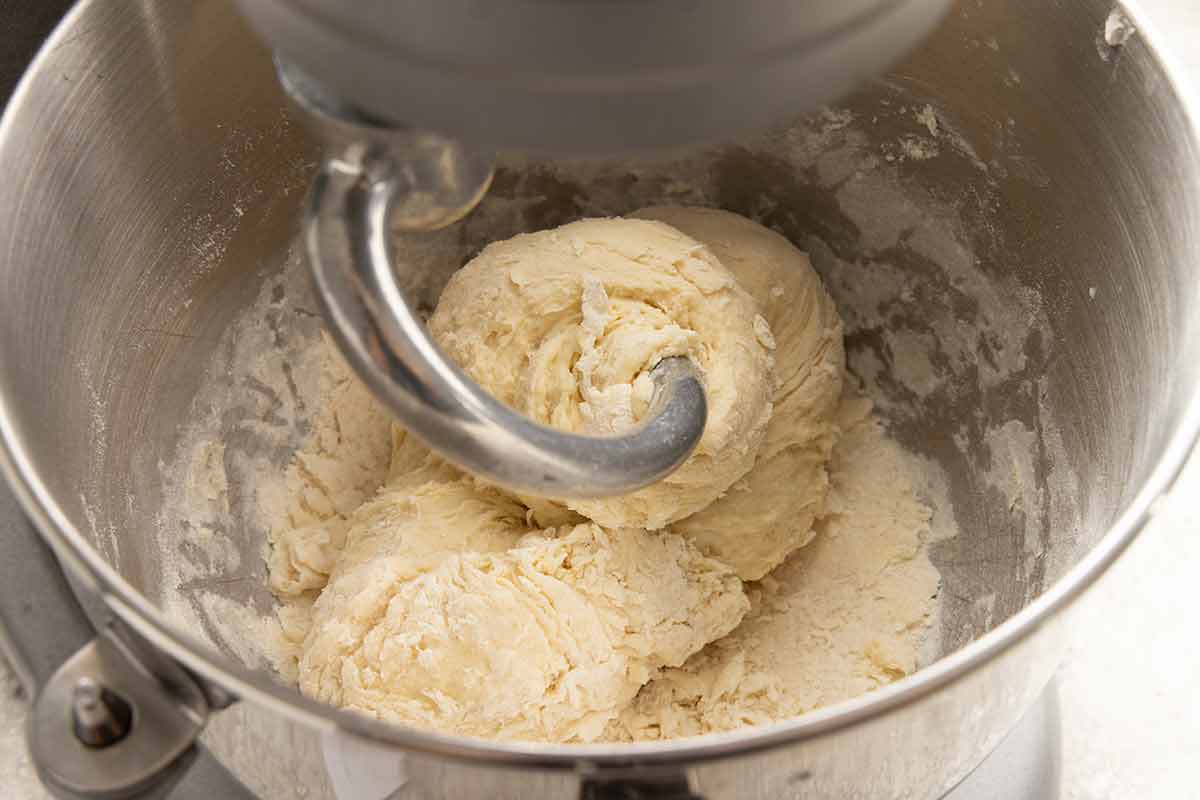
Whisk the flour paste with the milk and egg until smooth. Add the bread flour and yeast, then mix until a shaggy dough forms. Let the dough rest for 15 minutes; this step is called autolyse.
Autolyse Step: The autolyse is a resting period that allows the flour to hydrate and gluten to begin developing naturally before kneading. This helps create a stronger, more elastic dough that can support the extra moisture from the tangzhong, resulting in soft, fluffy dinner rolls.
Step 3: Add the Sugar, Salt, and Butter
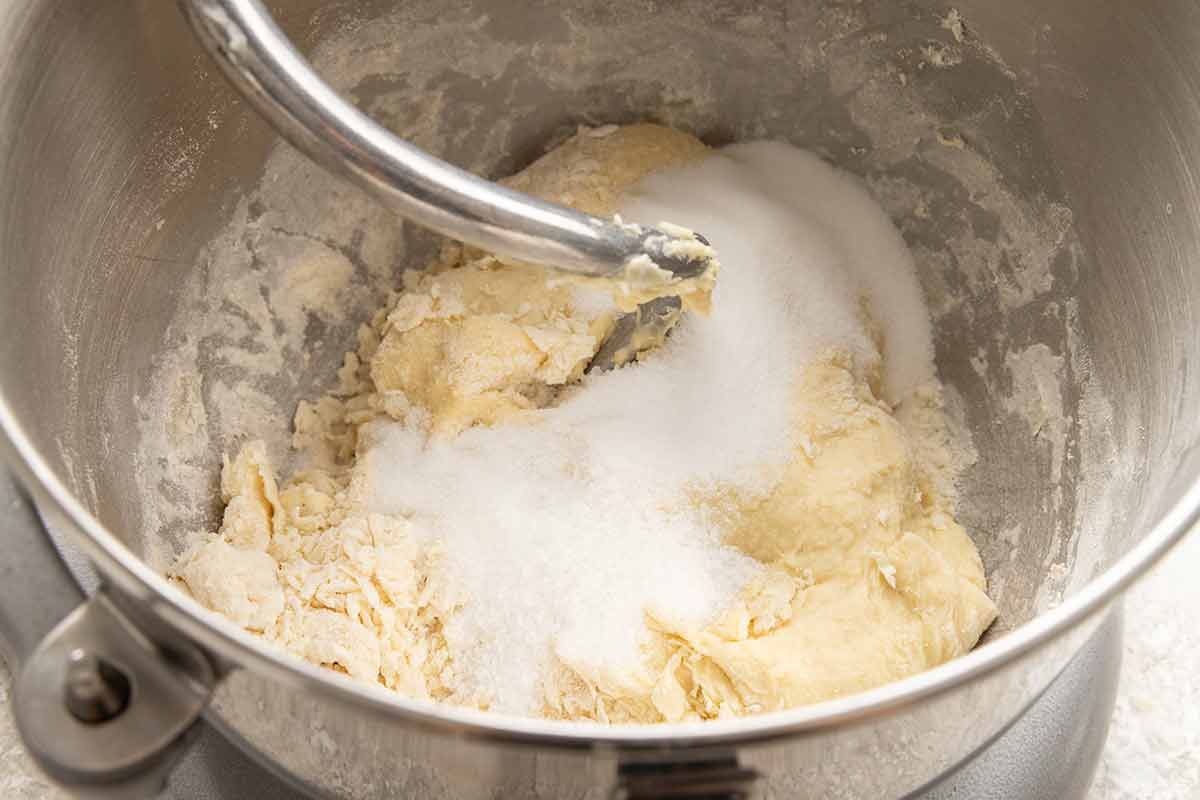
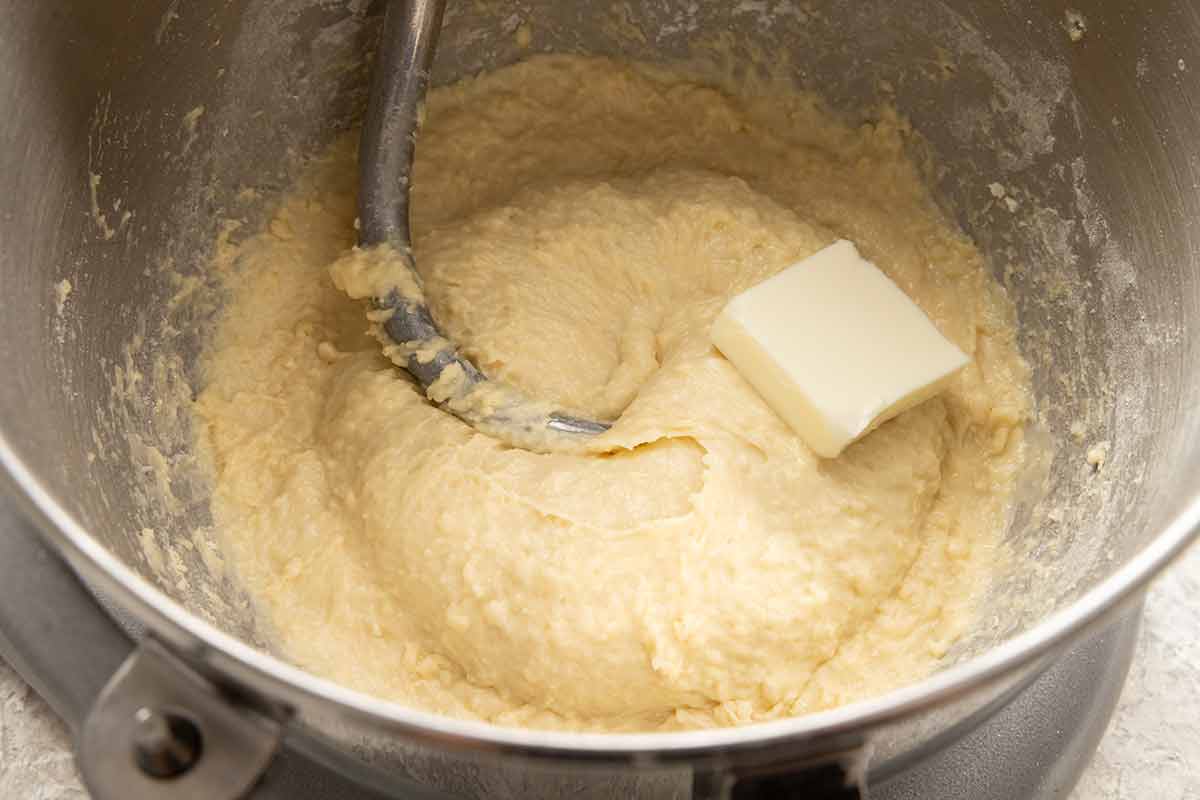
Add the sugar and salt, then mix until combined. Gradually add the softened butter and continue kneading until the dough is smooth and elastic. Adding the butter after the initial mixing helps establish the gluten structure before the fat is fully incorporated. The butter then adds richness and tenderness without sacrificing the rolls’ fluffy texture.
Step 4: Knead the Dough
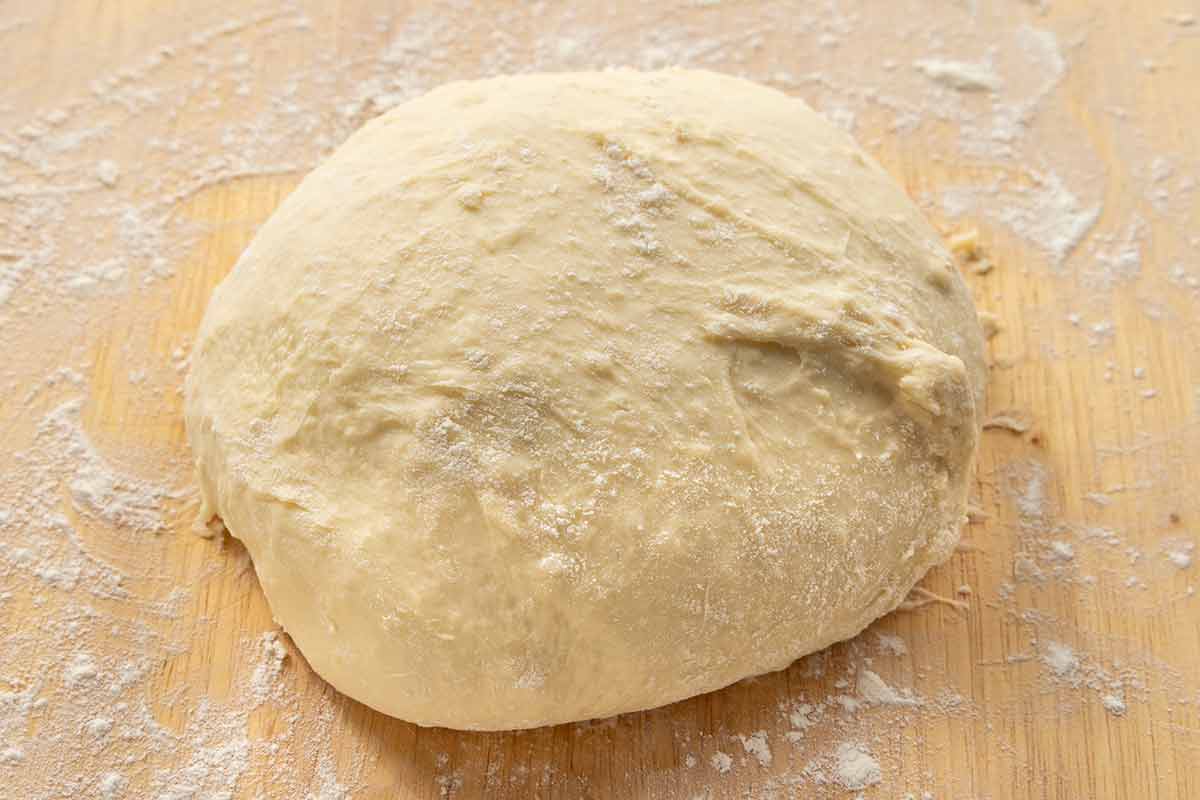
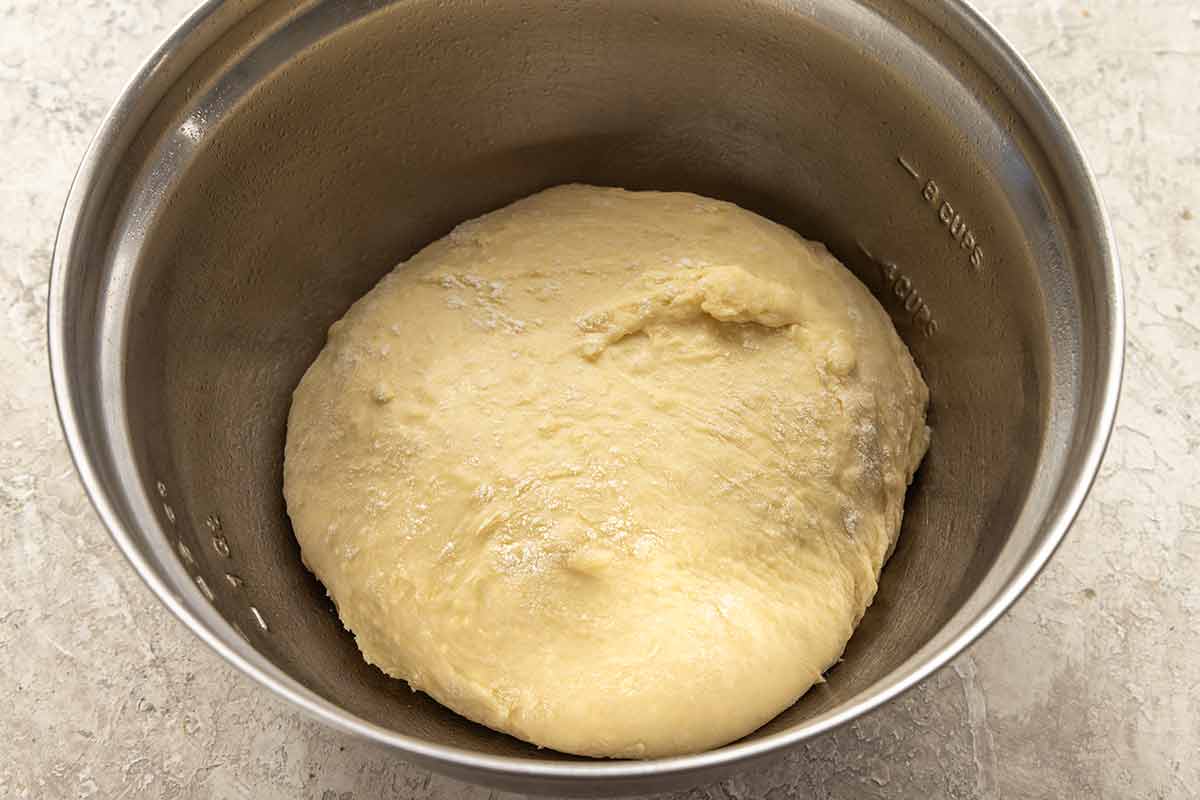
After mixing all of the ingredients together and kneading in the stand mixer for 10 minutes, transfer the dough to a floured surface. Use your hands to briefly finish kneading the dough, shaping it into a ball.
Step 5: Let the Dough Rise
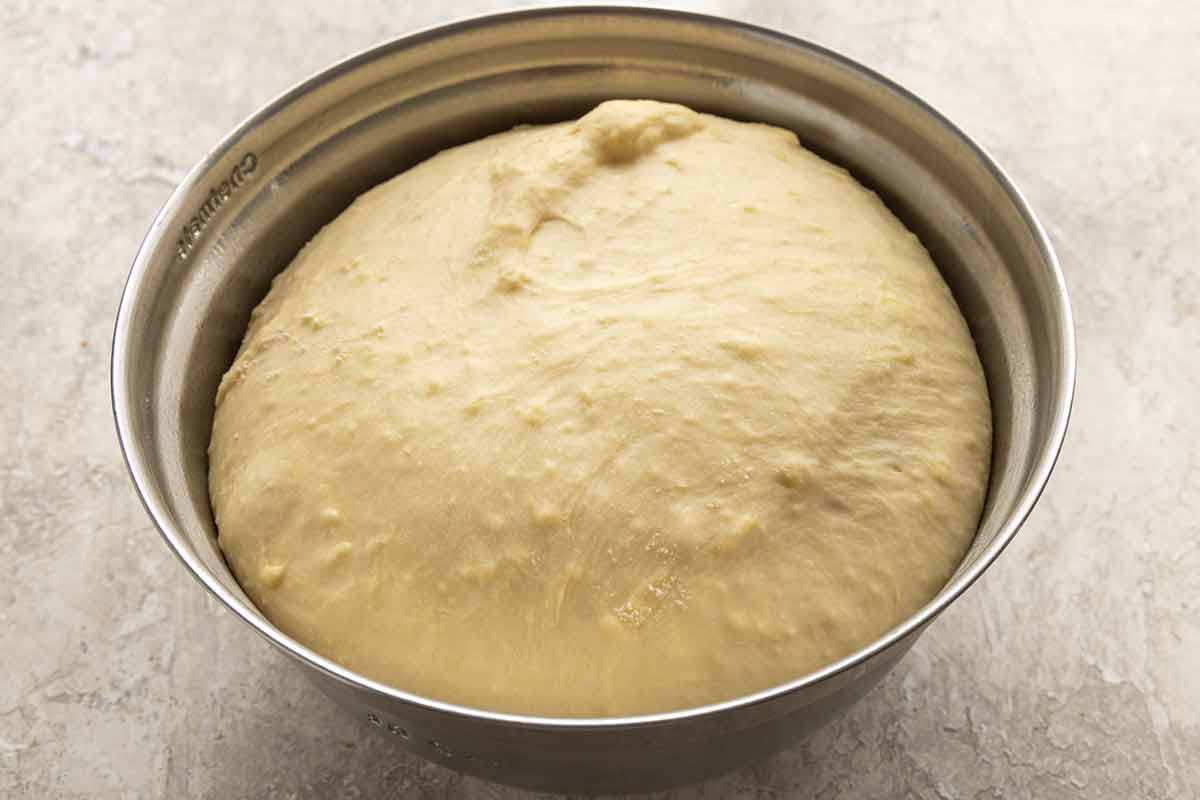
Transfer the dough to a greased bowl. Cover the dough and let it rise in a warm place until doubled in size, about 45 to 60 minutes. During fermentation, the yeast produces carbon dioxide, which expands the dough and creates a light, airy texture.
Pro Tip: Try my oven proofing box or microwave proofing box if your kitchen is cool during the rise steps.
Step 6: Shape the Rolls
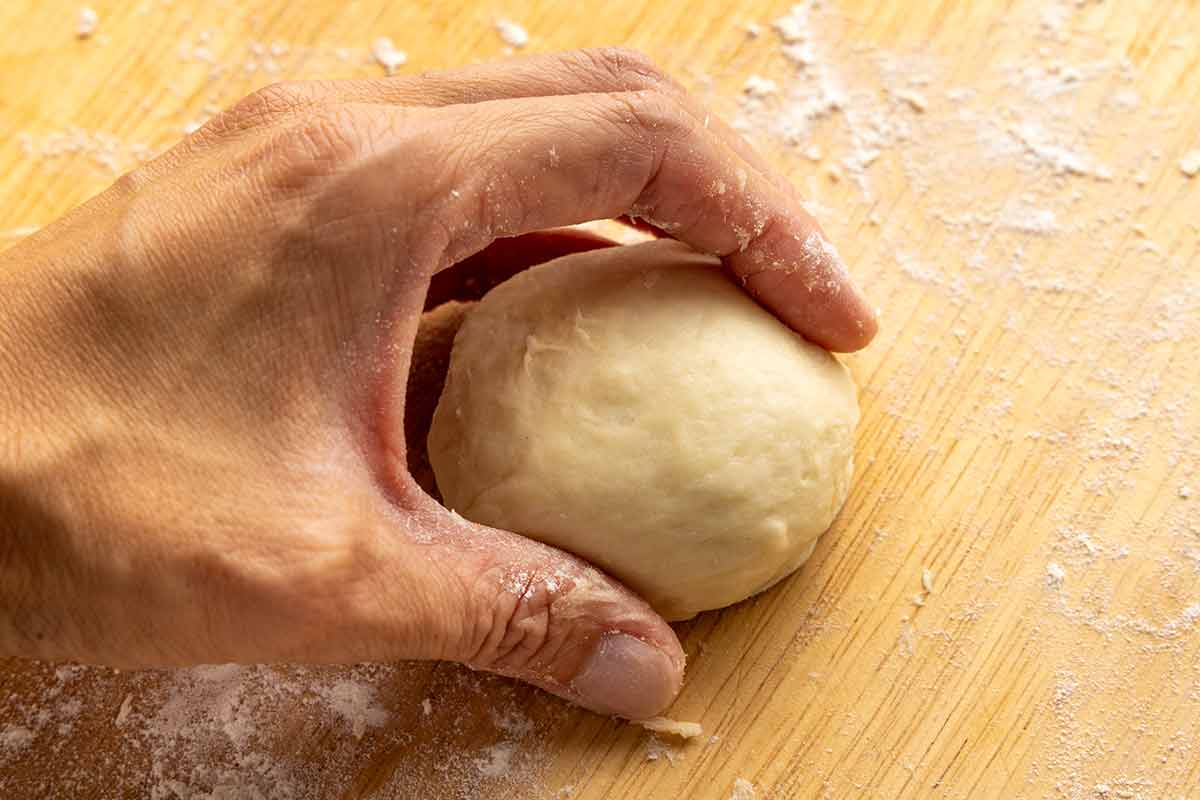
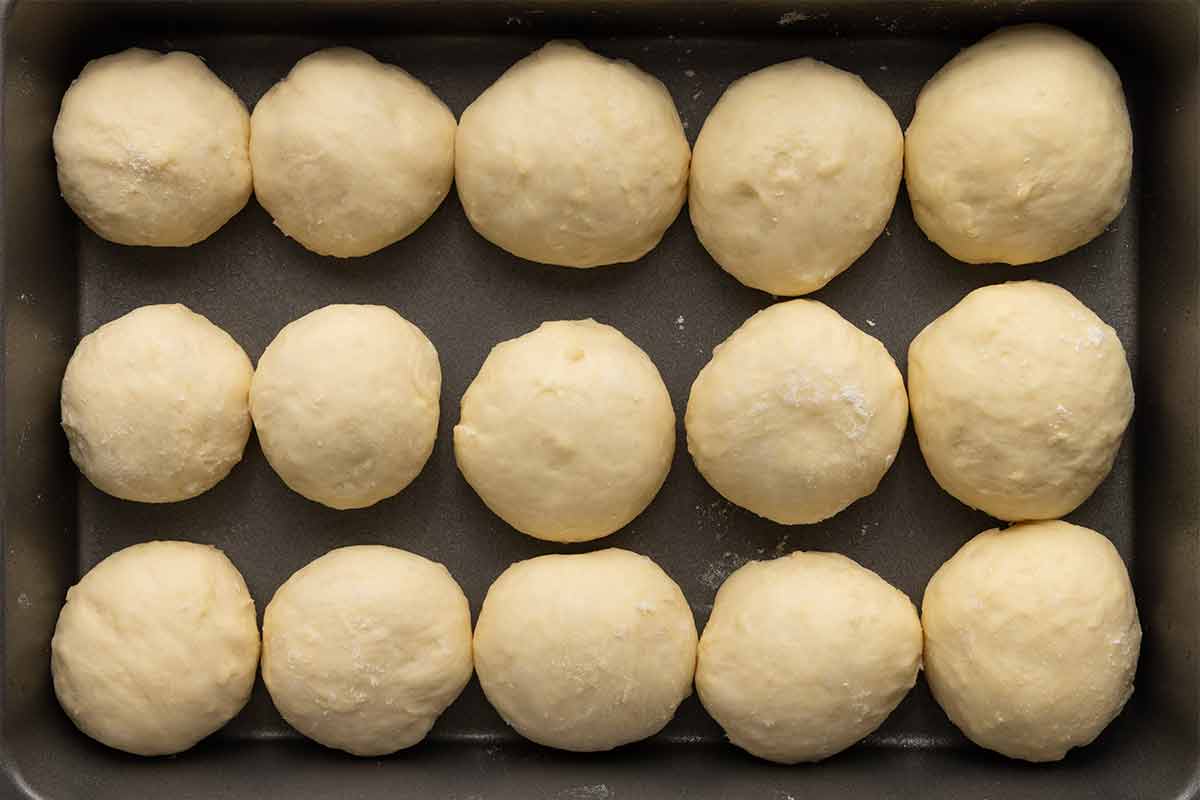
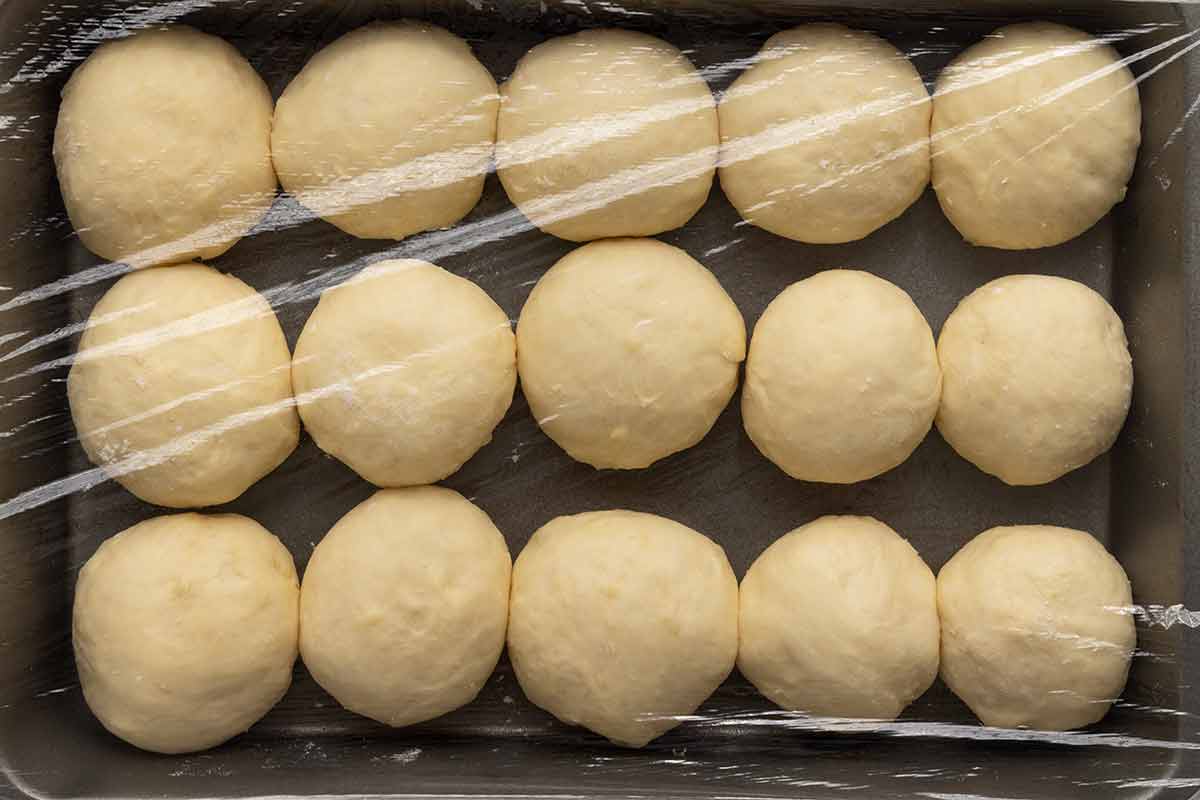
Divide the dough into 15 equal portions, about 56 grams each. Working with one portion at a time, tuck the edges underneath to create a smooth surface. Cup your hand over the dough and gently roll it against the counter in a circular motion until it forms a tight, smooth ball. Arrange the portions evenly in a 9 × 13 inch greased baking dish, spacing them slightly apart to allow room for rising.
Tips for Perfect Texture: Rolling each portion into a smooth ball creates surface tension, which helps the dough hold its shape as it rises and bakes. This gives the rolls their classic rounded tops and tender, pull-apart texture.
Step 7: Let the Rolls Rise Again
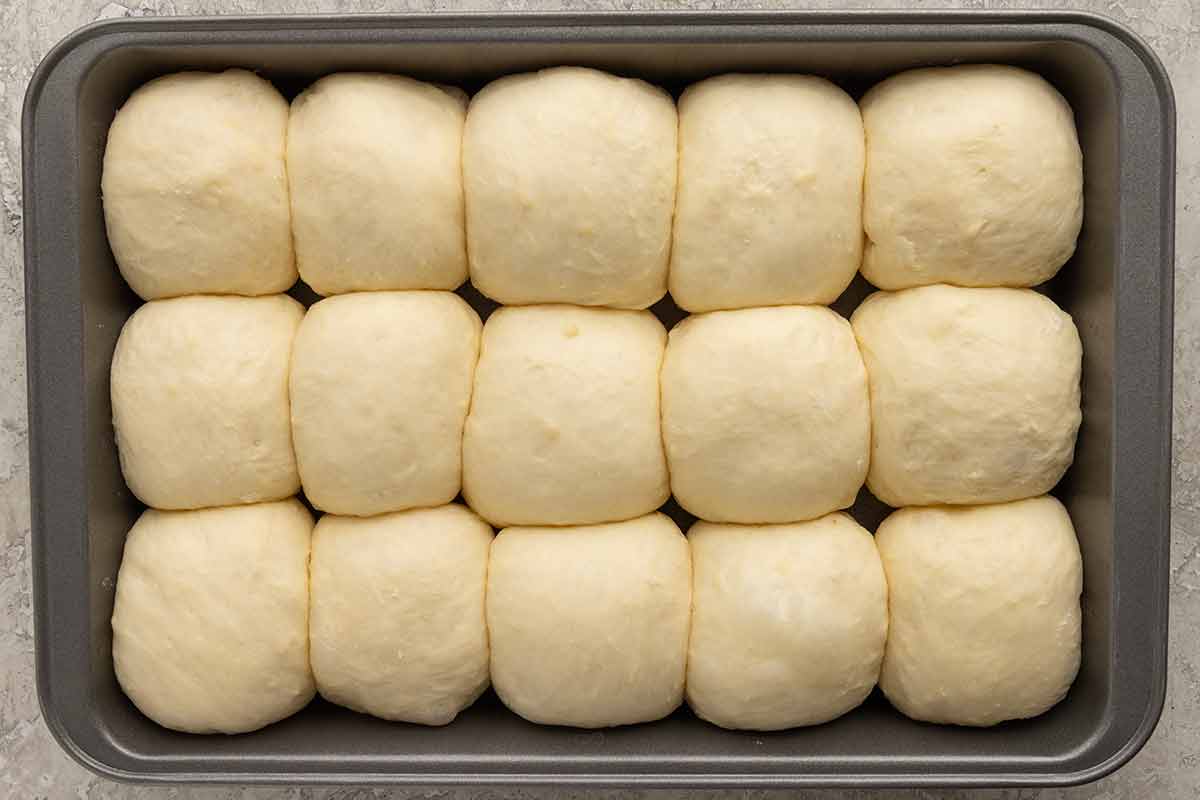
Cover with a towel or plastic wrap and let the shaped rolls rise until puffy and nearly doubled in size, about 45 to 60 minutes. This second rise allows the dough to expand before baking, helping the rolls bake up light rather than dense.
Step 8: Bake the Rolls
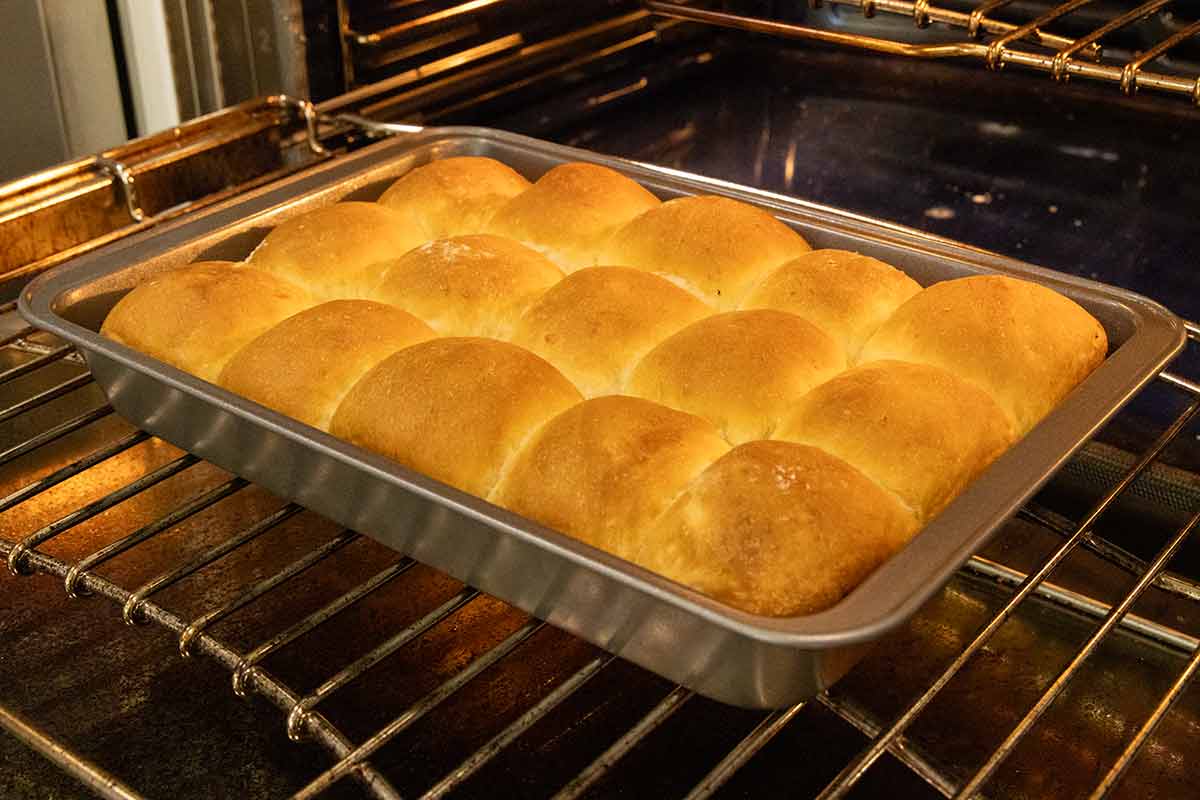
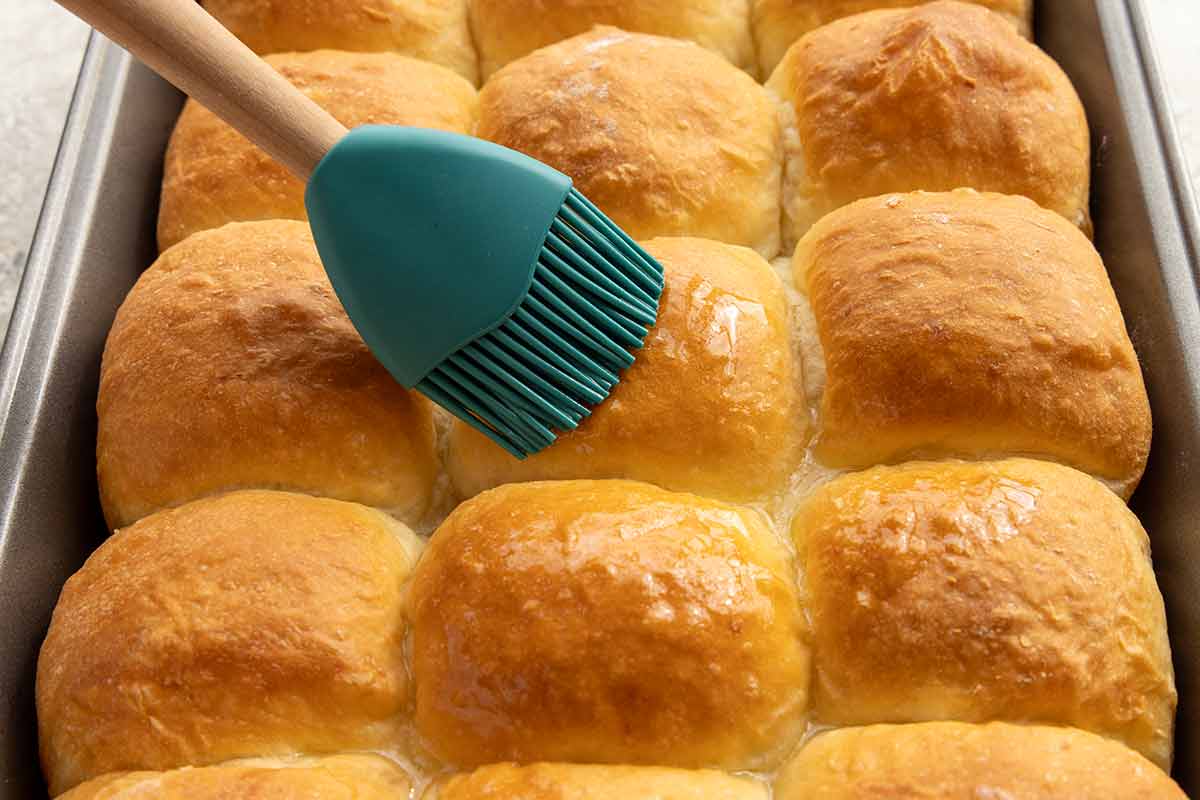
Preheat the oven to 375°F (190°C). Bake until the rolls are golden brown and the centers reach about 190 to 195°F (88 to 91°C), about 23 to 25 minutes. Brush the warm tops with melted butter for extra flavor and a soft, buttery finish. I like to add some flaky sea salt on top too!
My family always asks me to serve the rolls at Thanksgiving with roast turkey, creamed corn, mashed potatoes, homemade gravy, and green bean casserole. It’s perfect with juicy pieces of prime rib for Christmas, too!
Frequently Asked Questions
Mix the ingredients in a large bowl, then knead by hand on a lightly floured surface until the dough becomes smooth and elastic. It may take about 10 to 15 minutes of kneading, depending on your technique. Avoid adding too much extra flour while kneading, as this can make the finished rolls dry.
The secret to fluffy dinner rolls is building a strong gluten structure while keeping the dough moist. I use a cooked flour paste, called tangzhong, which helps the flour absorb and retain more water for soft, tender rolls. Letting the dough rest before adding the butter, kneading until smooth and elastic, and allowing it to rise until puffy also help create a light, airy texture.
Dense rolls can result from adding too much flour, insufficient kneading, underproofing, or inactive yeast. Weigh the flour when possible, keep the dough slightly tacky, and let it rise until doubled rather than relying only on the clock.
You can prepare the dough, shape the rolls, cover the pan tightly with plastic wrap, and refrigerate overnight. The next day, let the rolls rise until puffy before baking. Since refrigeration slows yeast activity, they may need additional time at room temperature to finish proofing. You can also bake the rolls the day before and reheat them in the oven before serving.
Bake the rolls as directed and let them cool completely. Freeze in an airtight container or freezer bag for up to 3 months. To serve, thaw at room temperature, wrap the rolls in aluminum foil, and warm in a 350°F oven for about 10 to 15 minutes, until heated through. Brush with a little melted butter before serving.
Serve This With



If you tried this homemade Dinner Rolls Recipe, please leave a 🌟 star rating and let me know how it went in the 📝 comments below!
Dinner Rolls
Ingredients
Flour Paste
- ½ cup plus 2 tablespoons water
- ¼ cup bread flour
Dough
- ½ cup cold whole milk, plus 2 tablespoons
- 1 large egg
- 2 ½ cups bread flour
- 2 teaspoons instant yeast
- 2 ½ tablespoons granulated sugar
- 1 ¼ teaspoons kosher salt
- 5 tablespoons unsalted butter, softened
For Brushing
- 1 tablespoon unsalted butter, melted
Instructions
- Make the Flour Paste – In a medium microwave-safe bowl, whisk the water and ¼ cup bread flour until smooth. Microwave on high in 20-second intervals, whisking between each, until thickened into a thick, scoopable paste, like pudding, about 60 to 80 seconds.
- Mix the Dough – In the bowl of a stand mixer, add the warm flour paste and milk. Whisk by hand until smooth, 30 seconds. Add the egg and whisk to combine, 20 seconds. Fit the mixer with the dough hook attachment. Add 2 ½ cups bread flour and yeast. Mix on low speed (setting 2) until the flour is hydrated, about 1 to 2 minutes, scraping down the sides of the bowl as needed. Let the dough sit for 15 minutes.
- Add the Sugar, Salt, and Butter – Add the sugar and salt. Mix on medium-low speed (setting 3) for 5 minutes. With the mixer running, gradually add the softened butter, 1 tablespoon at a time. Mix for 5 minutes on medium-low speed, scraping down the hook and sides of the bowl halfway through. The dough will be sticky and elastic.
- Knead the Dough – Lightly dust a work surface with flour. Place the dough on top and knead until a ball forms, about 30 seconds. Don't over-flour the dough; it should still be slightly tacky.
- Let the Dough Rise – Lightly grease a medium bowl with vegetable oil or cooking spray. Transfer the dough to the bowl, placing it seam-side down. Lightly coat the surface with oil or cooking spray to prevent it from drying out. Cover tightly with plastic wrap and let rise in a warm, draft-free area or proofing box until doubled in size, about 45 to 60 minutes. For best results, maintain a temperature of 75 to 78°F (24 to 26°C) to support yeast fermentation.
- Shape the Rolls – Divide the dough into 15 equal portions (about 56g each). Tuck the edges underneath each portion, then roll it against the counter with a cupped hand to form a smooth ball. Use flour as needed to prevent sticking. Arrange in a greased 9 × 13 inch baking pan, 3 rolls per row. Leave about ½-inch of space along the edge.
- Let the Rolls Rise Again – Tightly cover the rolls with plastic wrap and let them to rise in a warm, draft-free area until doubled in size, about 45 to 60 minutes.
- Bake the Rolls – Set the oven rack to the lowest position. Heat the oven to 375°F (190°C). Bake until the surface is golden brown and the centers reach 190 to 195°F (88 to 91°C), about 23 to 25 minutes.
- Cool and Serve – Cool the rolls in the pan for 3 minutes on a wire rack. Carefully transfer the hot rolls to a wire rack. Brush the rolls with 1 tablespoon of melted butter. Let the rolls cool slightly before serving.
Recipe Video

Notes
- Ingredient Measurement: Measure all of the ingredients in grams on a scale for the most consistent dinner roll texture.
- Microwave Proofing Box: Heat 1 cup of water on high power for 2 minutes. Leave the cup inside and immediately add the covered bowl of dough. Close the door and let the rolls double in size.
- Oven Proofing Box: Place a metal pan filled with 3 cups of hot water around 200°F (93°C) on the bottom rack, and the covered dough or rolls on the rack above. Close the oven door and let the dough rise until doubled in size. Make sure the oven is off! See my guide on how to make an oven proofing box.
- Making Dough in Advance: After shaping the rolls into 15 pieces, place them on the baking pan. Tightly cover and refrigerate for up to 12 hours. When ready, allow them to rise in a warm, draft-free area until doubled in size, about 60 to 90 minutes.
- Storing: Store in an airtight container at room temperature for up to 3 days, or freeze for up to 3 months.
- Reheating: Place on a sheet pan, cover in aluminum foil, and heat in a 350°F (175°C) oven until warm, about 15 minutes. Add more time if the rolls are frozen. Alternatively, microwave individual pieces on high power in 10- to 15-second intervals until warmed through.
Nutrition Facts
Percent Daily Values are based on a 2000-calorie diet. All nutritional information is based on estimated third-party calculations. Each recipe and nutritional value will vary depending on the brands you use, measuring methods, and portion sizes per household.


Leave a Comment