
Learn how to create a microwave proofing box that provides a warm, humid environment to help yeast-leavened dough rise. This simple technique makes proofing bread easier and more consistent, even when your kitchen is cold!
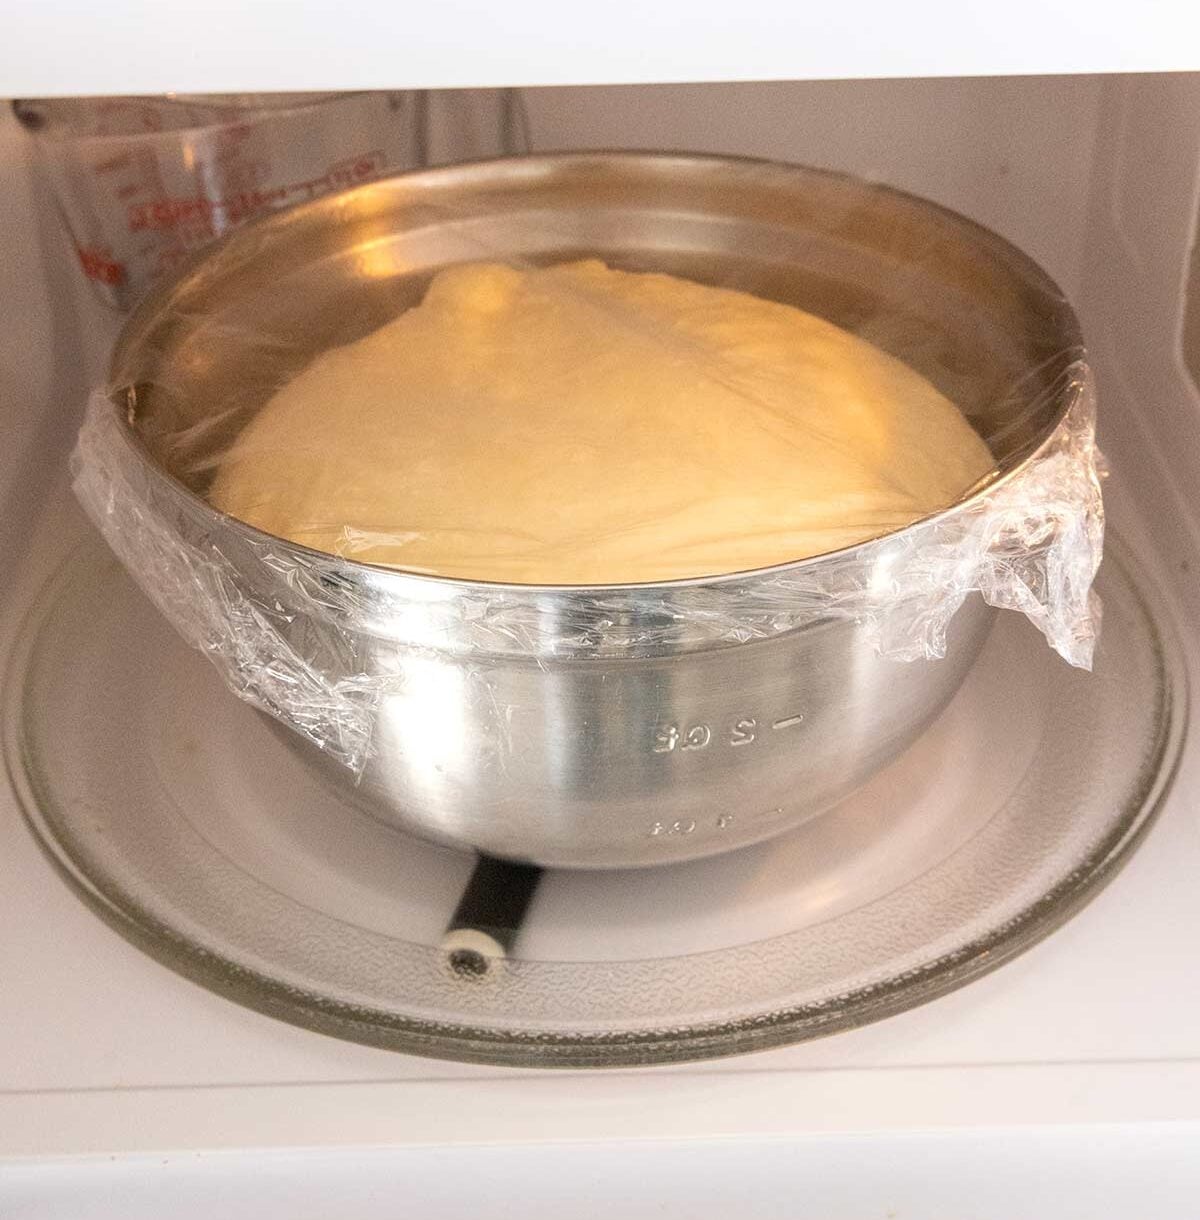
Jessica’s Recipe Science
- Hot water releases steam, increasing humidity inside the microwave and preventing the dough’s surface from drying out.
- Keeping the proofing box between 75 and 95°F (24 to 35°C) encourages yeast fermentation without overheating the dough.
- As the environment loses warmth, replace it with freshly heated water to maintain consistent conditions during longer rises.
Why It Works
A microwave proofing box is a simple way for home bakers to create a warm, humid environment that encourages yeast fermentation and more consistent dough rising. Yeast is a living microorganism that consumes sugars in the flour and releases carbon dioxide gas, which gets trapped in the gluten network and causes the dough to expand. Maintaining a temperature between 75 and 95°F (24 to 35°C) encourages yeast activity without overheating the dough. This technique helps create more predictable proofing conditions, similar to those used by professional bakers.
Microwaving a cup of water creates steam, increasing humidity and helping prevent the dough’s surface from drying out and forming a tough skin. The enclosed space also retains warmth, making it useful when your kitchen is cold or temperatures fluctuate. Home bakers can use this method for making white bread, dinner rolls, cinnamon rolls, sticky buns, and even sourdough when a warmer environment is needed to support fermentation.
Jump To a Section
Tools You’ll Need
- Microwave: The interior space of the microwave determines what size bowl you can use. If you need more room for the dough, try my oven proofing method instead.
- Cup: A heat-safe cup for heating 1 cup (240 ml) of water in the microwave. I recommend a Pyrex measuring cup.
- Water: 1 cup (240 ml) of heated water to create a warm, humid environment inside the microwave.
- Thermometer: A thermometer to monitor the proofing box temperature and keep it between 75 and 95°F (24 to 35°C).
How to Make a Microwave Proofing Box
Step 1: Heat the Water
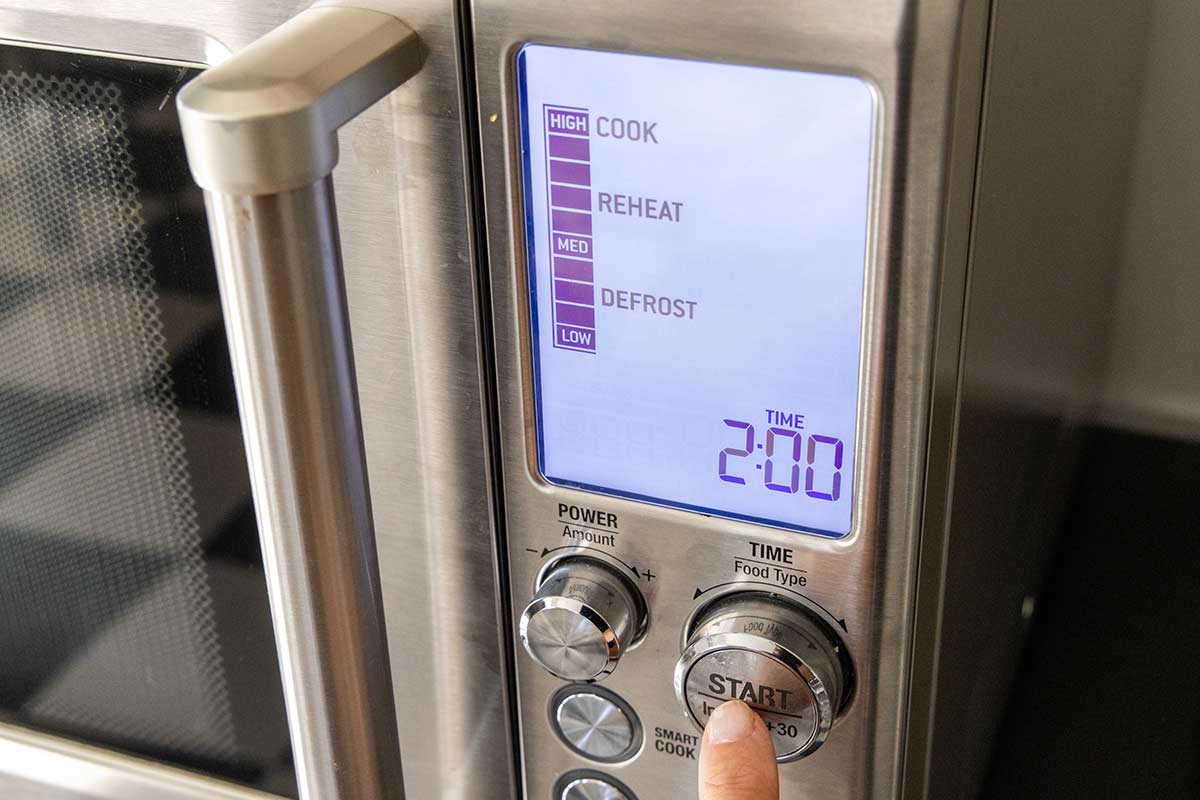
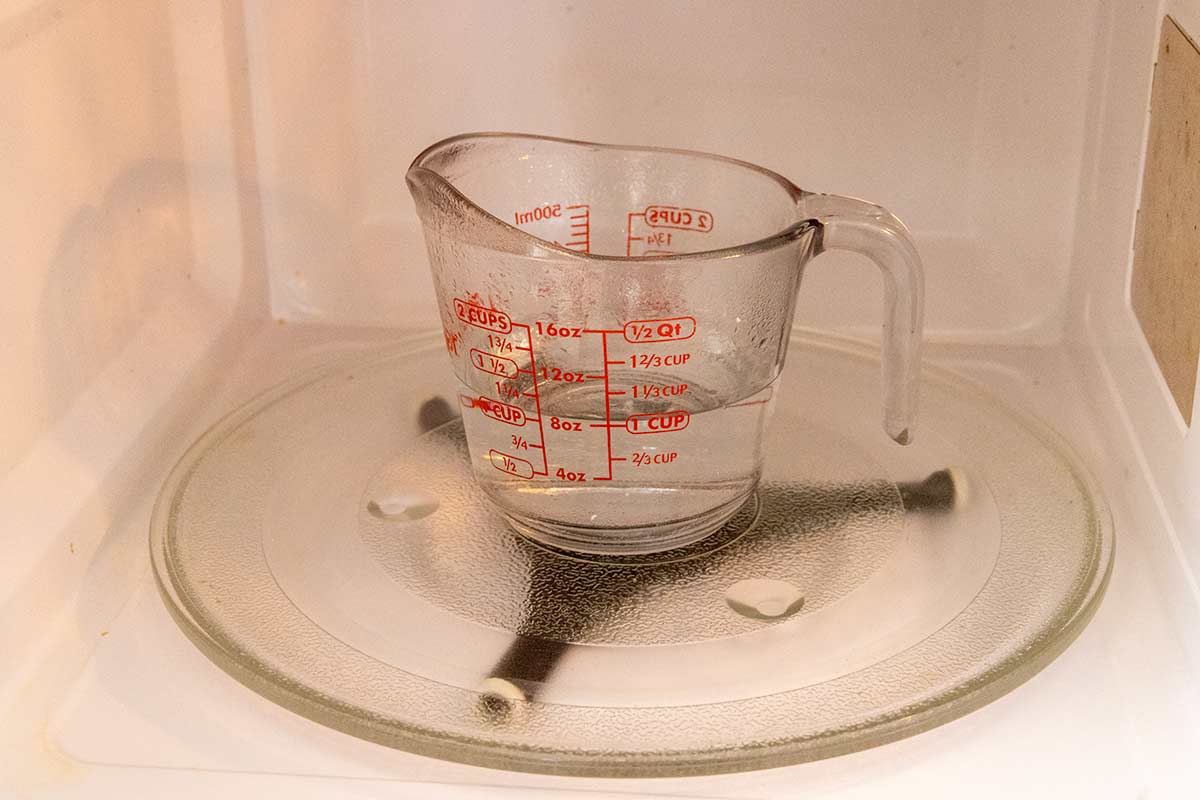
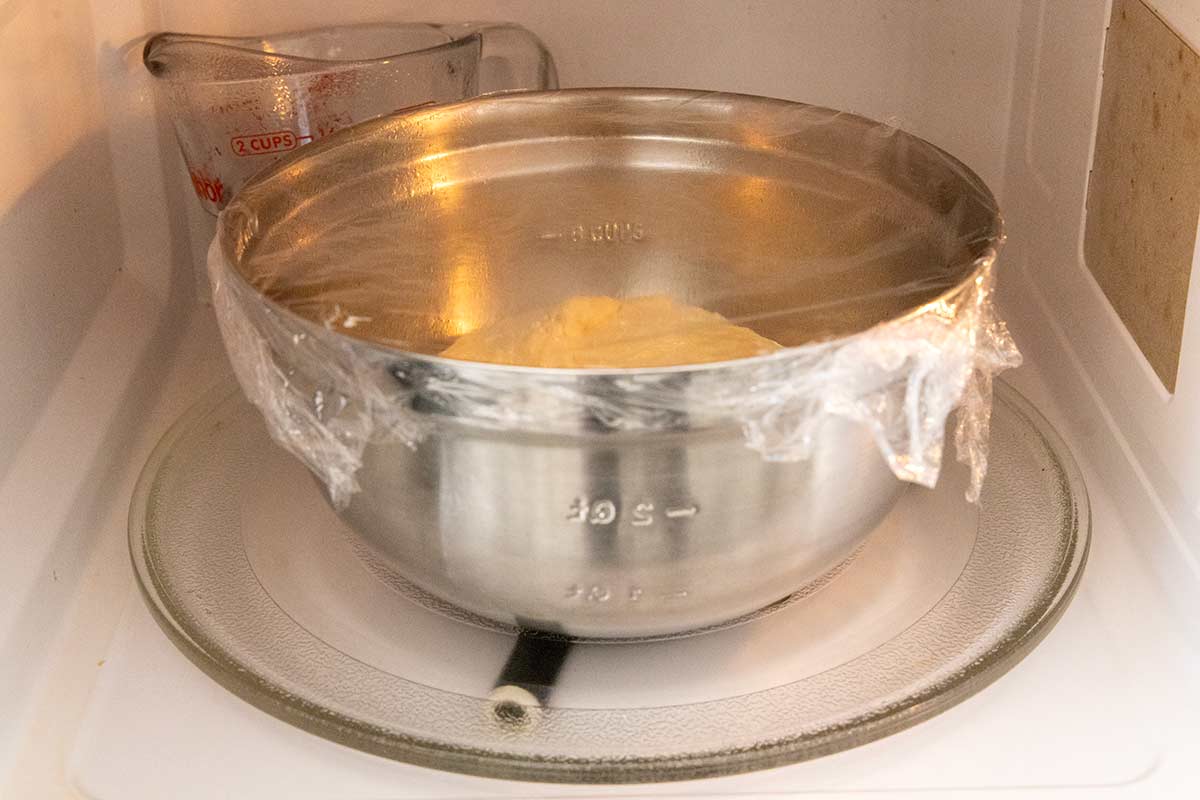
Add 1 cup (240 ml) of water to a microwave-safe cup. Microwave on high power for 2 minutes. Move the cup of hot water to the corner of the microwave to make space for the bowl of dough. Close the door and let the microwave trap the steam and warm up.
Pro Tip: If you need more room for the bowl of dough, transfer the hot water to a smaller cup.
Step 2: Place Dough in the Microwave
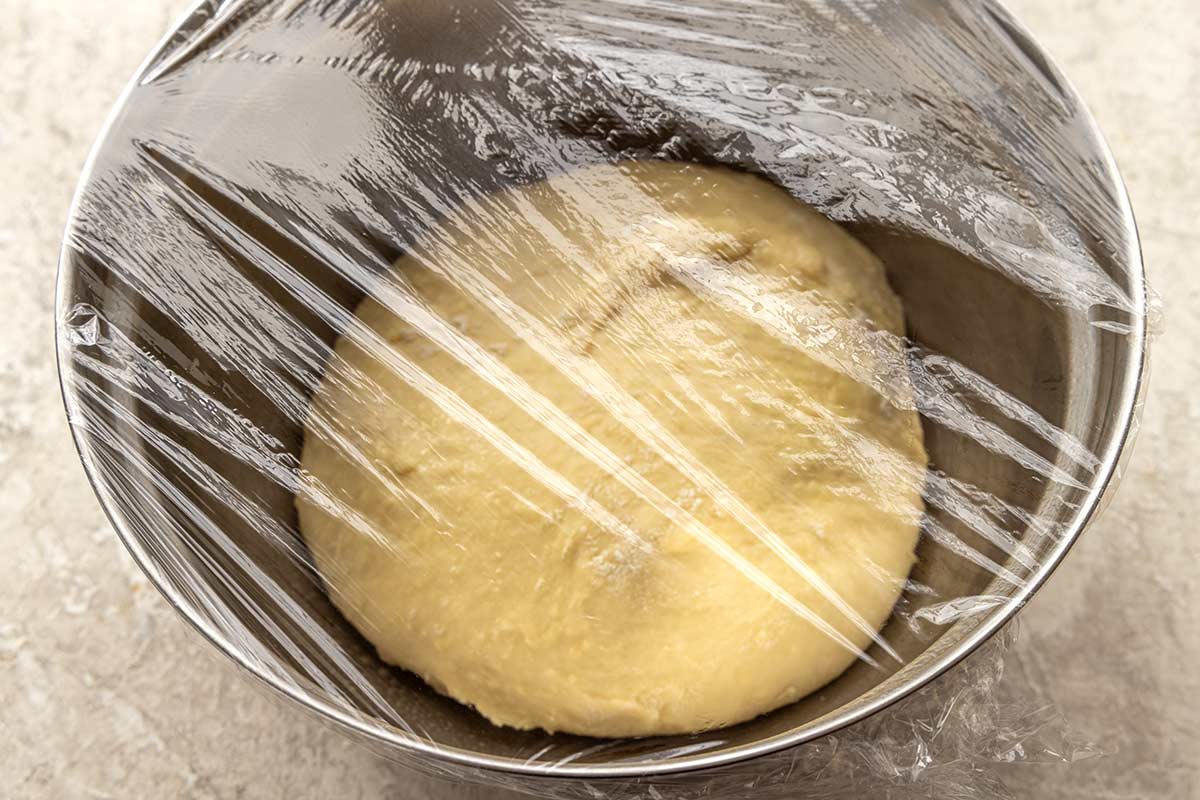
Loosely cover the bowl of bulk dough or shaped dough with a kitchen towel or plastic wrap. I like using plastic wrap so I can easily check whether it has doubled in size. Immediately place the bowl in the microwave and close the door.
Step 3: Ferment the Dough
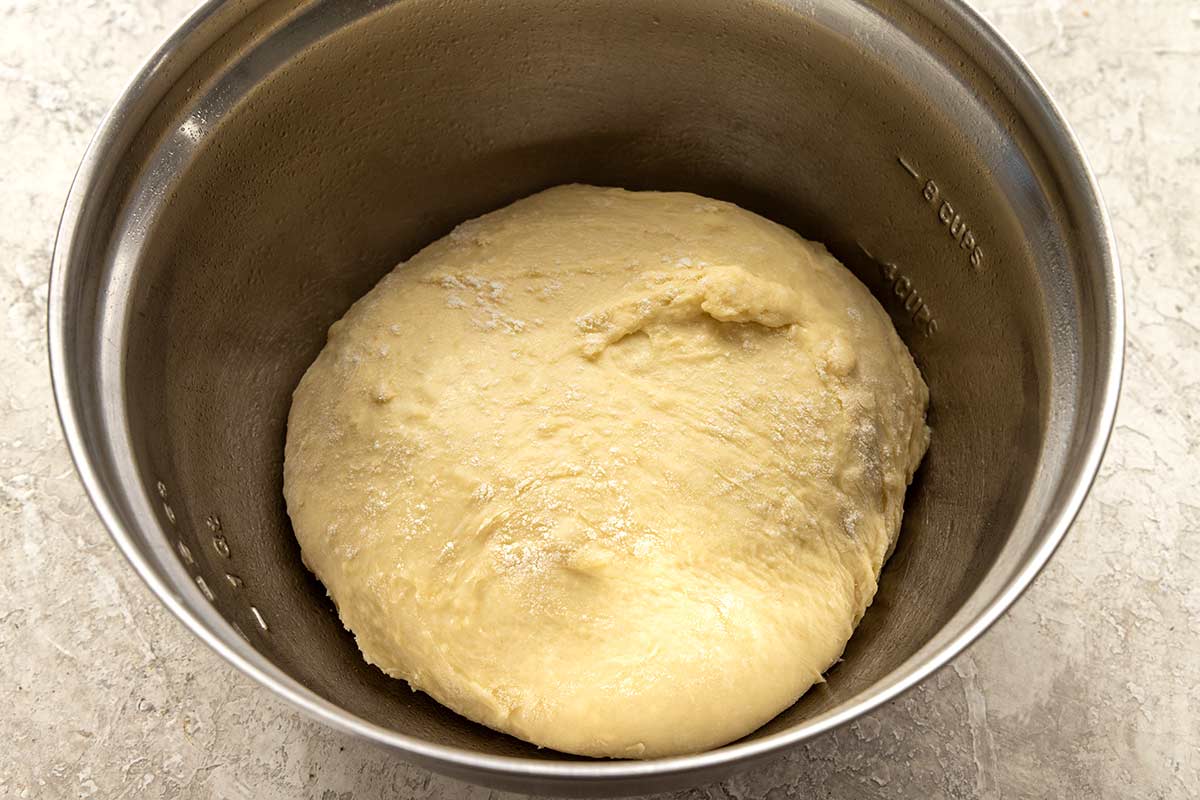
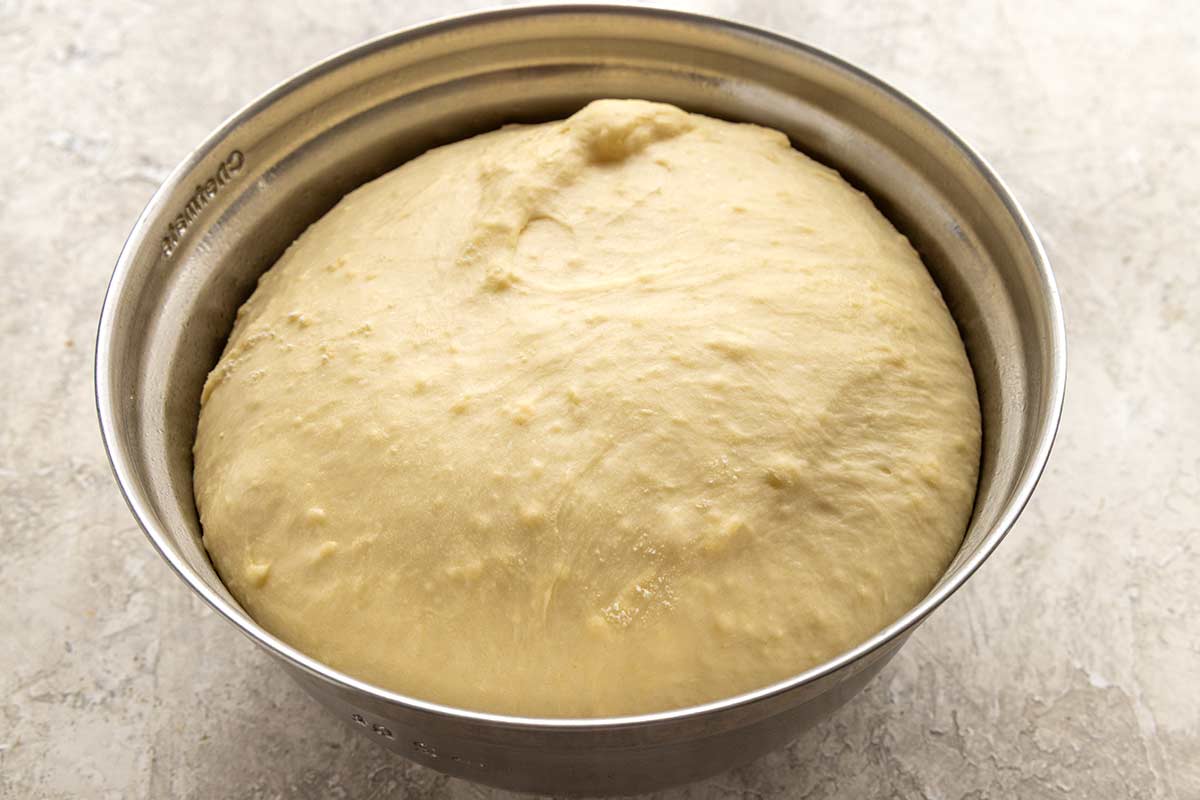
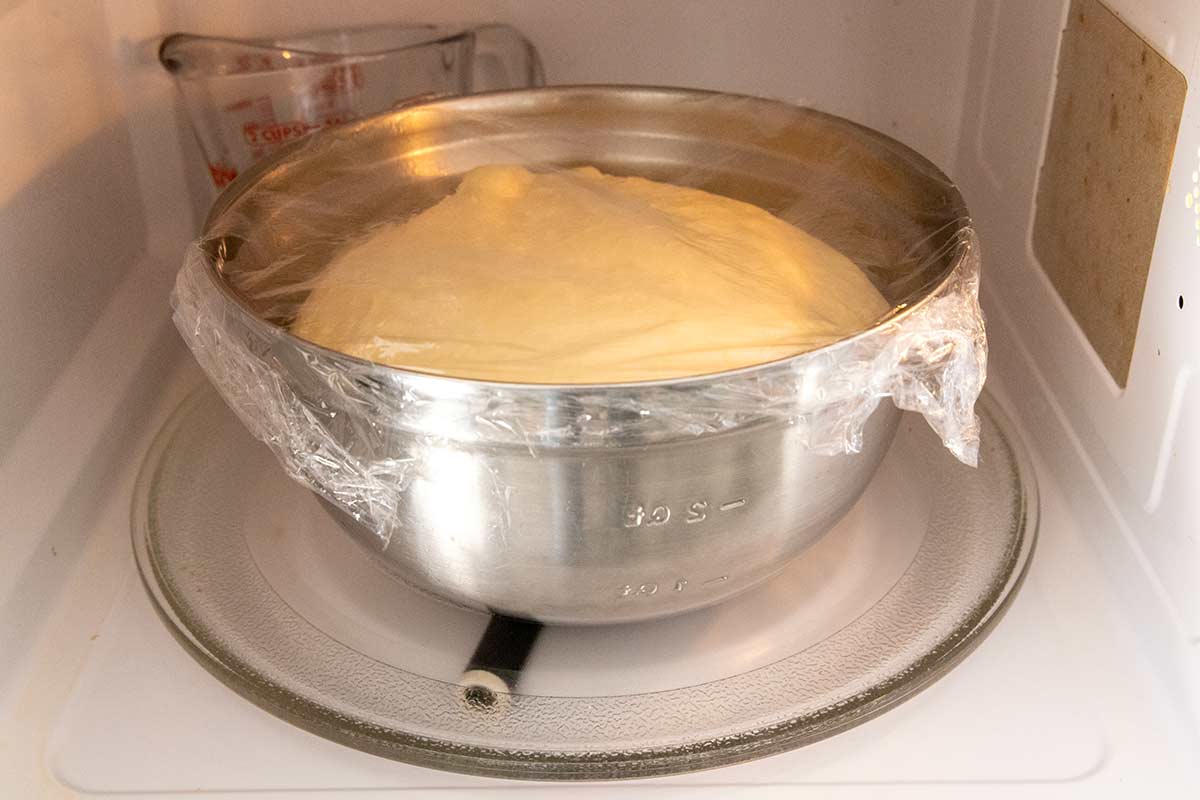
If you need to check the dough, briefly open the microwave door, then close it right away to keep in the warmth and humidity. This setup typically maintains suitable proofing conditions for about 1 hour. For longer rises or a second batch, reheat the water as needed and add more if necessary to restore a warm, humid environment. Once the dough has doubled in size, it’s ready to bake!
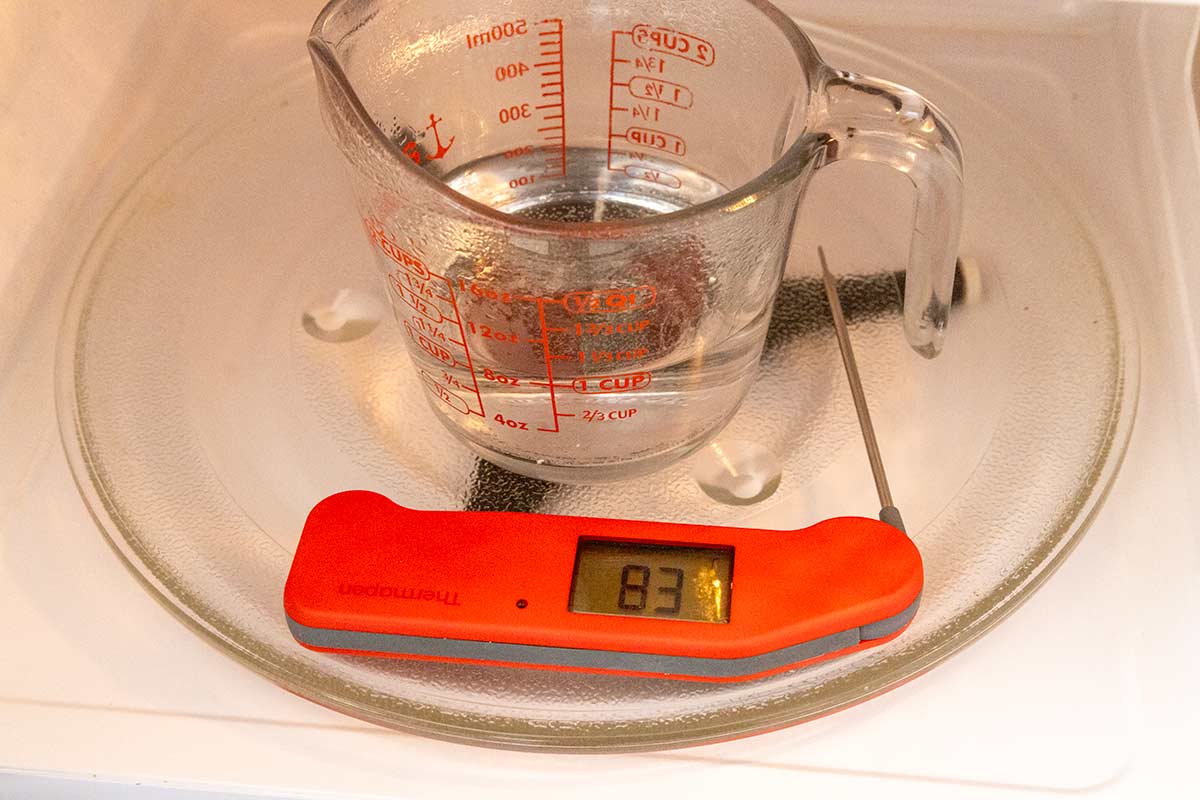
Expert Tip: Use a thermometer in the microwave proofing box to make sure it’s not too cold or too hot. The temperature should be between 75 and 95°F (24 to 35°C).
Frequently Asked Questions
Cover the dough or baking pan with plastic wrap or a clean kitchen towel before placing it in the microwave proofing box. This helps prevent the surface from drying out while the hot water creates a warm, humid environment for rising.
You can use your oven to create a warm, humid environment for proofing bread. Place a rack in the center of the oven for the covered dough and another on the bottom for a baking dish. Heat 3 cups of water to approximately 200°F (93°C), carefully pour it into the baking dish, and close the oven door to trap the steam. Add the covered dough and let it rise until doubled in size. See my full tutorial for making an oven proofing box for step-by-step instructions.
Most dough takes about 45 minutes to 1 hour to rise in a microwave proofing box, although the timing depends on the recipe, yeast activity, and dough temperature. Always use the dough’s size and appearance as your guide rather than relying solely on time. For longer rises, add freshly heated water as needed to keep the environment warm and humid.
Yeast Breads to Proof


If you found this tutorial helpful for making a Microwave Proofing Box, please let me know how it went in the 📝 comments below!






Leave a Comment