
Best gingerbread cookie recipe with lightly crisp edges and soft centers. The spiced molasses dough is easy to roll and cut out into festive shapes, perfect for decorating with icing!

Table of Contents
- Spice things up
- Equipment selection
- Soften butter lightens the dough
- Two sweeteners are better than one
- Make the dough
- Rest and chill the dough
- Rolling out the cookies
- Cutting out shapes
- Bake while the dough is still chilled
- Cookie size affects bake time
- It’s fun to decorate gingerbread
- Checking for doneness
- Gingerbread Cookies Recipe
Rolling out gingerbread cookie dough always brings excitement and cheer to my kids. The mixture contains molasses and warm spices, and the recipe yields cut-outs that hold their characteristic shape after baking. The taste and tender texture are so good. No more bland and dry cookies!
The key is chilling and resting the dough so that it’s easier to work with. However, to achieve the best texture, it’s essential to know when to pull the tray from the oven. Don’t worry. I’ll tell you, as I have plenty of helpful tips to share. You can also prepare the dough or cookies in advance, making it convenient when you’re ready to decorate.
Spice things up

Most store-bought gingerbread cookies lack warm, bold spices. They tend to be dominant in just ginger. I use a combination of concentrated dried seasonings mixed with all-purpose flour to improve the flavor.
A generous amount of ground ginger, cinnamon, cloves, nutmeg, and allspice make your taste buds tingle and release a lovely aroma when baked. Adding in a small amount of baking powder creates tender and soft gingerbread cookies with lightly crisp edges.
Equipment selection
I use a stand mixer fitted with a paddle attachment to make the cookie dough. It can cream the butter and sugar together but not add too much air to make the surface too puffy after baking.
The mixer efficiently incorporates the rich molasses and eggs and dry ingredients briefly at the very end. Make sure not to overmix, or the cookie texture will become tough.
Soften butter lightens the dough


Butter at just below room temperature, about 65 to 67ºF (18 to 19ºC), works best. The softened fat better traps air pockets, so the cookies will be light instead of dense. If the butter is too cold, it won’t be easy to cream. And if it’s too warm, the needle-like beta prime fat crystals won’t be able to hold their shape to trap air.
It takes about 30 minutes to soften butter when left on the counter, or some microwaves have a particular setting for this. I find that cutting it into thin slices speeds up the process. Give the butter a poke, you should be able to leave an indent, but it shouldn’t stick to your finger.
Two sweeteners are better than one


Molasses is a thick dark syrup that gives gingerbread its distinctive color. It’s sweet but has a slightly bitter taste. I use light brown sugar to enhance the sweetness and help the texture stay soft and chewy. This type of sugar is a humectant that attracts and holds onto surrounding moisture, trapping it inside the cookie, especially during storage.
Make the dough


You’ll be surprised to find some lemon juice in the recipe. The acid is a natural flavor enhancer, balancing the sweetness and intensifying the taste of the spices.
Rest and chill the dough

After mixing, portion the dough into 3 equal-sized discs, flattened to about 1-inch thick. Tightly cover each in plastic wrap and chill in the refrigerator for at least 3 hours. The sheer force from the paddle increases gluten formation, so it needs time to relax. Otherwise, the cookies will have a tough bite.
Chilling firms up the butter, so it’s easier to roll and cut. This process works well if you want to make part of the recipe several days before baking.
Rolling out the cookies

Due to the high level of sticky sugars, make sure you use flour to dust the working surface. Whenever the dough sticks to the rolling pin, sprinkle a small amount of flour on top of it.
You can always use a brush to remove any excess flour on the surface. For soft and chewy cookies, roll them out to ¼-inch thick. Any thinner, and the texture will dry and become crispy.
Cutting out shapes

If needed, dip the cutters in some flour, then press them into the dough. I find it most comfortable to lift the shape when it’s still in the blade, then transfer it directly to the baking sheet. A small offset spatula works well to release and lift from the board or counter.
Our family likes to make traditional gingerbread men and women, snowflakes, and hearts, but there are many options! You can also build walls for tiny gingerbread houses, not larger ones. These cookies are also great to add to a cookie gift box because they’re sturdy enough for packing and shipping.
Bake while the dough is still chilled

Preheat the oven to 350 degrees, so it’s really to bake the cookies immediately after cutting. Bake the shapes while cool to prevent the cookies from spreading. I like to work with one piece of dough at a time (you will have three). Roll and cut quickly, then bake right away.
If needed, place them in the refrigerator until you’re ready to bake. I do not refrigerate the pan I plan to use for baking. Use a separate pan, as it will impact the cooking time.
Cookie size affects bake time
Cookie cutters come in various shapes and sizes, and I tested the most common ones, 2 ½ and 3 ½ inches, to see the impact on bake time. As expected, smaller cookies need about 1 to 2 minutes less time. The smaller surface area and less moisture released into the oven make the top and sides cook faster.
If you have different-sized cookies baking on the same pan, keep an eye on the change of color on the bottoms. It should be very lightly golden brown, nearly the same color as the surface. Transfer the smaller cookies to a wire rack to cool, and let the larger pieces bake longer as needed.
It’s fun to decorate gingerbread
- Royal icing – dries matte and stiff, great for gingerbread houses.
- Cookie frosting – light and fluffy with a pipeable texture, adding dimension to your gingerbread man or woman.
- Cookie icing – for a glossy and smooth surface.
- Cream cheese frosting – for a little bit of tangy flavor.
- Sprinkles – apply while the frosting or icing is still wet.

Jessica’s Recipe Science
Checking for doneness
An extra minute in the oven can quickly change the texture from soft to crispy. The cookies should be set and lifted off the parchment paper with a spatula. I find that the best way to check for doneness is to look at the cookie’s bottom. If similar to the surface, it’s going to be soft. If it begins to get golden brown and you can see the contrast, it will be crunchy or hard if baked too long.
Gingerbread Cookies

Ingredients
- 3 ½ cups all-purpose flour, plus more for dusting
- 1 tablespoon ground cinnamon
- 2 teaspoons ground ginger
- 1 teaspoon baking powder
- ½ teaspoon ground nutmeg
- ½ teaspoon ground cloves
- ¼ teaspoon ground allspice
- ½ teaspoon kosher salt
- 10 tablespoons unsalted butter, softened to 65 to 67ºF (18 to 19ºC)
- ¾ cups light brown sugar, packed
- ⅔ cups molasses
- 1 large egg, room temperature
- 1 tablespoon lemon juice
- 1 teaspoon vanilla extract
Instructions
- Sift the Dry Ingredients – In a medium bowl, sift in the flour, cinnamon, ginger, baking powder, nutmeg, and cloves. Add the salt and whisk to combine. Set aside.
- Cream the Butter – In a stand mixer fitted with the paddle attachment, add the softened butter and brown sugar. Mix on low speed (setting 2) for 30 seconds. Scrape down the sides of the bowl with a spatula. Mix on medium-low speed (setting 4) until light and fluffy, about 2 minutes. Scrape down the bowl again.
- Mix the Wet Ingredients – Add the molasses. Mix on medium-low speed (setting 4) until combined, 20 seconds. Scrape down the sides of the bowl and paddle.Add the egg, lemon juice, and vanilla extract. Mix on low speed (setting 2) for 5 seconds, then increase to medium-low speed (setting 4) for 10 seconds. Scrape down the sides of the bowl.
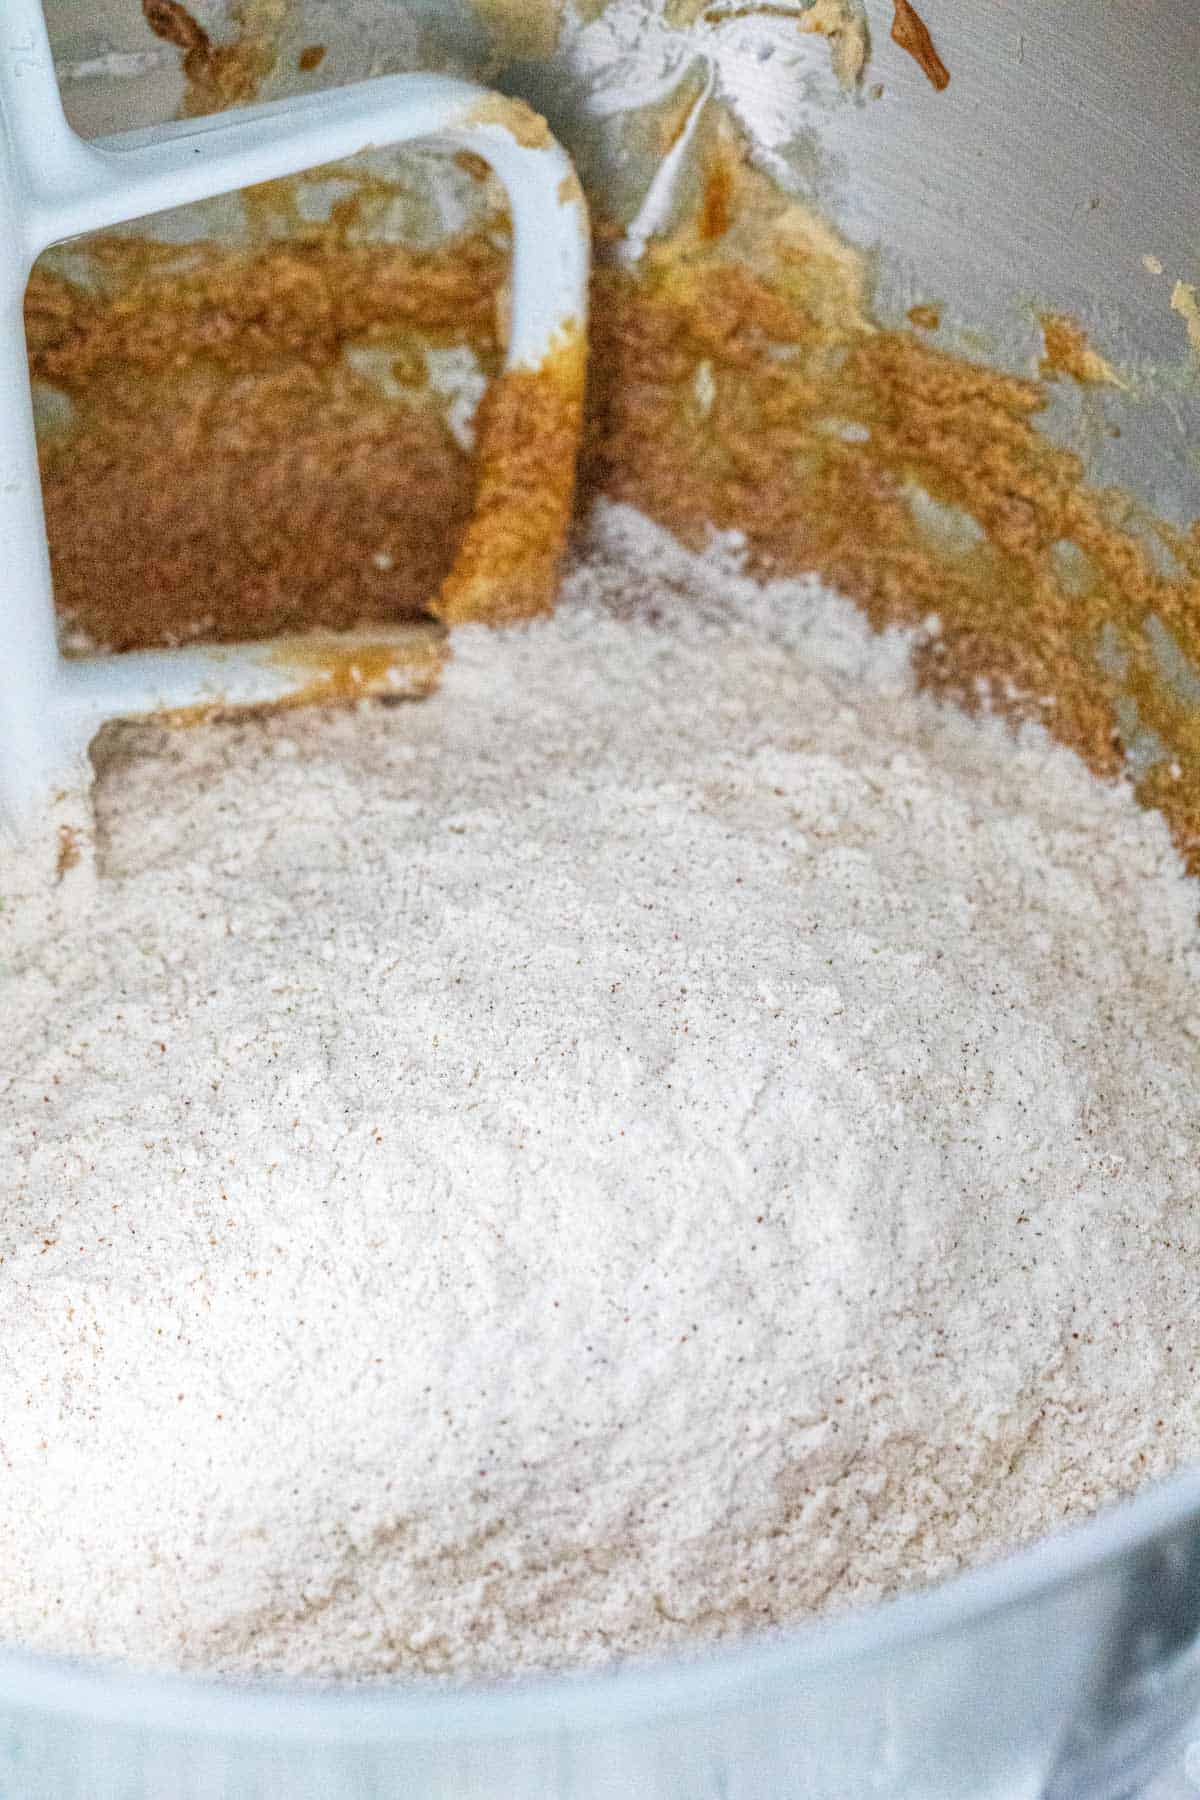
- Add the Dry Ingredients – Add the dry mixture to the bowl in three additions. Pulse the first third on and off about 8 times, then increase to low speed (setting 2) for 5 seconds. Repeat the process with the remaining additions, pulsing and mixing at low speed. On the last addition, mix until just combined, do not overmix. Scrape down the sides of the bowl as needed.
- Refrigerate the Dough – Divide the dough into 3 equal-sized round discs, flattened to 1" thick. Tightly wrap each piece in plastic wrap and place them inside a resealable plastic bag. Refrigerate for 3 hours or up to 7 days.
- Preheat the Oven – Set the oven rack to the middle position and the heat to 350ºF (177ºC). Line three sheet pans with parchment paper.
- Roll Out the Dough – Work with one piece of dough at a time to keep it cool. Allow the dough to sit on the counter for 3 to 5 minutes to make it easier to roll. Lightly dust the work surface, the top of the dough, and the rolling pin with flour, using more as needed. Roll out, rotate, and dust until ¼" thick.
- Cut Out Shapes – Immediately use cookie cutters to cut out the desired shapes. Cut them as close together as possible. It helps to lift the dough out of the cutter or use a small offset spatula to lift it off the work surface. Transfer the pieces to the parchment paper lined sheet pans, about 1" apart. Any extra dough scraps can be rerolled out 1 more time. If needed, chill before rolling.
- Bake – Bake the cookies while still cool, one tray at a time. If not baking immediately after cutting, keep them chilled in the refrigerator. Bake for 5 minutes, rotate, and bake for an additional 3 to 4 minutes, or until the surface is dry and the bottoms are lightly golden brown. For softer cookies, bake for a shorter duration. For more crisp and crunchy cookies, bake longer, the bottoms will be more browned. For smaller 2 to 2 ½" cookies, bake for 7 to 8 minutes.
- Let Them Cool – Let the cookies sit on the baking sheet for 5 minutes. Then transfer to a wire rack to cool completely before decorating, about 15 to 20 minutes.
- Repeat the Process – Roll out the remaining pieces of dough and repeat the cutting and baking process. If reusing the parchment paper lined sheet pans, make sure the pan is cooled down before using.
Notes
- Storing: Store baked cookies in an airtight container for up to 7 days.
- Make-Ahead: Store cookie dough in a plastic resealable bag in the refrigerator for up to 7 days.
Nutrition Facts
Percent Daily Values are based on a 2000-calorie diet. All nutritional information is based on estimated third-party calculations. Each recipe and nutritional value will vary depending on the brands you use, measuring methods, and portion sizes per household.


John says
I used this recipe for tiny gingerbread men that I made with a 1.5″ spring cookie cutter, then dipped them in a simple glaze made with powdered sugar. The were fantastic!
Jessica Gavin says
Thank you for your feedback John! I’ll have to try the cookies with a glaze.
Christine says
Hi! These look great going to make this with my boys! One question what if I don’t have a stand mixer, can I use a hand held?
Jessica Gavin says
Yes, you can use a handheld mixer!
Aimee says
What would the baking time be if making traditional round cookies without a cookie cutter? Will the scoop make it tough?
Jessica Gavin says
Hi Aimee- I haven’t tried baking the cookie dough as a round ball. I might suggest that you roll it then flatten it with a bottom of a floured cup or measuring cup so that it’s an even 1/4-inch thickness. I think if the dough isn’t even thickness, it will cook unevenly and possibly get too hard on the bottoms.