
Looking for a festive treat? This soft sugar cookie recipe has sweet buttercream frosting and colorful sprinkles. They’re a holiday favorite!
If you like this recipe, check out my other fun favorites: M&M cookies and thumbprint cookies.

Jessica’s Recipe Science
- Cornstarch and cake flour work together to limit gluten development, creating a soft, tender cookie with a light, cake-like texture instead of a crisp bite.
- Using both baking powder and baking soda gives the cookies two sources of leavening, creating tiny air pockets that keep them thick, fluffy, and soft.
- Properly creaming the butter, margarine, and powdered sugar incorporates air into the dough, helping the cookies bake up light and pillowy rather than dense.
Featured Comment 5
“These sugar cookies are so good! I followed what you said and read the little tips you give and they turned out perfect! I’ve eaten 3 already!”—Baeli
Why It Works
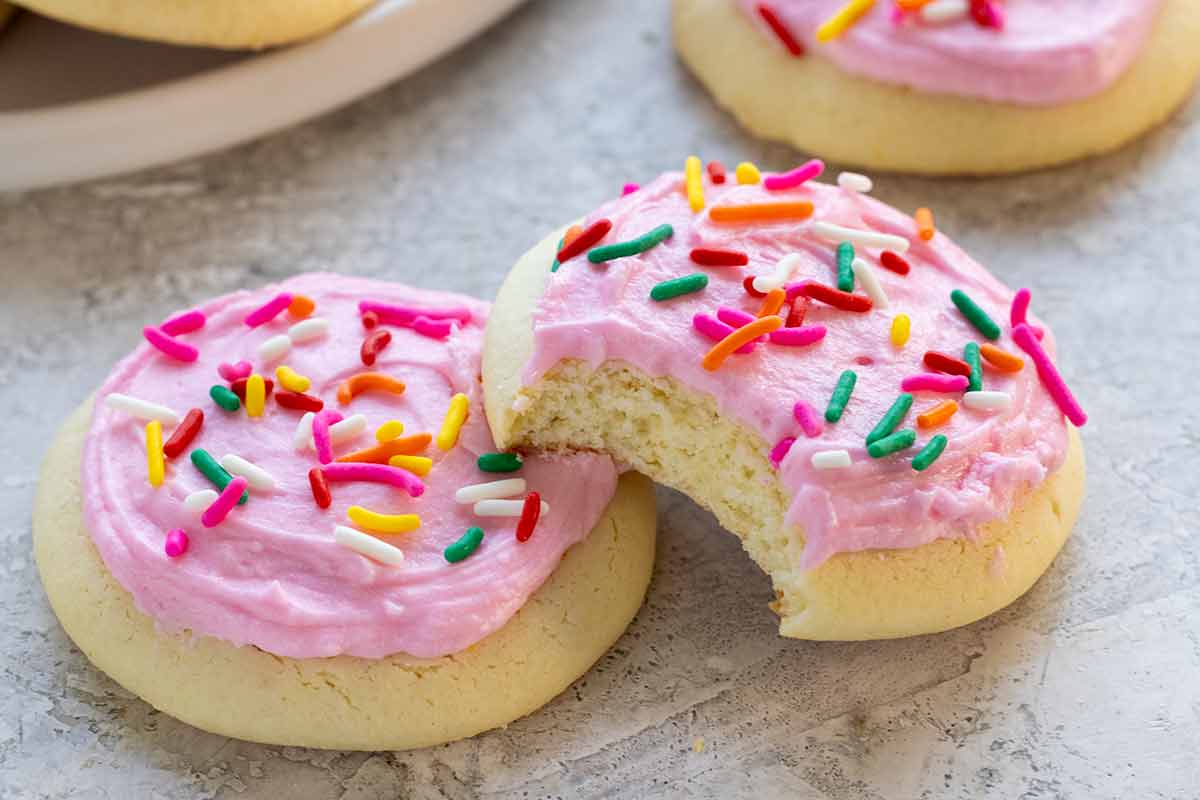
If you love those soft, bakery-style Lofthouse cookies, this homemade version is even better. I made a few strategic ingredient swaps to my classic sugar cookie recipe to create cookies that stay incredibly soft and full of buttery vanilla flavor. The result is a tender, cake-like cookie with just the right amount of chew that practically melts in your mouth. The cookies are lightly sweetened, letting the rich buttercream frosting shine without making the treat overly sugary.
The secret is in the ingredient selection and baking technique. I’ve developed a pillowy texture and fluffy frosting that tastes fresher, richer, and far more flavorful than anything you’d find in a package at the store. These cookies are the perfect canvas for colorful buttercream swirls and festive decorations, making them a beautiful addition to a holiday tray, birthday party, or any special celebration.
Jump To a Section
Ingredients You’ll Need

- Flour: The type of flour is critical to the cookie’s structure. I use cake flour similar to Lofthouse. It’s low in protein (6 to 8%), which means less gluten formation. It’s milled extremely fine and typically bleached to absorb moisture and fat better, keeping the cookie tender over time. As the name implies, you’ll get a cake-like experience.
- Cornstarch: Cornstarch is a very finely ground corn endosperm made of starch and protein. It also helps with thickening and reduces spread. Cornstarch interferes with gluten bonding, making the cookies softer and more tender instead of dense and crisp.
- Leavening Agents: Baking soda and baking powder give the dough two chances to form gas bubbles that create hollow pockets in the cookie during baking. Don’t add too much, or it can overproduce bubbles and cause the cookies to spread.
- Salt: Enhances the flavor of the cookie ingredients so the base doesn’t taste bland.
- Butter: Butter has a subtly sweet flavor that is tastier than margarine alone. Plus, the milk solids lightly brown for more depth. It also contains moisture, whereas margarine does not. It contains 13 to 18% water, which creates steam during baking that softens the texture.
- Margarine: Margarine is made from hydrogenated vegetable oil, typically palm oil, with a high melting point. This solid fat helps lift and creates a domed shape while limiting spread.
- Powdered Sugar: I use powdered sugar because its tiny granules dissolve quickly on the tongue. However, you’ll have less lingering sweetness and no crisp edges compared to granulated sugar. Instead, you get soft cookies.
- Eggs: Egg whites and yolks help thicken and leaven the cookies. Use them at room temperature to make it easier to combine the creamed butter and sugar. This also prevents the butter from clumping when you use cold ingredients.
- Flavoring: I use vanilla and almond extract for dimension.
- Sour Cream: Sour cream provides extra tenderness. It contains at least 18% milkfat for richness. It also contains lactic and citric acid, which enhance sweetness and improve the vanilla and almond flavor. Most importantly, it adds acidity to activate the baking soda, creating more bubbles for a taller, domed cookie.
- Frosting: For a fluffy and spreadable frosting, I use unsalted butter, powdered sugar, milk, vanilla, and gel coloring.
See the recipe card below for all ingredients and measurements (US and metric).
Ingredient Substitutions
- Homemade Cake Flour: To make 2 ¾ cups cake flour, measure 2 ¾ cups all-purpose flour, remove 5 tablespoons plus 1 teaspoon, and replace it with 5 tablespoons plus 1 teaspoon cornstarch. Whisk well to combine.
- Using All-Purpose Flour: I tested all-purpose flour (10 to 13% protein), but the cookies didn’t rise as much because the stronger gluten network made it harder for the dough to lift and puff up. You can use all-purpose flour if it’s all you have, but it’s better suited to crisp, classic cut-out cookies than a soft-baked style.
- Margarine Substitute: Use vegetable shortening, such as Crisco, instead of margarine, or use all butter, though the results may not be as thick.
- Frosting Options: For a tangy flavor, use cream cheese frosting. Add cocoa powder or melted chocolate to the frosting for a chocolate flavor. Use my easy cookie icing for a shiny glaze, or royal icing for one that sets harder.
How to Make Soft Sugar Cookies
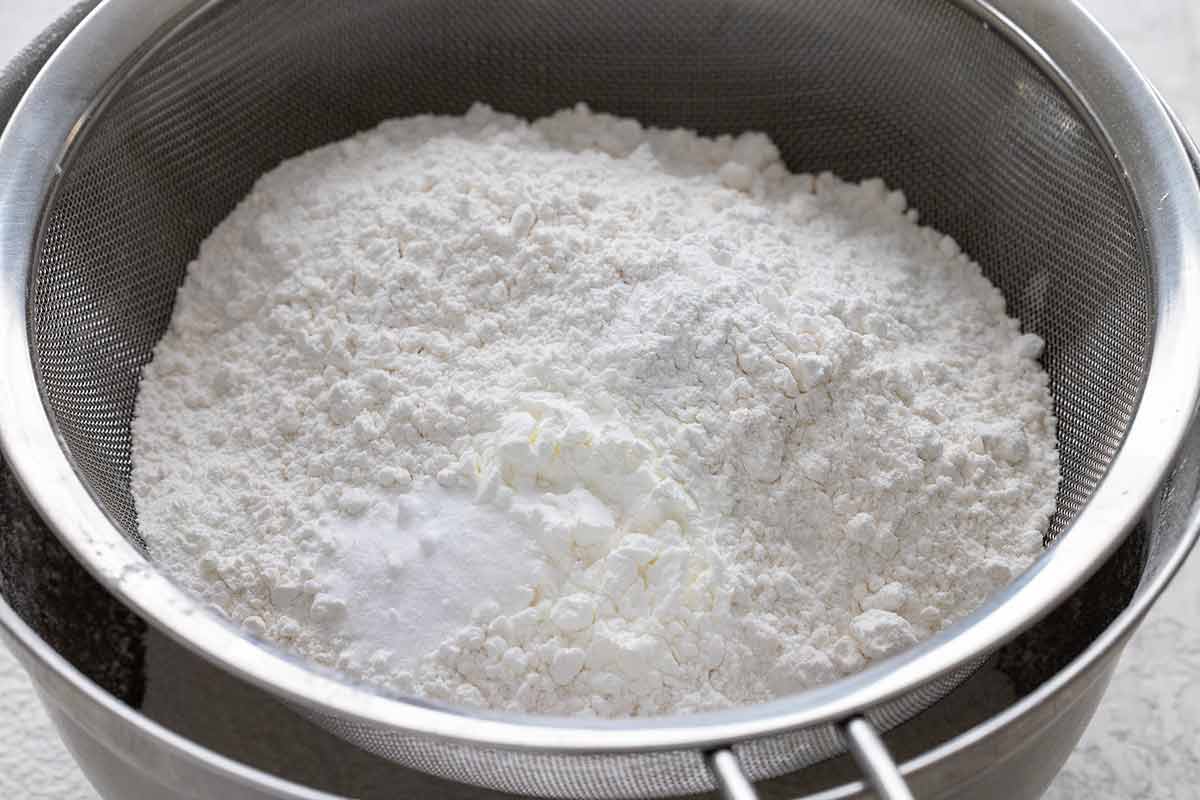
Step 1: Sift the Dry Ingredients
Dry ingredients like cake flour, leavening agents, and cornstarch are very fine. Sifting them together evenly incorporates everything and removes any clumps. This technique also aerates the flour for a lighter dough that bakes up less dense.
Ingredient Chemistry: Lofthouse cookies are very thick. They don’t have a short, crumbly texture. Instead, they are more cakey and soft throughout. To help mimic this texture, I use baking soda and baking powder. Powdered sugar also contains cornstarch as an anti-caking agent to wick up moisture and keep it dry. Therefore, I add only 1 tablespoon of cornstarch to the dough.
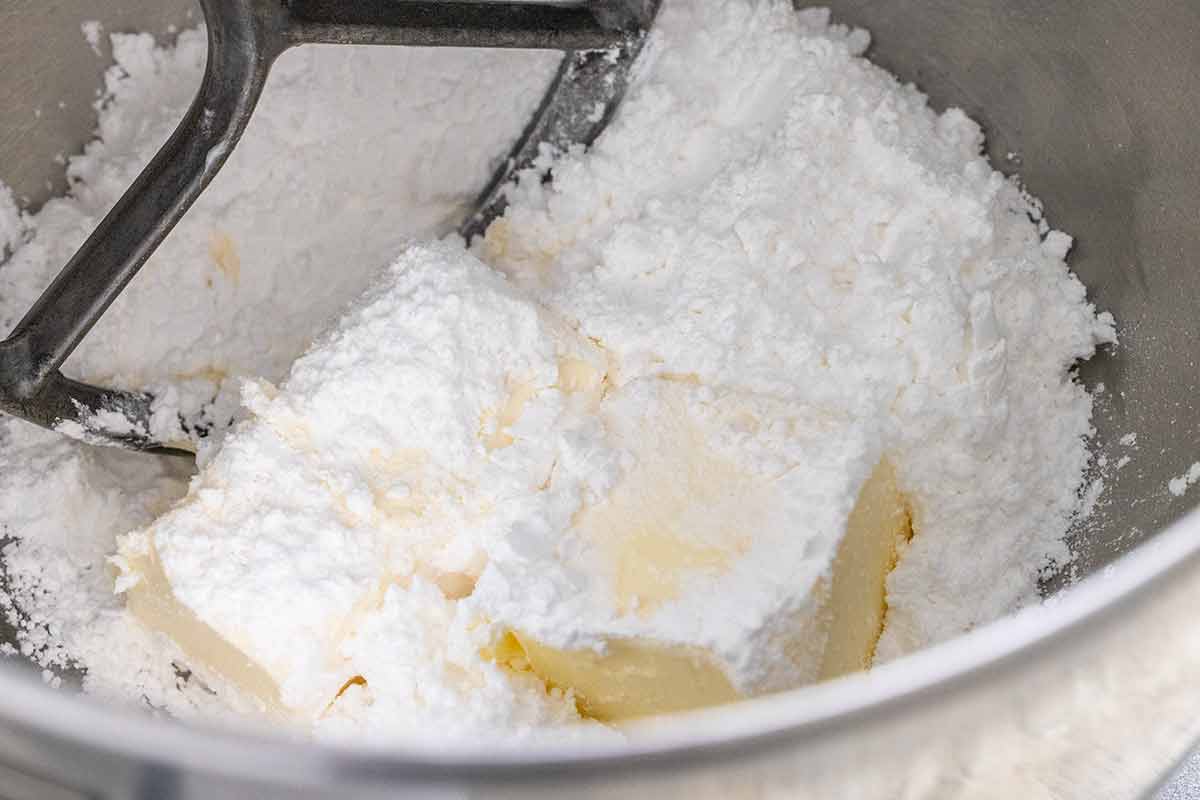
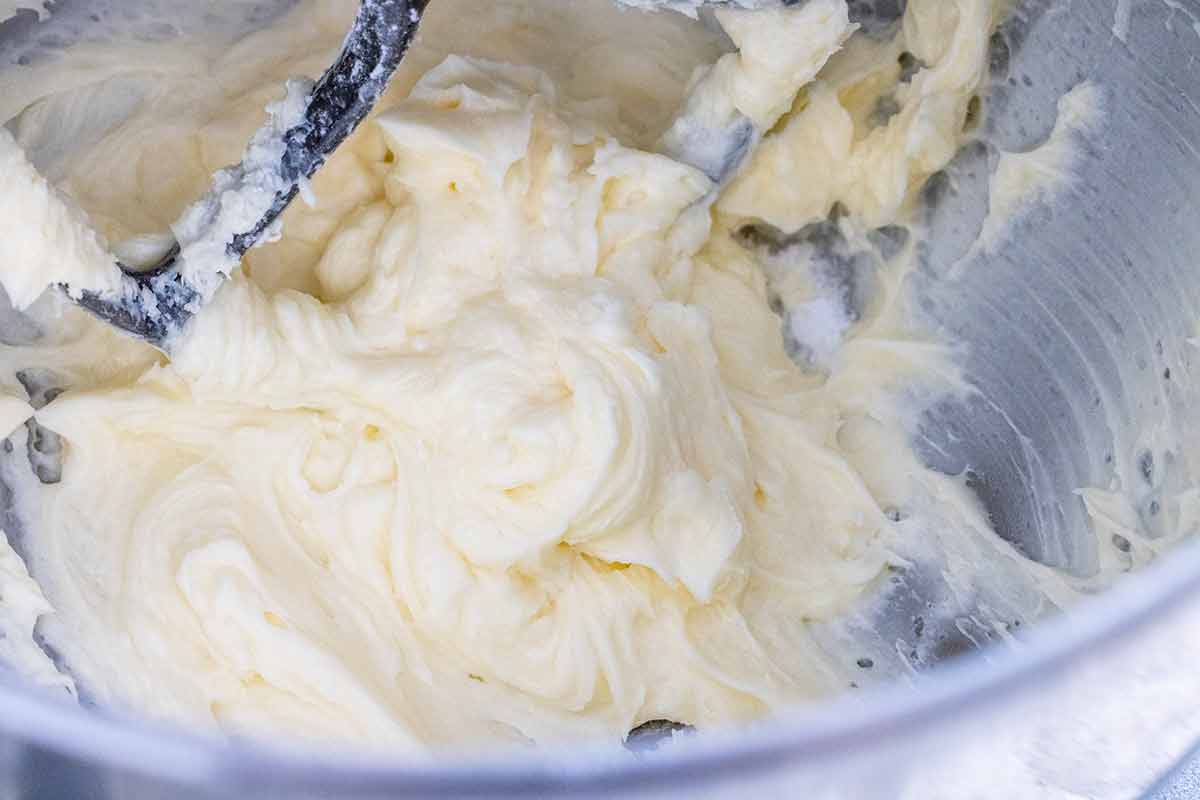
Step 2: Mix Butter and Sugar
Use the paddle attachment on a stand mixer or the beaters on a hand mixer to aerate the cookie dough. Creaming the softened fats with powdered sugar will create a fluffy mixture with lots of tiny air pockets. Don’t over-whip, or it will warm up too much and slightly deflate. The process only takes about 2 minutes at moderate speed.
Tips for Perfect Execution: Whipping air pockets into the fats softens the structure for a cake-like texture. Fat crystals trap air best between 64 and 67°F (17 to 19°C), just below room temperature. If too warm or melted, the cookies will not hold their shape. I recommend leaving the fats on the counter for about an hour, but there are various ways to soften butter and margarine.
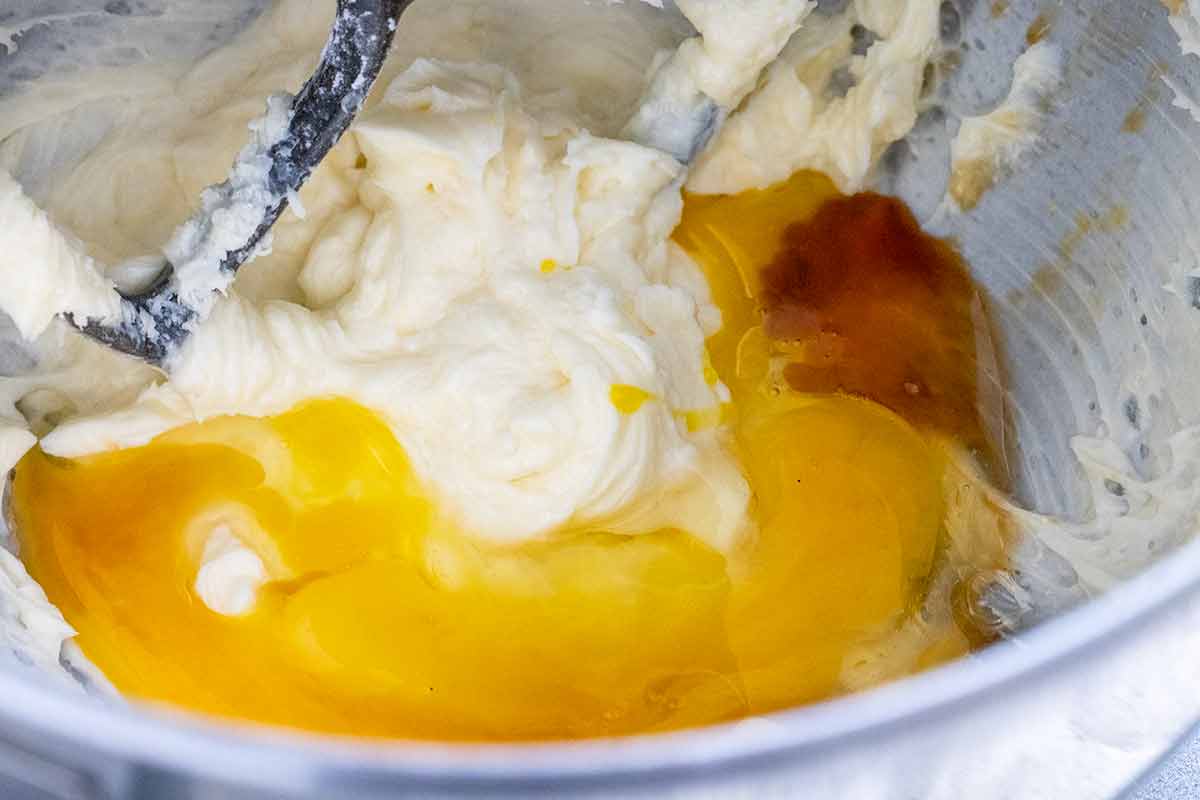
Step 3: Add Wet Ingredients
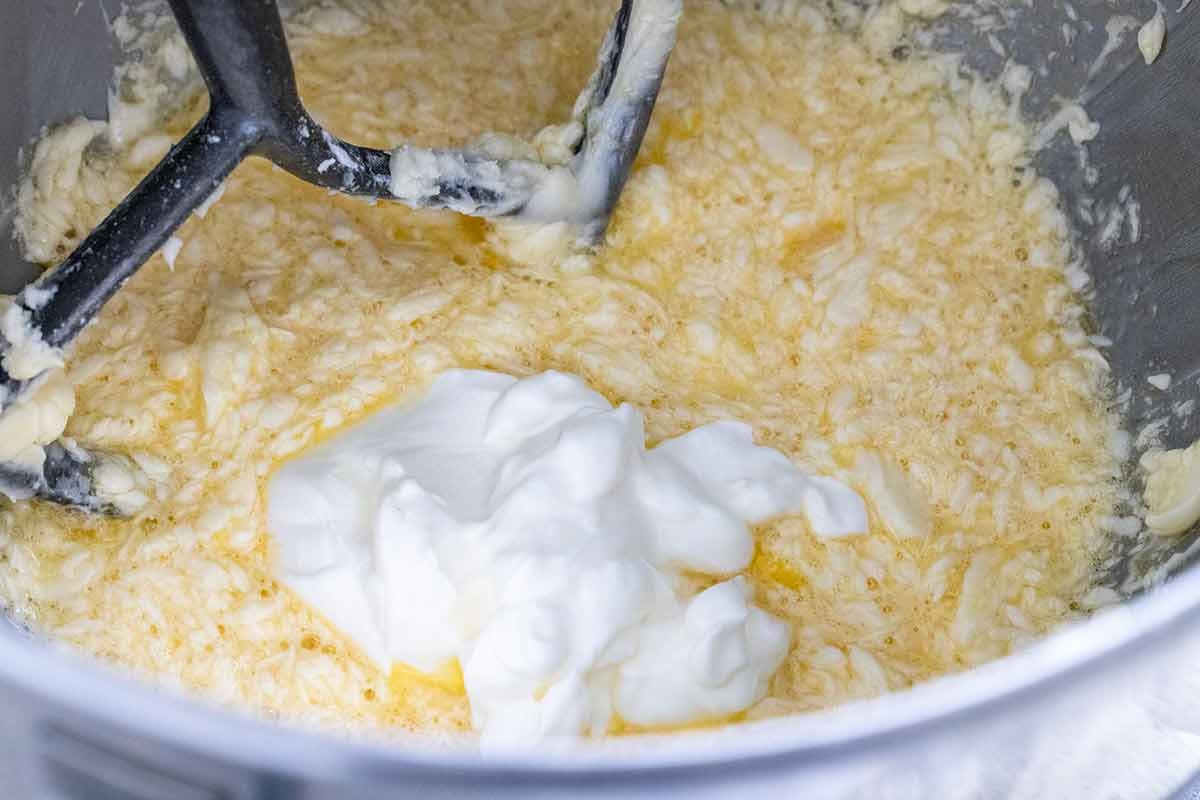
Adding the room-temperature egg helps create a smooth, stable dough while providing structure as the proteins set during baking. The sour cream adds moisture and acidity, which keeps the cookies soft and tender while enhancing the leavening agents. Mix just until combined to avoid overworking the dough.
Step 4: Add Dry Ingredients
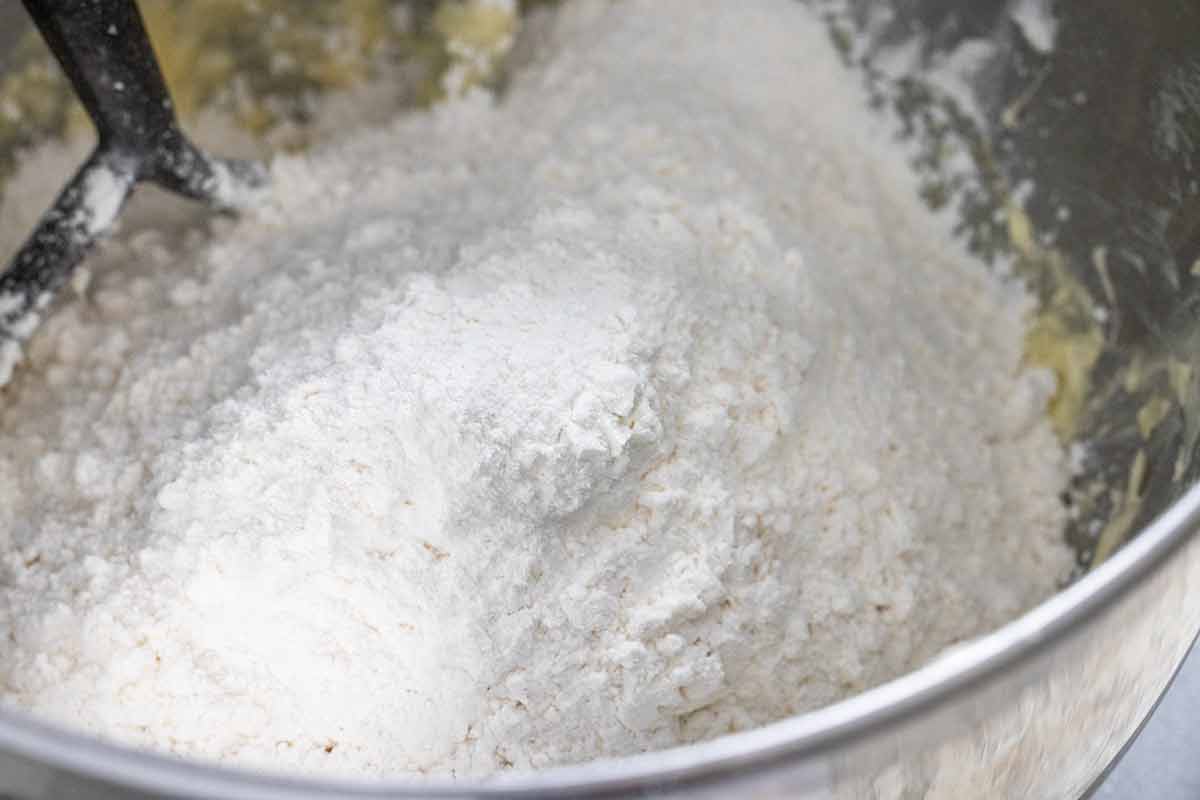
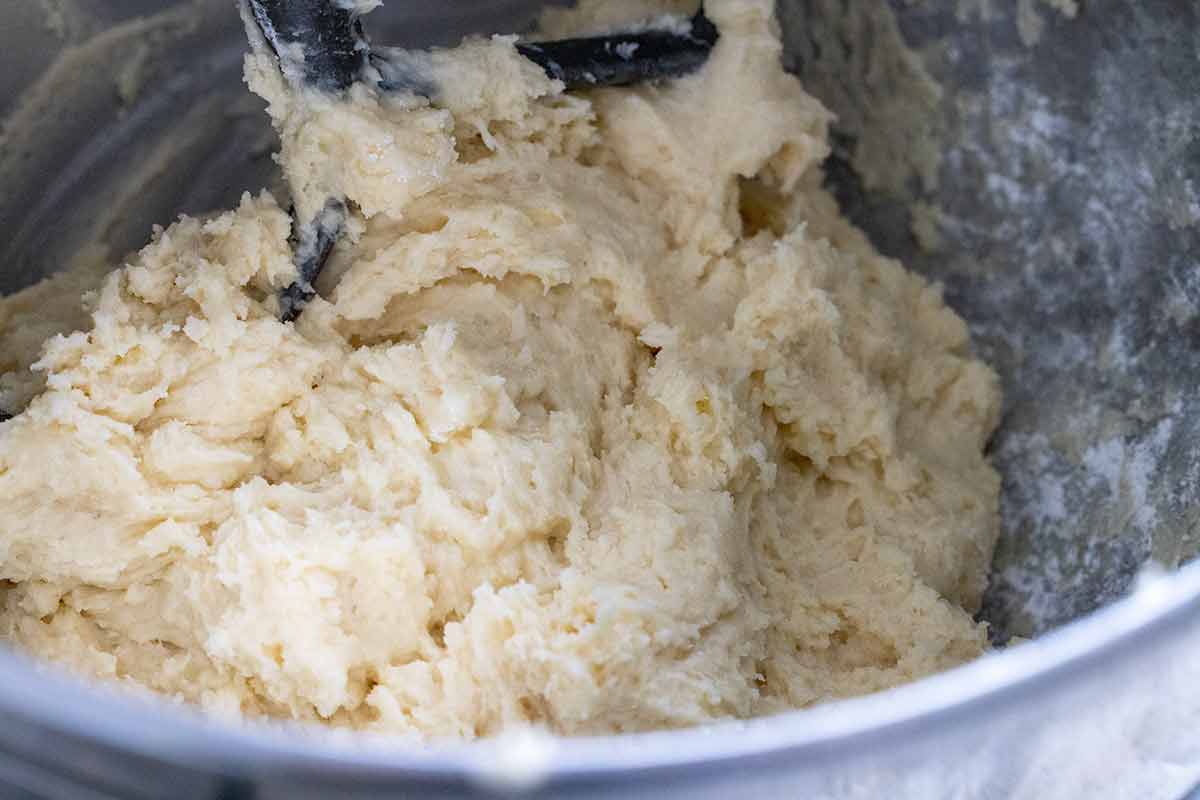
Add the flour mixture to the creamed butter mixture, then combine at low speed. This process gently hydrates the flour without over-mixing. The goal is to minimize gluten formation while still getting a rollable consistency. You’ll notice that the dough is a little tackier than normal. This is good! More moisture creates more steam for lift.
Step 5: Chill the Dough
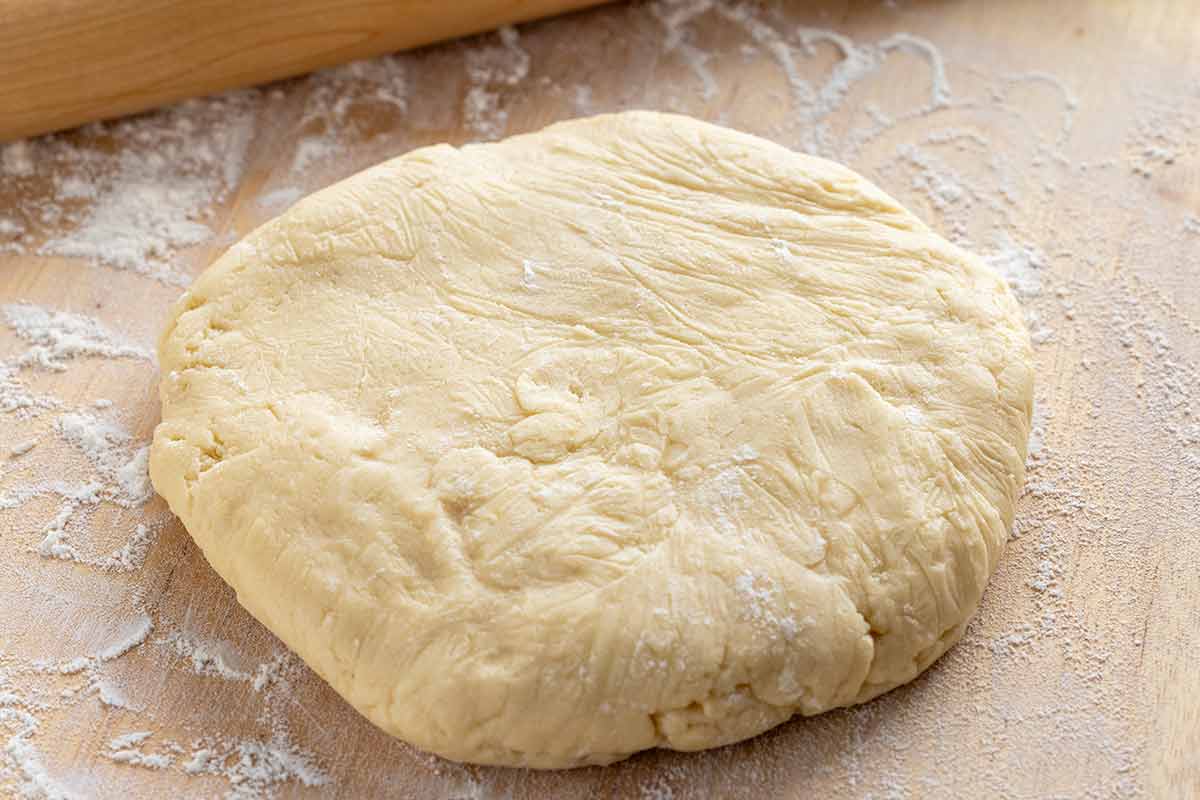
Chill the dough in the refrigerator for at least an hour to let the flour, sugars, and starches hydrate. Afterward, the surface will be dry, but it should still be soft enough to roll out and make soft cut-out sugar cookies.
Step 6: Preheat the Oven
Preheating the oven to 375°F (191°C) ensures the cookies begin baking immediately, helping the leavening agents create lift for a thick, soft texture. Position the rack in the center to promote even heat circulation. Using a parchment paper-lined baking sheet or silicone mat prevents sticking and encourages uniform baking.
Step 7: Roll Out the Dough
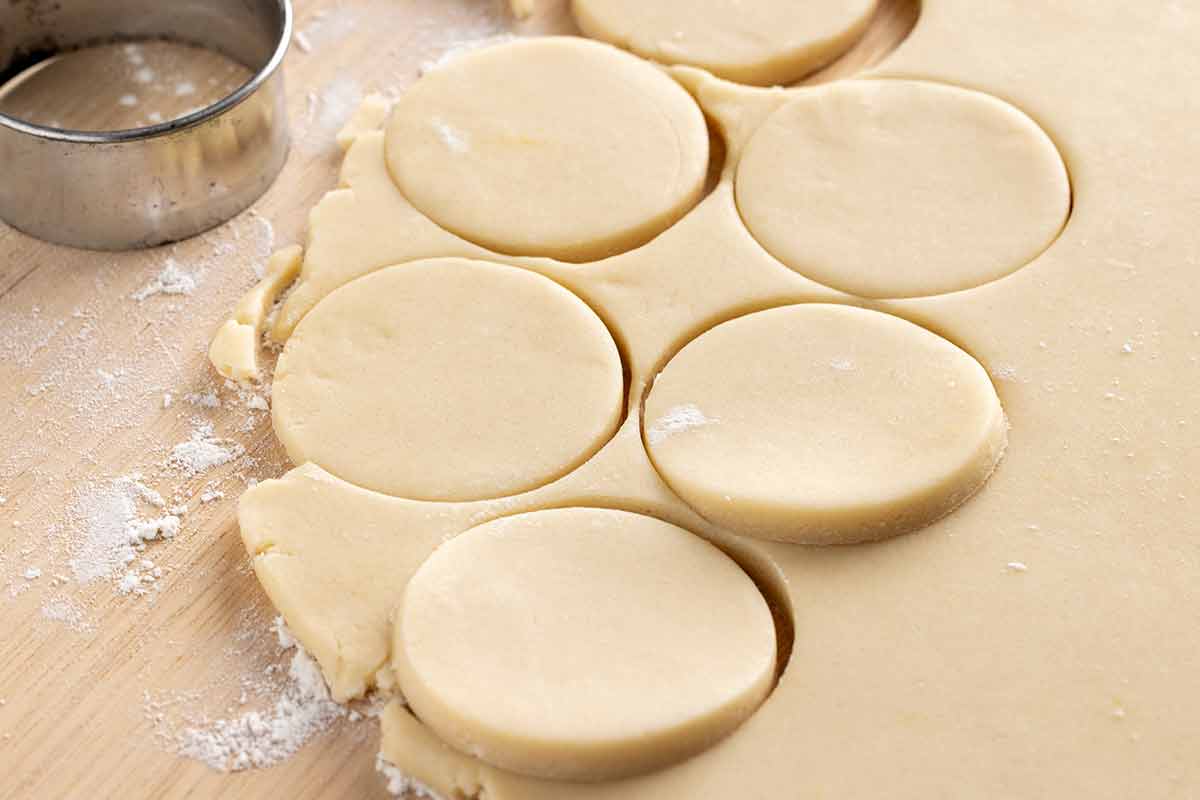
Flouring the board, rolling pin, and both sides of the dough with cake flour is the trick to prevent sticking. The dough will be pliable but higher in moisture, so it will be softer to work with. Lofthouse cookies are about 3 inches wide and ½-inch tall. Roll out to a ¼-inch thickness, and they will almost double in height after baking.
Expert Tip: I find this recipe spreads about ¼ inch, so I chose a cutter that is slightly smaller than the target diameter. A 2 ½ to 2 ¾-inch round cutter works great. You can use different cookie cutter shapes, but avoid highly detailed cutters as the design won’t be as sharp on the edges.
Step 8: Bake
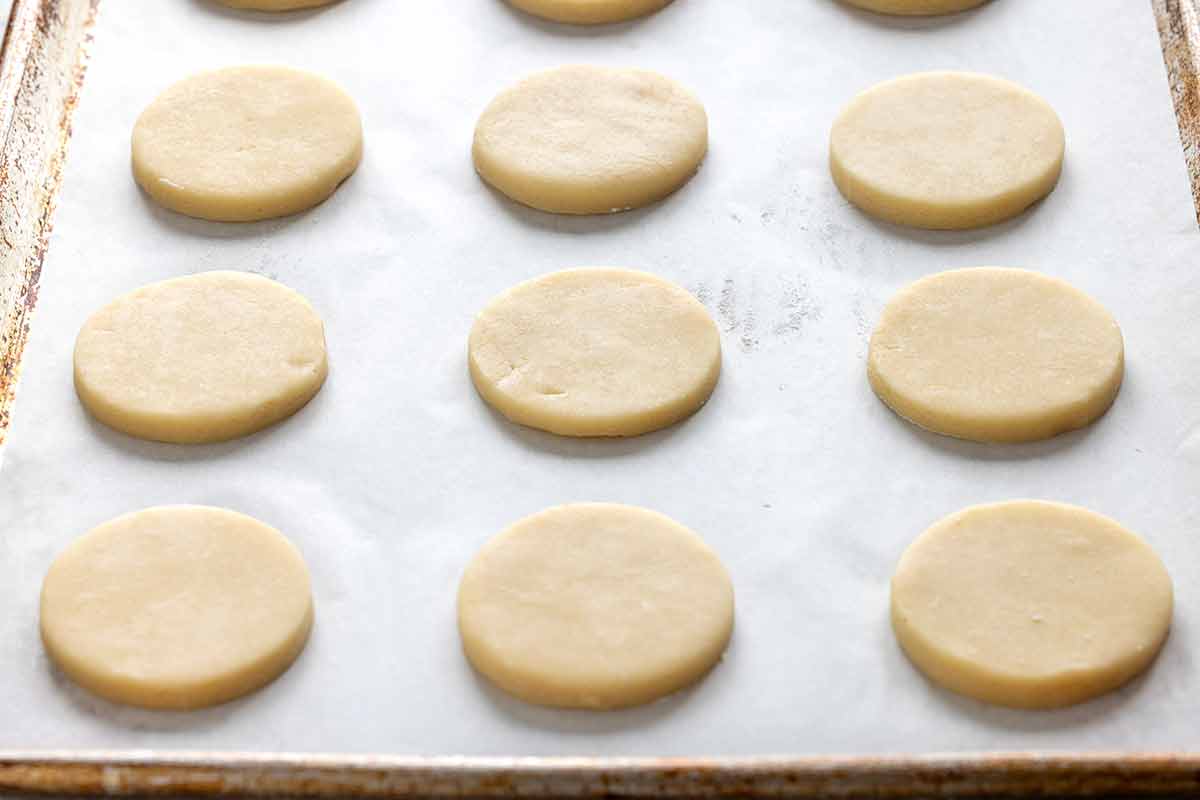
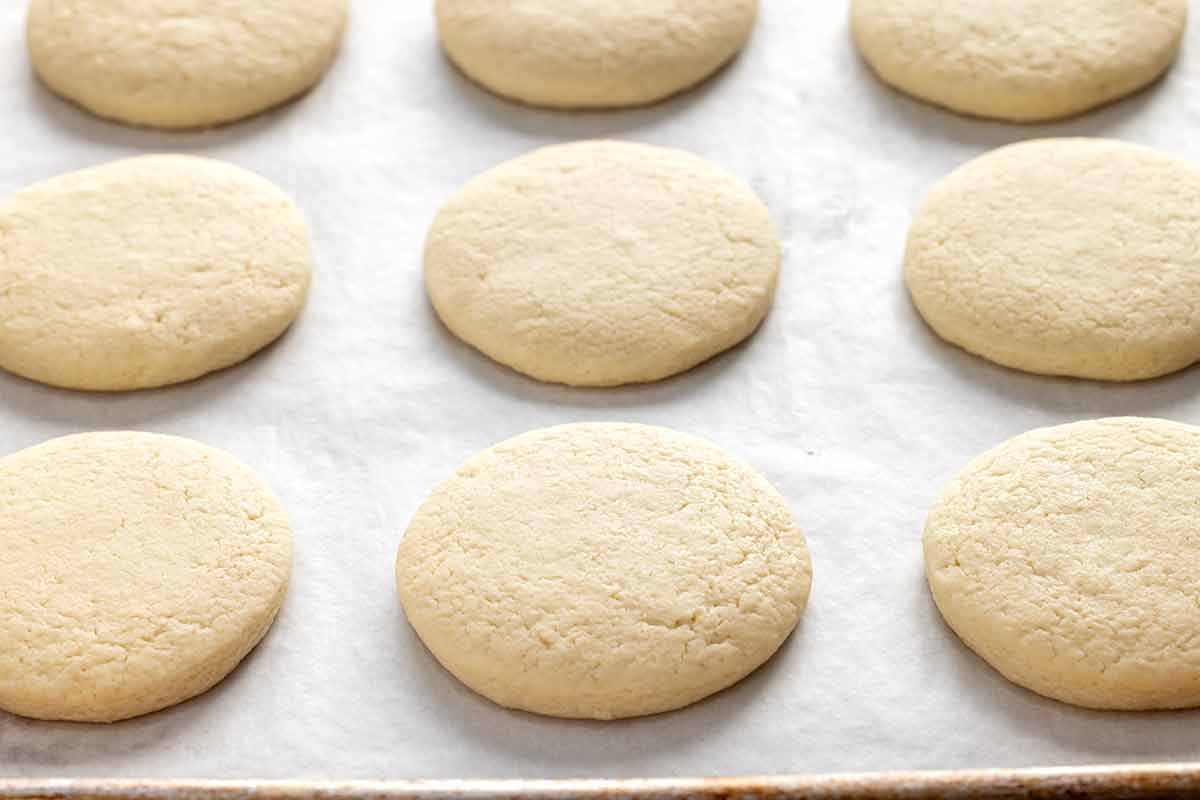
Bake the cookies on a parchment paper-lined sheet pan. It’s safe to place them about 1 to 2 inches apart. They don’t spread too much. The dough will be soft, so work quickly to transfer them to the pan when still cool. Bake at 375°F (191°C). Bake only until the surface sets. They won’t turn golden brown and crisp. They only need about 8 to 9 minutes.
Step 9: Cool the Cookies
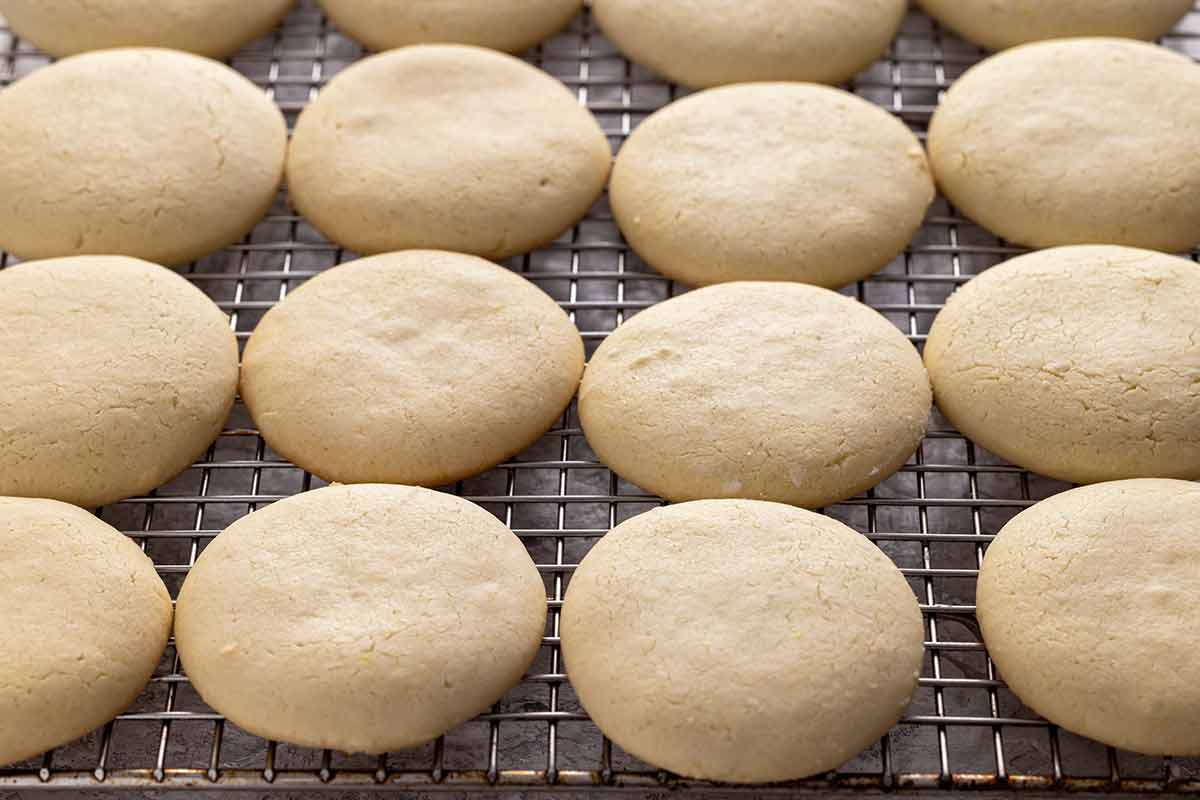
Immediately transfer the cookies to a wire rack to stop the cooking process. The longer you leave them on the hot tray, the harder the bottoms will become. Don’t frost the cookies when they are still warm.
Step 10: Make the Frosting
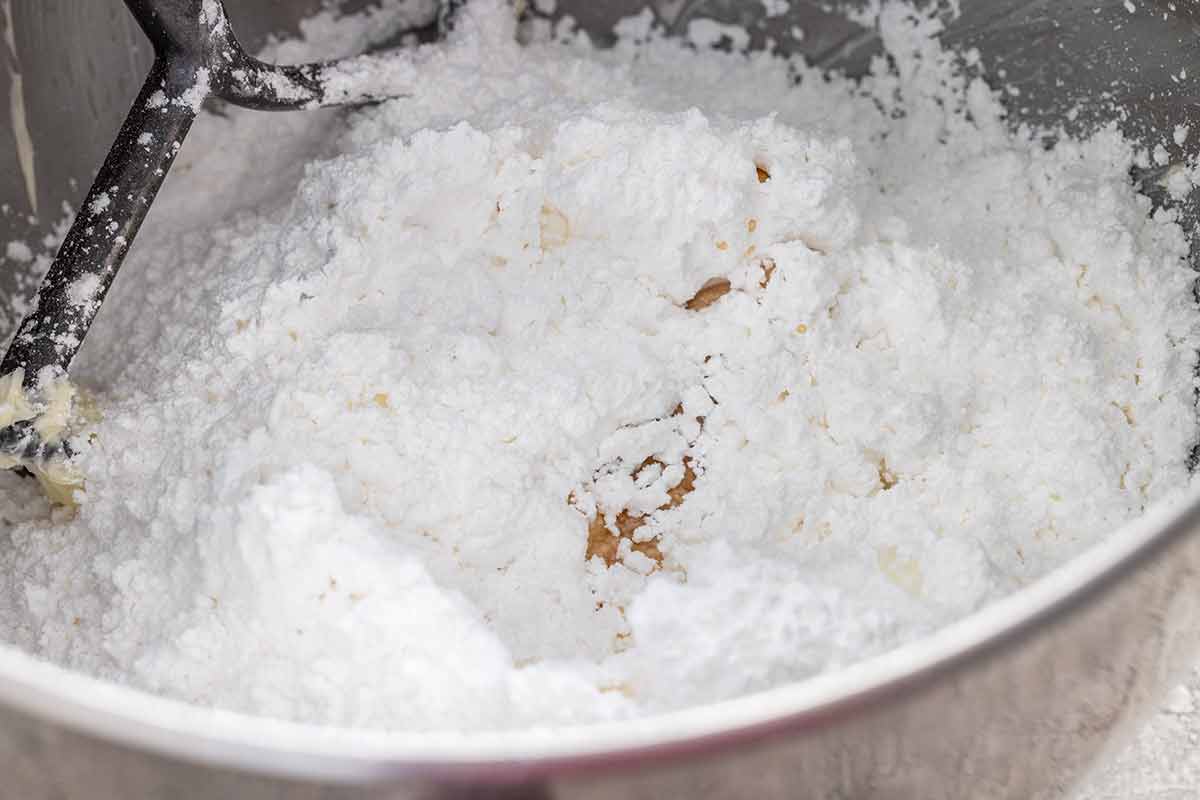
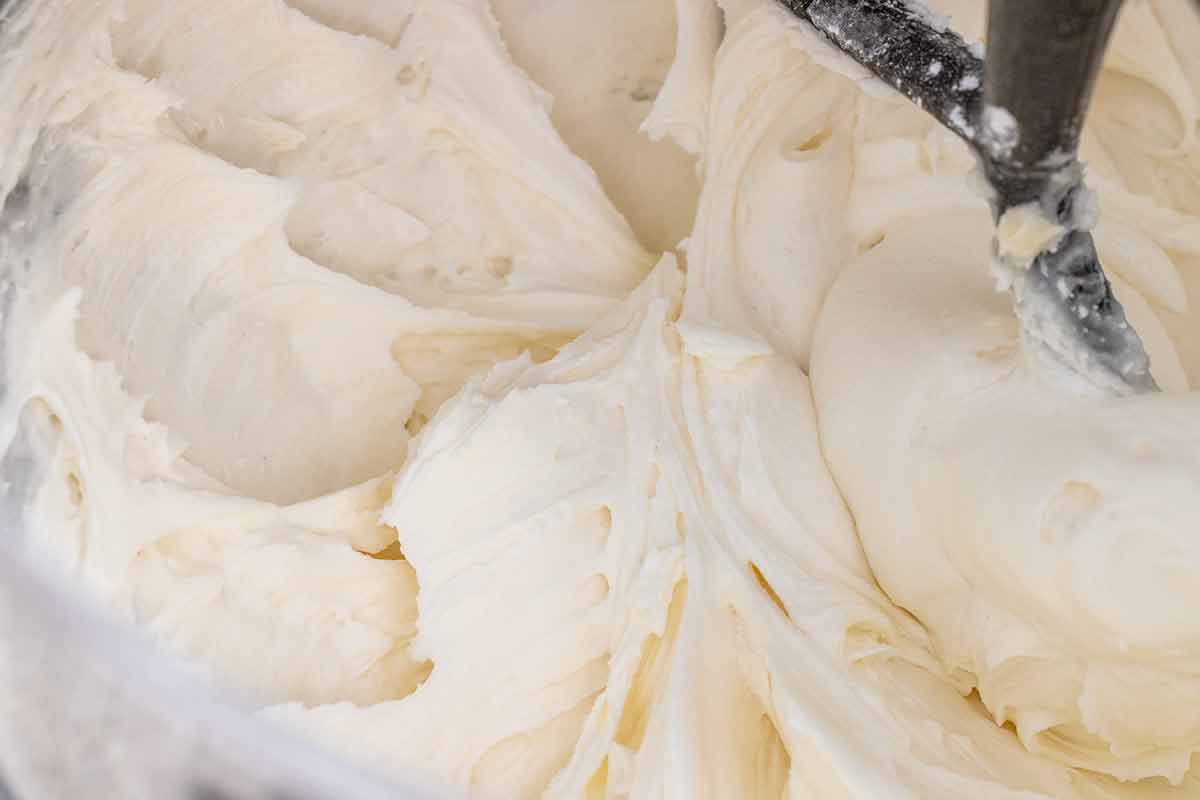
After the cookies cool completely, I use my go-to sugar cookie frosting recipe to spread on top. It combines whipped butter, powdered sugar, vanilla extract for flavor, and milk. You can adjust the consistency to be thick or thin with liquid.
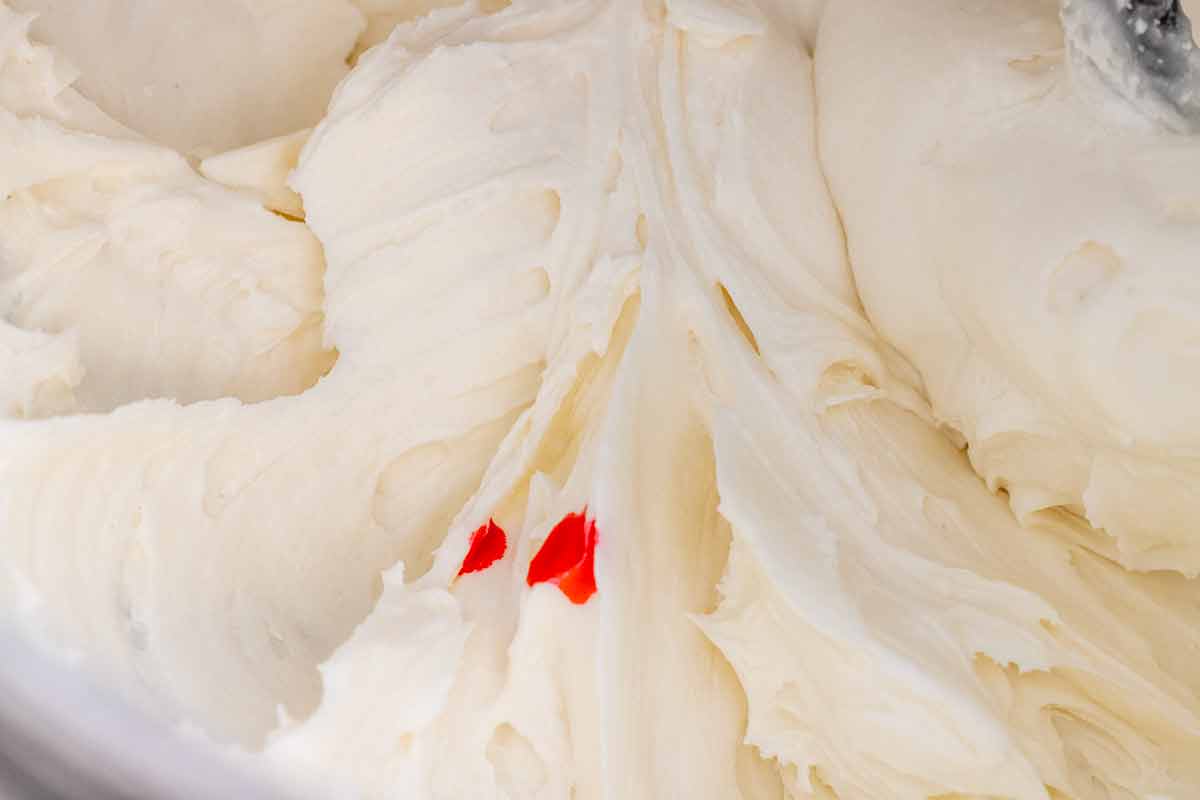
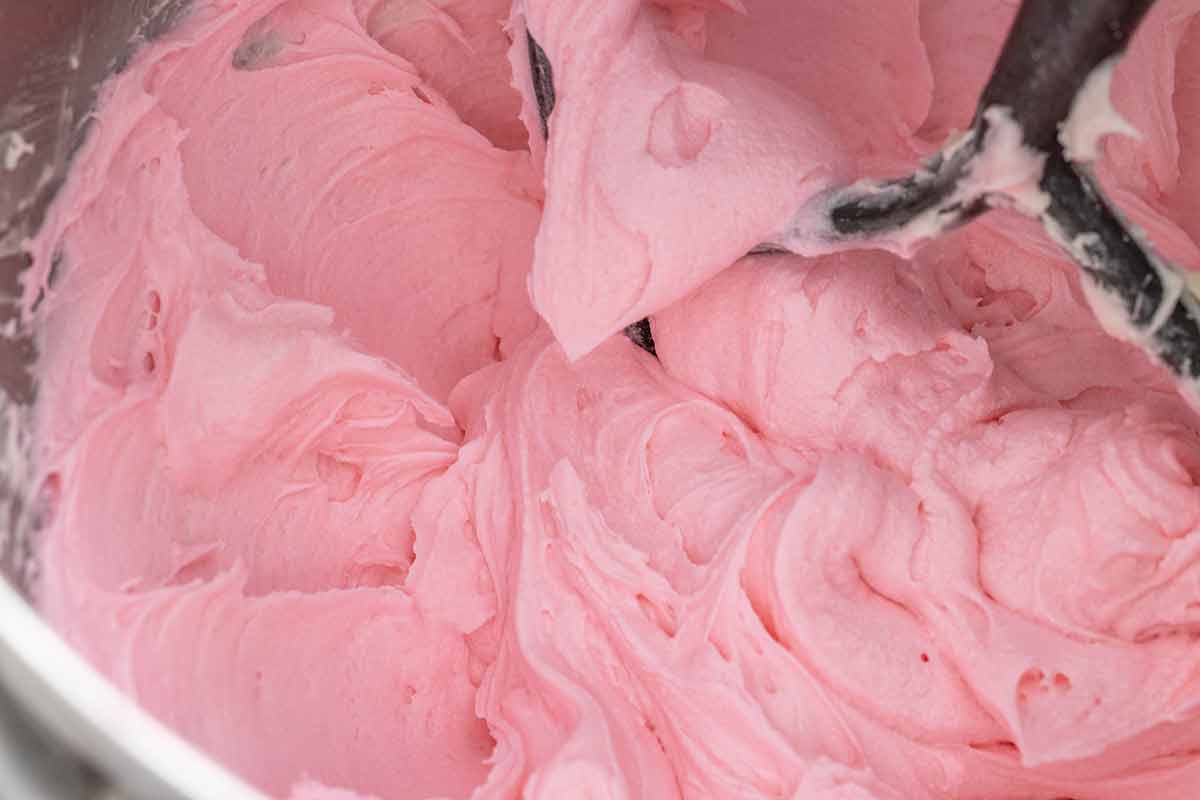
To color the frosting, I prefer concentrated gel colors to achieve a vibrant hue. They also use less water than food coloring dyes like the ones for Easter eggs, so they don’t dilute the topping’s consistency. Pink is a classic look, but the fun part is that you can easily switch it up, like making them green for Christmas or red for Valentine’s Day.
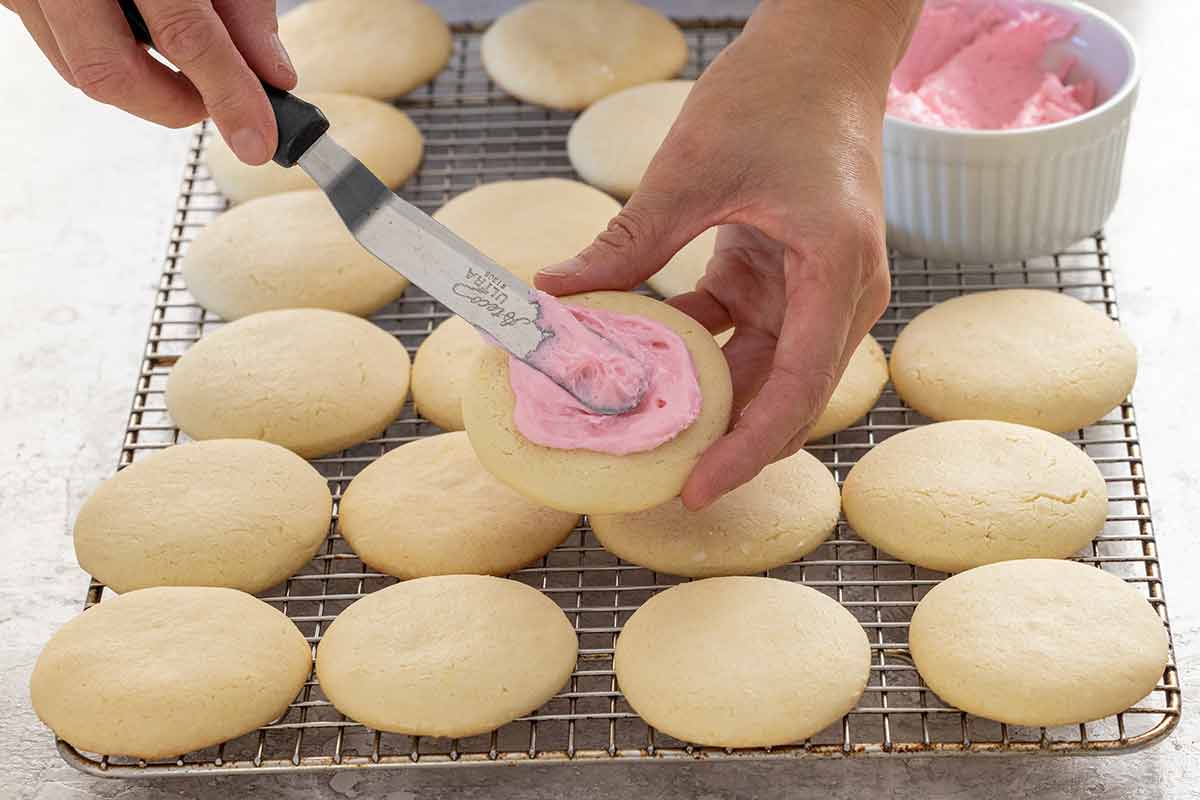
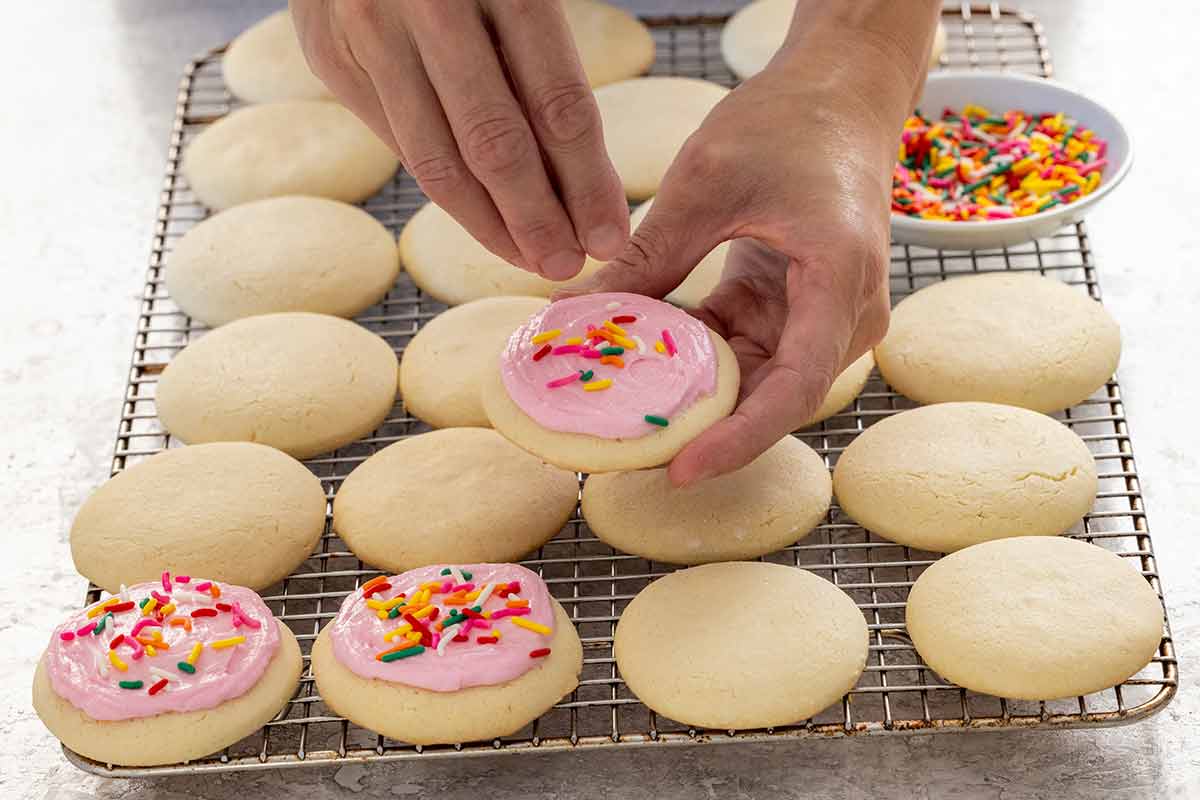
Step 11: Decorate the Cookies
Once the cookies have completely cooled, spread on your desired amount of frosting. This is my kids’ favorite step! They love helping decorate with colorful sprinkles and festive toppings before sneaking a cookie to taste. Let the cookies sit at room temperature for about 15 to 20 minutes so the frosting can set slightly and make them easier to serve.
Frequently Asked Questions
This type of soft cookie was created by Lofthouse Foods in 1994, which still sells various wholesale baked goods to supermarkets and merchandisers in the United States. They are known for their soft texture and festive decorations. This cookie style is often called “Lofthouse” when making them from scratch.
1. Use cake flour, which is lower in protein, and superfine or powdered sugar for a softer texture. 2. After baking, immediately take them off of the hot baking sheet. 3. Store in an airtight container to retain moisture, or add a slice of bread with them. Seriously, the cookies will draw out the bread’s moisture.
Cornstarch is a thickening agent, which reduces the amount of spread. It also reduces gluten formation for a softer, more tender crumb and the perfect cookie texture.
Store undecorated cookies in an airtight container at room temperature for up to 5 to 7 days, or freeze them for up to 3 months. For frosted cookies, let the frosting dry for about 1 hour, then store them in an airtight container in a cool, dry place for up to 3 days, in the refrigerator for up to 1 week, or in the freezer for up to 3 months.
More Cookie Recipes


If you tried this Soft Sugar Cookie Recipe, please leave a 🌟 star rating and let me know how it went in the 📝 comments below!
Soft Sugar Cookies

Ingredients
Cookies
- 2 ¾ cups cake flour
- 1 tablespoon cornstarch
- ½ teaspoon baking powder
- ½ teaspoon baking soda
- ½ teaspoon kosher salt
- ¼ cup unsalted butter, softened to 64 to 67°F (17 to 19°C)
- ¼ cup margarine, softened to 64 to 67°F (17 to 19°C)
- 1 ¼ cup powdered sugar
- 1 large egg, room temperature
- 1 teaspoon vanilla extract
- ½ teaspoon almond extract
- ¼ cup sour cream, room temperature
Frosting
- 6 tablespoons unsalted butter, softened to 64 to 67°F (17 to 19°C)
- 3 cups powdered sugar
- 3 tablespoons milk, divided
- 1 teaspoon vanilla extract
- pink gel color, optional for coloring
Instructions
- Sift the Dry Ingredients – In a medium bowl, sift together the flour, cornstarch, baking powder, and baking soda. Add the salt, and whisk to combine. Set aside.
- Mix Butter and Sugar – In a stand mixer fitted with the paddle attachment, add the softened butter and powdered sugar. Pulse until the sugar is just incorporated. Increase speed to medium-low (setting 4), and mix until light and fluffy, 2 minutes. Scrape down the sides of the bowl with a spatula.
- Add Wet Ingredients – Add the room temperature egg, vanilla extract, and almond extract. Mix on medium-high speed (setting 6) until combined, 20 to 30 seconds. Add sour cream and mix until combined, 10 seconds. Scrape down the paddle, sides, and bottom of the bowl.
- Add Dry Ingredients – Add the flour mixture to the mixer. Pulse on and off 8 times. Scrape down the sides of the bowl. Mix on low speed (setting 2) until the dough just comes together, 10 to 15 seconds. Do not overmix. Use a spatula to give a final mix. The dough will have a slightly tacky consistency. It will get drier once chilled.
- Chill the Dough – Refrigerate the dough in the bowl, uncovered, for at least 1 hour or freeze for 45 minutes. After that time, if not baking right away, place the dough in a resealable plastic bag for up to 5 days or freeze it for up to 1 month. Defrost before using.
- Preheat the Oven – Set the oven rack to the middle position. Heat to 375°F (191°C). Line two baking sheets with parchment paper, then set aside.
- Roll Out the Dough – Generously dust the work surface, top and bottom of the dough, and rolling pin with cake flour. Use more as needed, as the dough is slightly sticky and soft. Roll to slightly thicker than 1/4".Working quickly, use a 2 ½ to 2 ¾" round cookie cutter to create circles. Dip the cutter into a bowl of flour to prevent sticking. Transfer the pieces to the parchment paper-lined sheet pans, about 1 to 2" apart. Any extra dough scraps can be rerolled out 1 more time. If needed, chill before rolling.
- Bake – Working one tray at a time, bake until the surface is dry and pale in color and the bottoms are very lightly golden brown, about 8 to 9 minutes.
- Cool the Cookies – Immediately transfer them to the wire rack after removing them from the oven. Completely cool before decorating, about 30 minutes. Bake the remaining cookies.
- Make the Frosting – In a stand mixer fitted with the paddle attachment, mix the softened butter on medium-high speed (setting 8) until smooth, about 30 seconds. Scrape down the sides of the bowl. Add the powdered sugar, 2 tablespoons of milk, and vanilla extract.Mix on the lowest speed (stir setting) until combined, 15 seconds. Mix on medium-high speed (setting 8) until fluffy, 2 minutes. Scrape down the bowl halfway through mixing. Add 1 tablespoon of milk, and mix on medium-high speed (setting 8) until smooth and fluffy, 15 to 30 seconds.Adjust the Consistency (2 options):#1) For a thin frosting: add an additional 1 teaspoon of milk, and mix on medium-high speed for 15 seconds. Add more milk to thin.#2) For a thicker frosting: add 1 tablespoon of powdered sugar, and mix on medium-high speed (setting 8) until smooth, about 15 seconds. Add more powdered sugar to thicken.If desired, add gel coloring or food coloring and mix on slow speed (setting 2) until combined. I used 8 to 10 drops of pink gel coloring.Use immediately or cover with plastic wrap. Refrigerate if not used right away.
- Decorate the Cookies – Evenly spread the desired amount of frosting over each cookie. If using sprinkles or decorations, add them immediately before the frosting begins to set. Let the cookies sit at room temperature until the frosting dries slightly on the surface, making them easier to serve.
Recipe Video

Notes
- Frosting Yield: 1 ½ cups
- Weighing the Flour: Use a digital scale for the most accurate results. Alternatively, dip the measuring cup into the flour, then sweep off the excess flour. This makes for a denser measurement, but don’t pack the flour in the cup.
- Using Only Butter: You can use all butter, but note that the cookies will not be as tall.
- Make-Ahead: The dough can be mixed and stored in the refrigerator for up to 5 days, or 1 month frozen. Unbaked cut-out cookies can be covered and refrigerated for up to 5 days, or frozen for 2 weeks.
- Storing Cookies: Store undecorated cookies in an airtight container at room temperature for up to 5 to 7 days, or freeze for up to 3 months. For decorated cookies, allow drying for about 1 hour, then store in an airtight container in a cool, dry place for up to 3 days, refrigerated for 1 week, or frozen for 3 months.
- Storing Frosting: Store in an airtight container in the refrigerator for up to 5 days. Leave on the countertop until spreadable, just under room temperature, about 1 hour. Stir before using.
Nutrition Facts
Percent Daily Values are based on a 2000-calorie diet. All nutritional information is based on estimated third-party calculations. Each recipe and nutritional value will vary depending on the brands you use, measuring methods, and portion sizes per household.


braylen says
cool
Baeli says
These are so good! I followed what you said and read the little tips you give and they turned out perfect! I’ve eaten 3 already!
Jessica Gavin says
I’m so happy to hear that you like the soft sugar cookies, Baeli!
KT says
Will the icing get stuck on the cookies if I stack them on top of each other?
Jessica Gavin says
I would not stack the cookies after frosting them, unless the surface feels dry and doesn’t leave an imprint when you gently press it.