
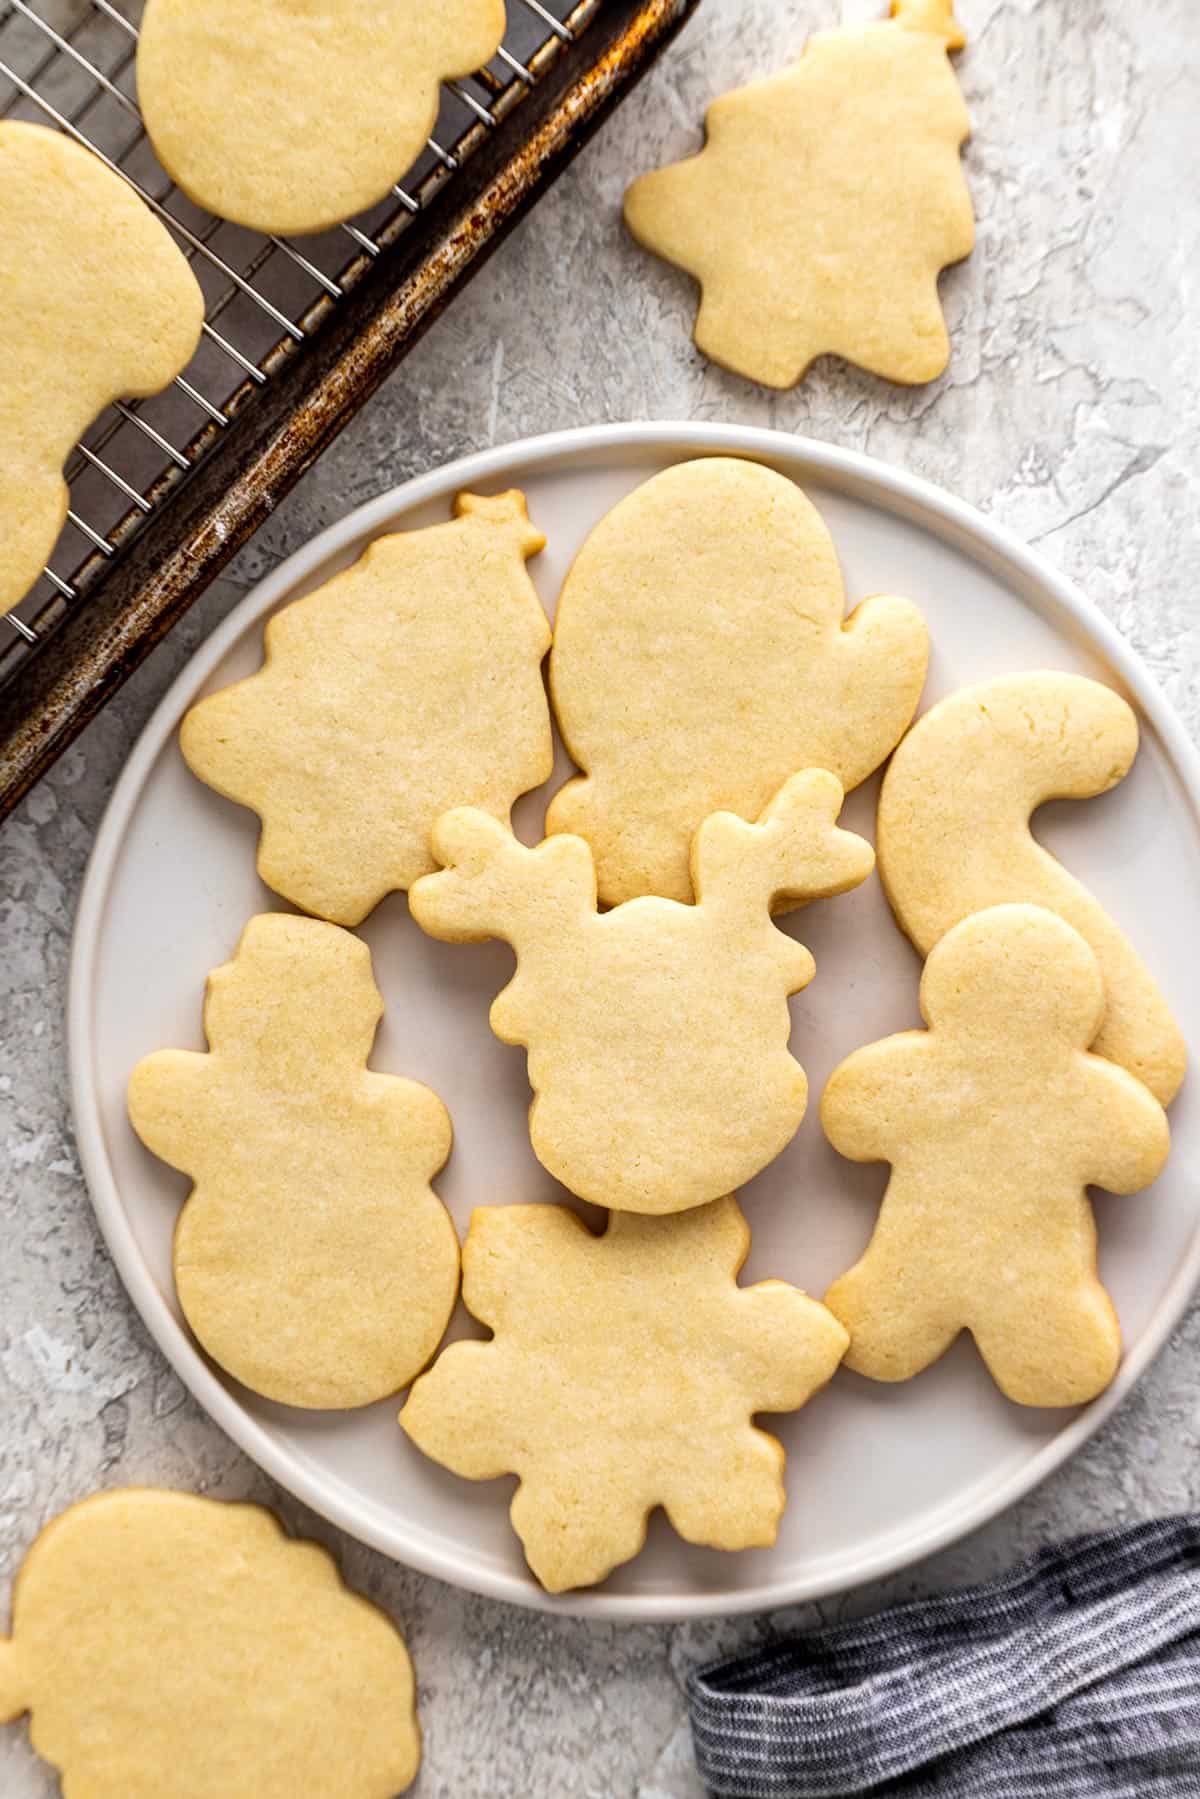
This festive holiday sugar cookie recipe yields lightly crisp edges and soft, chewy centers. This no-spread sugar cookie dough is perfect for decorating! The dough stores well, so you can prepare it in advance until ready to bake.
Jessica’s Recipe Science
- Soften butter to 65–67ºF (18–19ºC) to keep beta prime fat crystals intact. This allows the dough to trap air for a light, tender texture.
- Creaming softened butter with sugar adds air, creating a light, tender crumb. Look for a fluffy texture.
- All-purpose flour provides structure in sugar cookies. When mixed, it forms enough gluten to hold shape and prevent spreading.
Featured Comment 12
“These cookies are AMAZING!!! Thank you for sharing your recipe and technique – soft centers, crispy edges, packed with delicious flavor – YUM!”—Nicole
Why It Works
Every home baker needs a reliable and easy sugar cookie recipe when the holiday season rolls around. To ensure that the dough holds its characteristic shape, there are just a few key steps: managing the temperature of the ingredients, how they’re incorporated, and resting. Once you master the process, you can decorate to your heart’s desire or just eat them as is.
Not only do these cut-out cookies bake up into gorgeous golden treats, but they also taste good! The right ratio of ingredients yields a buttery, lightly sweet flavor. I also add freshly grated lemon zest for a delightful citrus aroma and taste. The texture has a lovely soft chew in the center and crisp edges.
Jump To a Section
Ingredients You’ll Need
- Butter: It’s essential to soften the butter just below room temperature, about 65 to 67ºF (18 to 19ºC). This ensures that the needle-like beta prime fat crystals hold their shape so that the dough can trap air. Let the butter sit at room temperature for 30 minutes, or cut it into smaller pieces to speed up softening. It should be soft with slight resistance, leaving an indent without being mushy.
- Sugar: Granulated sugar adds sweetness, encourages a slightly crisp edge with a soft center, controls cookie spread by liquefying during baking, and helps achieve a light golden color through caramelization.
- Egg: They provide structure by binding the ingredients, and the fat in the yolk also contributes to richness and enhances flavor.
- Citrus: To make the simple vanilla-flavored cookie more interesting, add in fresh citrus. I use just a teaspoon of lemon zest in this recipe. The natural oils in the skin release a wonderful aroma and flavor during baking without a sour taste. This is entirely optional but delicious!
- Flavoring: Vanilla extract enhances the baked aroma. Salt balances the sugar in the cookies.
- Flour: All-purpose flour is used to make the best sugar cookie recipe. It has a moderate amount of protein, about 10 to 13%, for the ideal texture and structure. When mixed with the wet ingredients, enough gluten forms to hold the cookie dough shape and prevent spreading.
- Baking Powder: A small amount of baking powder, a chemical leavening agent, provides lift to the cookie dough due to gas formation. With a chew that crumbles nicely, this makes the centers soft but not cakey. The short bake time yields crisp edges and light golden bottoms. I’ve tested adding no baking powder; the cookies were very dense and crispy. Adding too much makes them spread, losing their characteristic design. It’s a delicate balance!
See the recipe card below for all ingredients and measurements (US and metric).
Ingredient Substitutions
This classic sugar cookie recipe is easy to customize! Try these delicious options:
- Make it Gluten-Free: For dietary restrictions, use 1:1 gluten-free baking flour. Adjust the levels to prevent spreading.
- Citrus Swaps: Substitute orange zest for lemon or omit the citrus altogether.
- Flavoring: Try peppermint, anise, or almond extract instead of vanilla.
- Vanilla: Use real vanilla beans or vanilla bean paste instead of vanilla extract to create speckles in the cookies.
- Frosting: Use sugar cookie icing for a glossy finish. Use royal icing for detailed designs. Use sugar cookie frosting for a light and fluffy texture. Spread cream cheese frosting on top for a sweet and tangy topping.
- Decorating Ideas: When combining the wet ingredients, add gel or liquid colors to the dough to change the color appearance. Brush the unbaked cookies with water or egg whites and add colorful sprinkles before baking. After frosting, add jimmies, sprinkles, mini chocolate chips, and chopped nuts to the homemade sugar cookies.
How to Make Sugar Cookies


Step 1: Cream the Butter
I use a stand mixer to make the cookie dough. The paddle attachment effectively creams the butter and sugar without over-whipping the mixture. Alternatively, you can use an electric hand mixer with beaters. The malleable texture of the softened butter makes it easier to mix with the granulated sugar. These two ingredients mix first in a process called creaming.
Ingredient Chemistry: The creaming method beats tiny air pockets into the fat to create a light and tender crumb in the cookie. The mixture should look light and fluffy, a sign of air incorporated inside.
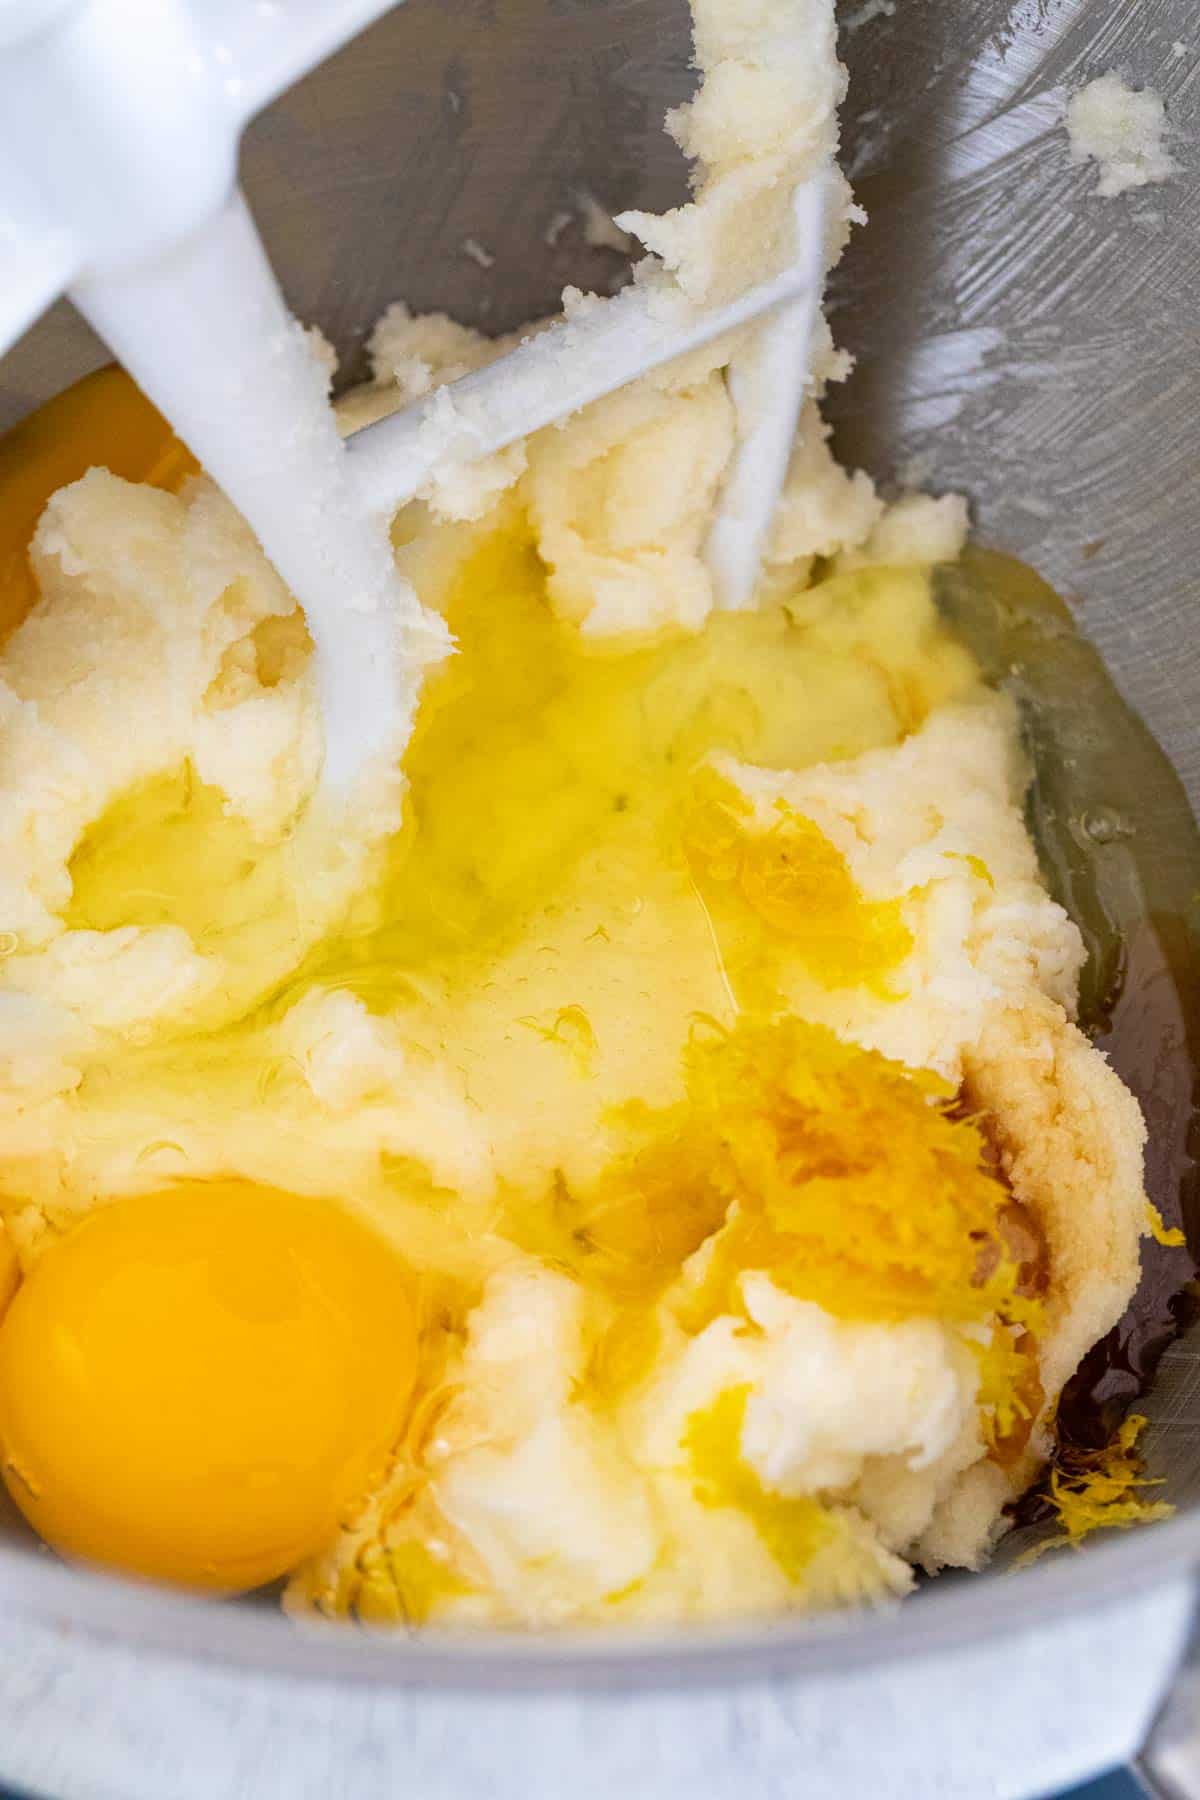

Step 2: Incorporate the Egg
Add the egg when it’s similar in temperature to the other ingredients to make it easier to incorporate. The egg white and yolk are less thick, so they mix more smoothly. This also prevents the butter from clumping up when added cold.
Pro Tip: It takes about 30 minutes to bring the eggs to room temperature. To speed up the process, I like to place the cold egg in a bowl, cover it with warm (not hot) water, and let it sit out for 5 to 10 minutes before using it.


Step 3: Add the Dry Ingredients
Sift the flour and baking soda together to remove any clumps. Whisk together the flour, baking powder, and salt to disperse the fine particles evenly and distribute them into the dough. If you enjoy a soft and cakey texture, try my Lofthouse-style soft sugar cookies, which use cake flour.
Tips for Perfect Execution: Once you add the flour mixture to the wet ingredients, mix it enough so the flour is no longer visible. Overmixing increases gluten formation, which causes the flour proteins to become very tough. When baked, the cookies will have a harder texture.

Step 4: Refrigerate the Dough
Separate the dough into two portions before chilling it to make it easier to roll. This technique also reduces the time that the dough sits at room temperature. Cover with plastic wrap and press each into a ½-inch thick disc.
Refrigerate the cookie dough for at least 1 hour. However, 3 hours, or even better, overnight, gives the best texture. It’s ideal to make ahead, saving you time the day of baking. Alternatively, you can freeze the sugar cookie dough for at least 30 minutes to harden the butter in the dough.
Expert Tip: Chilling the dough helps the cookies hold their shape, prevents spreading during baking, and yields a tender texture. The cookies will be thicker because the fat is cooler, so it doesn’t melt as quickly in the oven. Butter in the dough that gets to room temperature causes the cookies to be flat and crispy.
Step 5: Preheat the Oven
Position the oven rack in the center for even heat distribution. Preheat to 350ºF (177ºC), a temperature that sets the cookies without making them too brown. Line baking sheets with parchment paper to create a non-stick surface.


Step 6: Roll Out the Dough
It’s much easier to work with cool dough. Use light flour to dust the work surface, dough, and rolling pin. Aim for a thickness of ¼-inch to provide a sturdy cookie for decorating. One of my favorite tools for consistent thickness is an adjustable rolling pin. They are great for kids to use, too!

Step 7: Cut Out Shapes
You can use any cookie cutter to make decorative shapes. If the dough sticks to the blades, you can dip them into some flour before pressing them into the dough. Remove the excess flour after cutting it with a pastry brush to prevent a floury taste.
Work fast after rolling out the dough and cutting your shapes. The cookies should be baked when still cool. Transfer the cut-out cookies to a parchment paper-lined sheet pan about 1 inch apart.
Experimentation Encouraged: I use cutters about 3 inches in size for this classic sugar cookie recipe. If using a smaller or larger cutter, pair similar sizes on the same baking sheet.


Step 8: Bake
Bake the sugar cookies when the dough is still cool to the touch to reduce the spread of the cookie. This ensures that the butter is firm enough that it doesn’t melt too quickly. If not baking immediately, refrigerate the sheet tray with the pieces on it.
Bake the cookies one tray at a time; they only need about 10 minutes to set. The surface and edges should be a pale color. You don’t want them to be golden brown, just the surface. The deeper the color, the crispier the texture.
Tip for Baking Smaller Cookies: Smaller 2-inch cookies need less baking time than 4-inch cookies. Watch the texture and color change closely to adjust the baking time. If you mix up the sizes too much, the baking will be uneven. If this is unavoidable, remove the small cookies from the oven sooner and let the larger pieces bake longer as needed.

Step 9: Cool
Transfer the cookies to a wire rack after sitting on the hot pan for 3 to 5 minutes. If you prefer a softer cookie, don’t wait. Carefully place them on the rack straight from the oven. Cool completely before decorating!
Step 10: Repeat Process
Roll out the remaining dough, then repeat the cutting and baking steps. If reusing parchment-lined baking sheets, ensure the pans have cooled completely to prevent spreading.

Frequently Asked Questions
They should have lightly crisp edges with tender, soft centers that crumble when bitten. They should not be hard and crunchy or very cakey and delicate.
Shortbread cookies are made with just three ingredients; softened butter, granulated sugar, and flour. This makes for a much more dense, rich, and tender cookie. They are more rustic, enjoyed as it is, with little to no extra toppings. Sugar cookies contain eggs and baking powder for a lighter texture. They are most often used for decorating with frosting or sprinkles.
The surface and sides should be set, pale yellow, and dry to the touch. They should not be browned, as this will make the cookie crispier. The bottoms of the cookies can be lightly golden in hue.
You’ll still have extra dough scraps even if you methodically cut out the cookies as close as possible. Those pieces can be reformed into a ball, chilled, and then rolled out again. However, only reroll them once. The more you work the dough, the more gluten is formed, toughening the cookie.
More Cookie Recipes


If you tried this Sugar Cookie Recipe, please leave a 🌟 star rating and let me know how it went in the 📝 comments below!
Classic Sugar Cookies

Ingredients
- ¾ cup unsalted butter, softened to 65 to 67ºF (18 to 19ºC)
- 1 cup granulated sugar
- 1 large egg, room temperature
- 1 teaspoon lemon zest, optional
- ½ teaspoon vanilla extract
- 2 ⅓ cups all-purpose flour, plus more for dusting
- 1 teaspoon baking powder
- ½ teaspoon kosher salt
Instructions
- Cream the Butter – In a stand mixer fitted with the paddle attachment, add the softened butter and sugar. Mix on medium-low speed (setting 4) until light and fluffy, 2 minutes. Scrape down the sides of the bowl with a spatula.
- Incorporate the Egg – Add the room temperature egg, lemon zest (if using), and vanilla extract. Mix on medium-high speed (setting 6) until combined, 20 to 30 seconds. Scrape down the paddle, side, and bottom of the bowl.
- Add the Dry Ingredients – Sift the flour and baking powder into a medium bowl. Add the salt, whisk to combine, then add to the mixer. Pulse on and off 8 times. Scrape down the sides of the bowl. Mix on low speed (setting 2) until the dough just comes together, 10 to 15 seconds. Do not overmix. Use a spatula to give a final mix.
- Refrigerate the Dough – Transfer half of the dough to a piece of plastic wrap, cover, and press into a ½" thick disc. Repeat with the remaining dough. Refrigerate for at least 1 hour, 3 hours is ideal. Alternatively, freeze for 30 to 90 minutes.
- Preheat the Oven – Set the oven rack to the middle position. Heat to 350ºF (177ºC). Line two baking sheets with parchment paper, then set aside.
- Roll Out the Dough – Work with one piece of dough at a time to keep it cool. Allow the dough to sit on the counter for 5 to 10 minutes to make it easier to roll. Lightly dust the work surface, the top of the dough, and the rolling pin with flour, using more as needed as the dough is slightly sticky. Roll, rotate, and dust with flour until ¼" thick.
- Cut Out Shapes – Immediately use desired cookie cutters to cut out shapes, cutting them as close together as possible. Transfer the pieces to the parchment paper lined sheet pans, about 1" apart. Any extra dough scraps can be rerolled out 1 more time. If needed, chill before rolling.
- Bake – Bake the cookies while still cool, one tray at a time. If not baking immediately after cutting, keep them chilled in the refrigerator. Bake for 6 minutes, rotate, and bake for an additional 4 to 5 minutes, or until the surface is dry and the bottoms are lightly golden brown.
- Cool – Cool on the baking sheet for 3 to 5 minutes, then transfer cookies to a wire rack. Alternatively, for a softer cookie with less crisp edges, immediately transfer to the wire rack. Completely cool the cookies before decorating, about 30 minutes.
- Repeat Process – Roll out the remaining piece of dough and repeat the cutting and baking process. If reusing the parchment paper lined sheet pans, make sure the pan is cooled down before using.
Recipe Video

Notes
- Properly weigh the flour: Weigh the flour on a digital scale for the most accurate results. Alternatively, dip the measuring cup into the flour, then sweep off the excess flour. This makes for a denser measurement, but don’t pack the flour in the cup.
- Bake time: About 10 minutes for 2-inch cookies, 11 minutes for 3-inch cookies, or 12 minutes for 4-inch cookies. A visual check will be the best guide.
- Baking a smaller batch: If baking only about 6 cookies on a tray, check for doneness sooner. After baking for 6 minutes and rotating, check every 1 minute. They brown much faster due to less moisture in the environment.
- Make-ahead dough: The dough can be mixed and stored refrigerated for up to 5 days, or 1 month frozen. Unbaked cut-out cookies can be covered and refrigerated for up to 5 days, or frozen for 2 weeks.
- Storing: Store baked cookies in an airtight container for up to 7 days at room temperature. Store in the freezer for up to 3 months.
Nutrition Facts
Percent Daily Values are based on a 2000-calorie diet. All nutritional information is based on estimated third-party calculations. Each recipe and nutritional value will vary depending on the brands you use, measuring methods, and portion sizes per household.
Recipe Resources


Sherry says
This recipe looks so easy . I want to try it but can I trade the 3/4 unsalted butter for 3/4 c unsalted margarine or canola oil?
Jessica Gavin says
Hi Sherry- You can substitute the unsalted butter for the unsalted margarine (use the stick kind). Let me know how it goes!
Cyndi says
Thanks Jessica
Jessica Gavin says
You’re welcome, Cyndi!
Cyndi says
What is the icing that you used on the cookies you have on the plate? I’ve never made icing so I don’t know the difference. All I know is that it looks like the one I like. I tried making sugar cookies once about 25 years ago and had to throw them away because they were all burnt so I’m going to give it another try.
Jessica Gavin says
For the cookies in the photo, I used royal icing. They try hard so they are suitable for decorating, but they need several hours to dry. I also use a quicker sugar cooking with powdered sugar and corn syrup that dries faster (but not as hard) and has a shiny finish. I also have a sugar cookie frosting if you like more of a fluffy buttercream texture.
Miriam eisenberg says
If I use regular salt instead of kosher salt, how should I adjust the amount?
Love your site!
Jessica Gavin says
Thank you! It’s a small amount of salt, so you can keep it at 1/2 teaspoon, or if you want to be closer to the kosher salt levels, and 1/3 teaspoon of table salt.
Anne says
If I only have salted butter, can I just leave out the added salt to balance the salt level?
Jessica Gavin says
Yes you can leave out the added salt, but the cookies may still taste slightly more salty.
Lynn Phillips says
Any idea how to adjust the ingredients and cook time and temp for 5000ft elevation?
Jessica Gavin says
Sure, check out: https://www.jessicagavin.com/high-altitude-baking/