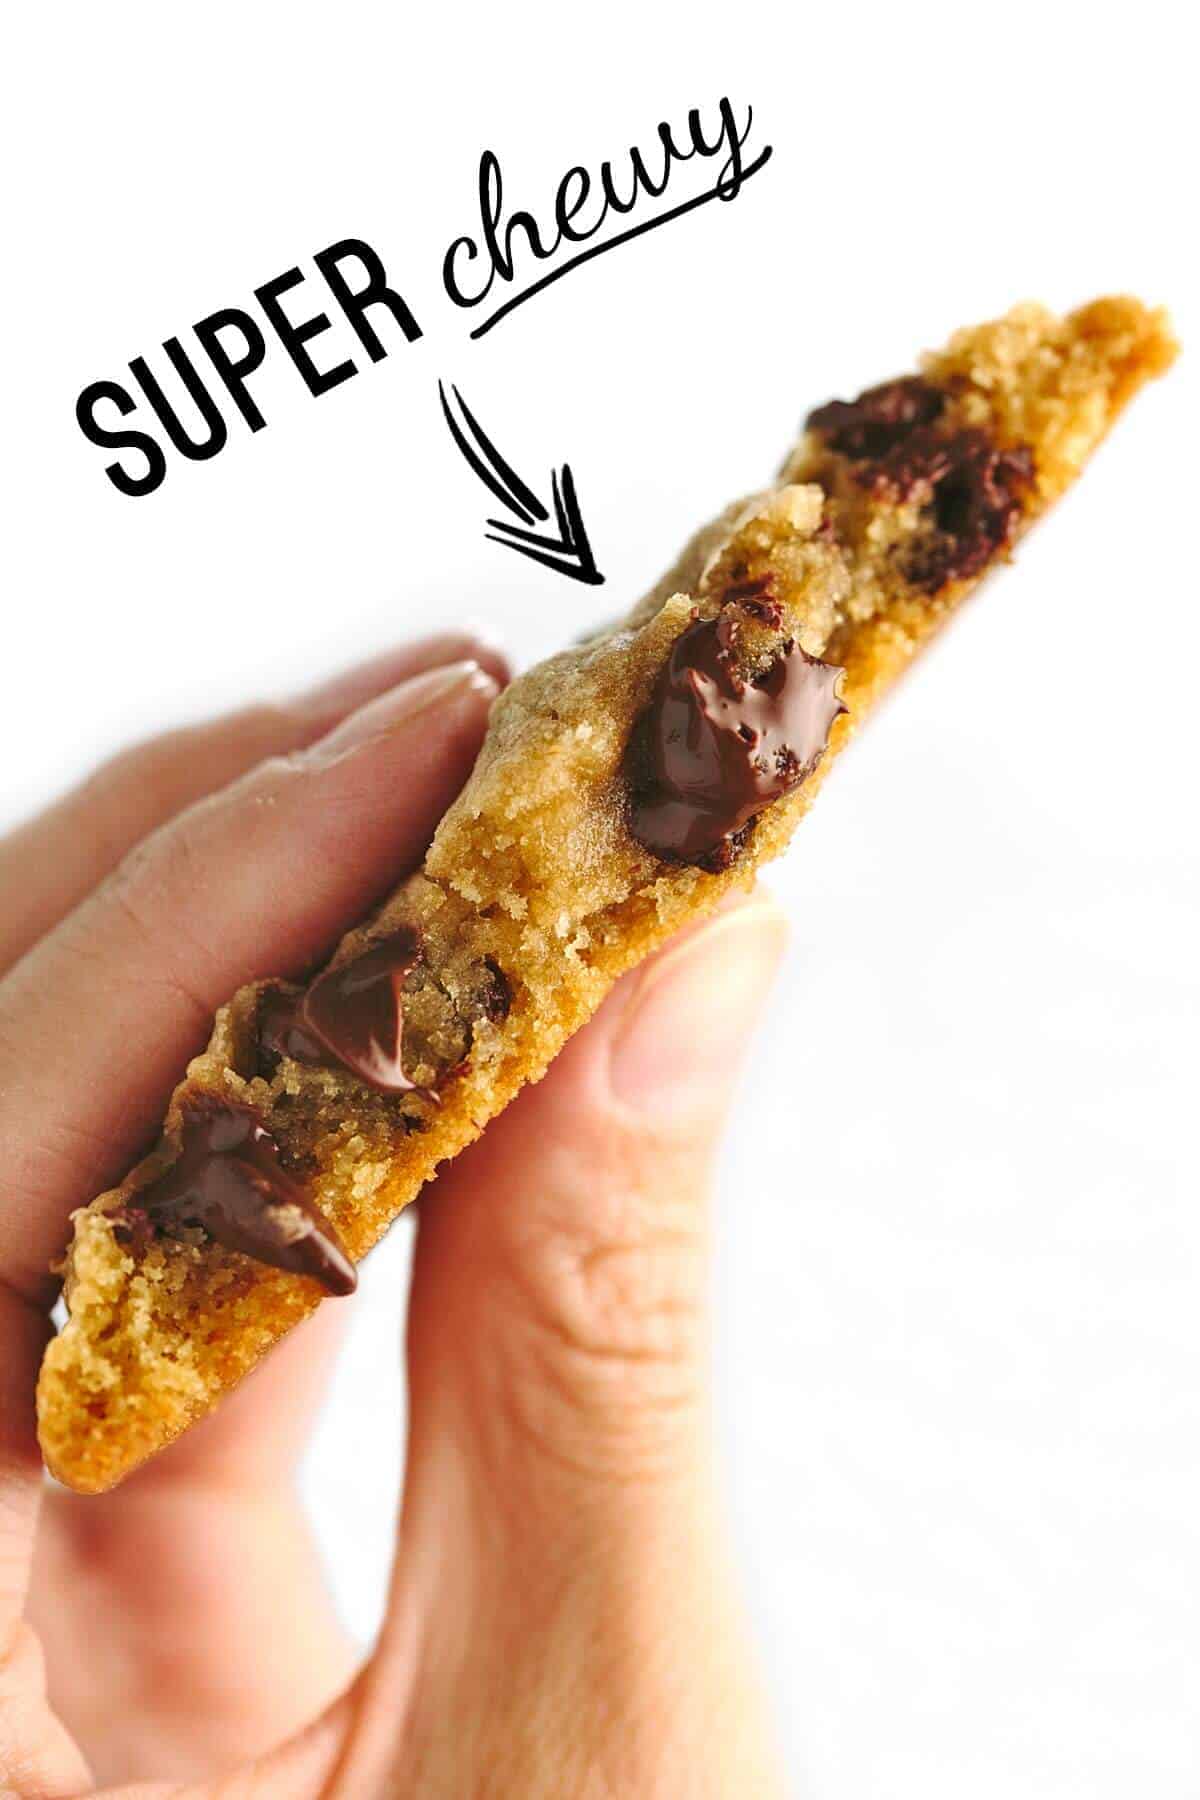
The best soft and chewy chocolate chip cookie recipe! These handheld treats are crisp on the edges with soft centers. When eaten fresh, burnt fingertips and chocolate-streaked hands are worth every bite!
Looking for more classic treats? You can’t go wrong with peanut butter cookies or oatmeal raisin cookies.

Table of Contents
- Mixing in the dry ingredients
- Use melted butter
- Dissolve the sugar for better flavor and color
- How sugar affects the texture
- Chocolate selection
- Briefly chill the dough before shaping
- For a rustic cookie appearance
- Best temperature for baking
- Baking time affects texture and flavor
- Cool on the baking sheet
- Storing and freezing
- To bump up the flavor
- The Best Chewy Chocolate Chip Cookies Recipe
Nothing is more alluring than a tray of freshly baked chocolate chip cookies, but creating the ultimate chewy texture requires patience and culinary science. The selection of ingredients and the method for making the dough are critical.
To tackle this iconic recipe, I use a combination of ingredients that attract and hold onto moisture, such as granulated and brown sugar. This ensures the texture stays soft days after you bake them. For those with sensitivities to certain ingredients, I have a gluten-free chocolate chip cookie recipe you can try.
Mixing in the dry ingredients

First, mix the all-purpose flour and baking soda to disperse the leavening agent evenly. It’s then added to the whipped butter mixture by hand. This process prevents overmixing of the dough. Mix it enough to hydrate the flour and encourage gluten formation for a chewy texture.
Use melted butter

Most traditional recipes cream softened butter and sugar together to create structure and rise. This process works well for a cakier cookie, but it is best to melt the butter first. Butter is a water-in-oil emulsion. Once melted, the water is more available to bind with the protein in the flour.
The liquid increases the gluten formation, providing the sought-out chew when mixed. I melt about 70% of the butter on the stovetop, then mix the remaining to quickly cool it down so it doesn’t curdle the eggs.
Dissolve the sugar for better flavor and color

Dissolving the sucrose (granulated and brown sugar) with moisture and heat breaks it down faster into monosaccharides, glucose and fructose. These simple molecules caramelize at a lower temperature than crystalline sucrose. The result is improved caramelization and new flavor compounds. In addition, when the caramelized sugar cools, it creates a golden-brown crackly surface with brittle edges.
This recipe has a unique step for effectively dissolving sugar into the dough. It’s a simple process of whisking the melted butter, sugars, and eggs together for a short period and then letting it rest for a few minutes. This process is repeated a total of four times. The mixture changes from an oily goop to a thick and shiny frosting-like appearance.
How sugar affects the texture
A balance between flavor, sweetness, and texture is essential when selecting sweeteners. There are two types of sugar in this recipe:
- Granulated white sugar has free-flowing crystals that don’t stick together. Combined with the dough, it adds nice crispiness and structure, so the cookie doesn’t crumble and fall apart. It also gives that pure sweet taste.
- Brown sugar has residual molasses, giving the color and deeper flavor. It has a higher ratio of brown sugar because it’s hygroscopic, attracting moisture from the air. Dark brown sugar will give a richer flavor than light brown sugar.


Chocolate selection
Semi-sweet, bittersweet, milk, there are so many types of chocolate. How do you choose? For me, I like a simple semi-sweet chip. I find it has the right balance of creamy cocoa butter, sugar, and bitter cacao flavor.
Milk chocolate yields a sweeter experience and if desired, use the darker variety with 60% cacao or more for a richer taste. If you’re still on the fence, grab a fistful of different types, melt them on your tongue, and be the judge. Chocolate chunks, morsel chips, and chopped pieces can be used to switch things up!
Briefly chill the dough before shaping


The warm butter and heat generated during whipping increase the dough’s temperature to around 74 degrees, making it difficult to portion and shape. To firm up the butter slightly, chill the dough in the refrigerator or the freezer to make it less sticky and easier to roll. Target between 65 to 70ºF (18 to 21ºC) before shaping.
For a rustic cookie appearance


I use this neat trick to create a rustic appearance on the surface that exposes more shiny chocolate chips on the top. After shaping the dough into a ball, simply break it in half with your fingers. Then gently press the two pieces back together with both uneven portions facing up.
Best temperature for baking
Between 65 to 70ºF (18 to 21ºC), room temperature dough ensures even cooking from the edge to center. Too warm, the butter melts and loses its air pockets, yielding a flatter, less thick texture. Too cold, 40 degrees or lower, the edges melt and darken too quickly, becoming prone to burning, while the middle is still raw and grainy.
If you make the cookie dough ahead of time, let it sit at room temperature before baking. This process could take about 45 to 60 minutes for refrigerated dough. Defrosting frozen dough will take longer. The dough should indent when touched and feel malleable but not sticky.
Baking time affects texture and flavor
These cookies bake quickly, around 10 minutes, which means every second in the oven affects the final texture. I recommend slightly underbaking them. You’ll see the middle puffing up as the edges cook and brown. At around the 10 to 11-minute mark, I take the cookies out and let them cool on a sheet tray set on a wire rack.
The cookie will level off, and you’ll get crunchy edges with a soft middle. Bake a few minutes longer for a crispier cookie with slightly increased caramel flavor. This is best for those who plan to eat them warm right away.
Cool on the baking sheet

Allowing the cookies to cool until room temperature on the parchment paper-lined baking sheet allows for carryover cooking. This 20-minute process gently cooks the crumb through heat transfer from the pan without the risk of burning them.
Storing and freezing
- You can make the dough ahead of time and refrigerate it for up to 1 week or freeze it for up to 2 months.
- Bring the dough to room temperature before baking.
- Store baked cookies for up to 5 days in an airtight container.
- For single servings, individually wrap and store in a plastic bag in the freezer for up to 1 month. Defrost before eating.

Jessica’s Recipe Science
To bump up the flavor
Make browned butter if you’re interested in bumping up the caramel, butterscotch, and nutty notes. Unsalted butter is already being melted for this recipe, so just heat and swirl it for a few minutes until it’s darker brown, about 1 to 3 additional minutes. The color of the cookies will also be a deeper brown hue.
The Best Chewy Chocolate Chip Cookies

Ingredients
- 1 ¾ cups all-purpose flour
- ½ teaspoon baking soda
- 14 tablespoons unsalted butter, divided
- ½ cup granulated sugar
- ¾ cup dark brown sugar, packed
- 1 teaspoon kosher salt
- 2 teaspoons pure vanilla extract
- 1 large egg
- 1 large egg yolk
- 1 ½ cups semi-sweet chocolate chips, divided
Instructions
- Mix the Dry Ingredients – In a medium bowl, whisk together the flour and baking soda, and set aside.
- Melt the Butter – Cut the butter into 14 even-sized pieces. In a medium skillet, melt 10 tablespoons of butter over medium heat, about 2 minutes. Don't let the butter get too hot, just melted. Then stir in the remaining 4 tablespoons of butter until completely melted.
- Mix the Butter and Sugars – In a stand mixer fitted with the whisk attachment, add the melted butter to the mixing bowl. Add the granulated sugar, brown sugar, salt, and vanilla. Whisk on medium speed (setting 5) until combined, 30 seconds.
- Whisk and Rest – Add the whole egg and yolk to the mixing bowl. Whisk on medium-high speed (setting 8) until smooth with no sugar lumps remaining, about 30 seconds. Let the mixture stand for 3 minutes. Repeat the whisking and resting process 3 more times: 30 seconds mixing at medium-high speed and 3 minutes of rest. After four total times, the mixture should be thick, smooth, and shiny.
- Add the Chocolate Chips – Using a rubber spatula or wooden spoon, stir in the flour mixture until just combined, about 1 minute. Stir in 1 ¼ cups of chocolate chips, giving the dough a final stir to ensure no flour pockets remain.
- Chill the Dough – Transfer the mixing bowl to the refrigerator or freezer. Chill until the dough firms up, around 65 to 70ºF (18 to 21ºC), about 15 to 30 minutes. The dough should not feel overly sticky.
- Preheat the Oven – Adjust the oven rack to the middle position. Heat to 375°F (191ºC).
- Roll Out Dough Balls – Divide the dough into 16 portions, each about 3 tablespoons (about 60 grams, 2 ounces), and roll into a ball. If the dough starts to warm and get sticky, place it on a sheet tray and refrigerate for 15 minutes.For a rustic appearance, tear the dough balls in half, then press the two halves together again with the lumpy torn sides facing upward to expose the chips. Shape the sides of the dough back into a circle. If desired, use the remaining ¼ cup of chocolate chips and press some on top.Arrange dough balls at least 2" apart on lined baking sheets, 8 portions per tray. Smaller baking sheets can be used but will require baking in 3 batches. The dough should be room temperature or just below for even cooking, around 65 to 70ºF (18 to 21ºC).
- Bake the Cookies – Bake one tray at a time in the center position. Bake for 5 minutes, then rotate the baking sheet. Continue to bake until the cookie edges are golden brown and the centers look slightly underdone, about 5 to 7 minutes. The color will continue to darken during cooling. Place the baking sheet on a wire rack and let the cookies cool until they reach room temperature, 20 to 30 minutes. The chips should still be melty. Make sure the oven returns to 375°F (191ºC) before baking the remaining tray.
Recipe Video

Notes
- Salt Substitution: Table salt can be substituted for kosher salt.
- Make Ahead: Cookie dough can be shaped into balls and refrigerated in a resealable plastic bag for up to 1 week or frozen for up to 2 months before baking. Break the dough apart and combine right before baking for a rustic surface.
- Recipe Adapted From: Cook’s Illustrated.
Nutrition Facts
Percent Daily Values are based on a 2000-calorie diet. All nutritional information is based on estimated third-party calculations. Each recipe and nutritional value will vary depending on the brands you use, measuring methods, and portion sizes per household.


Linda Ward says
These are the BEST chocolate Chip Cookies hands down!! My family devours them every time I make them & everyone wants the recipe! I have forwarded it to 3 people just over Christmas!! Thank you Jessica! I have gotten so many recipes from you over the past few years that I have been following you! All of them are excellent!
Jessica Gavin says
Whoo-hoo! I’m so happy to hear that you are enjoying the chocolate chip cookie recipe and sharing the recipe with loved one. Thank you for the support and trying new recipes. I can’t wait to hear what you make next, Linda!
Kim says
These were very good and the edges were crisp and the middle chewy as promised. However, I just didn’t think they were better than the old standard and a little more work.
Jessica Gavin says
I appreciate your feedback Kim! Glad to hear that the texture of the chocolate chip cookies came out as expected.
Anthony V says
My wife made these cookies this morning. They are some of the most amazing cookies I have had. They are chewy in the inside and crispy on the outside. I think we are going to make these for Christmas gifts this year. The recipe is technical but the outcome is worth it.
Eva M. says
Reread the steps.
I’m actually pretty cookie savvy and have a favorite recipe (very similar to yours I just add a bit more flour and a TBSP of cornstarch) so I was able to make sense of it, but it might throw a begginer off (u go straight from adding the eggs to mixing in the chips; it’s unclear whether the multiple whisks is before, during or after u add the dry ingredients. I split the difference (which is still more mixing than I usually do once the gluten is part of the action) and I think that’s why they turned out more caky than chewy.
Pikake says
Any tips when using a hand mixer? I don’t own a stand mixer.
Jessica Gavin says
I would use the same suggested settings for mixing in the recipe. You may have to increase the speed of the hand mixer isn’t as strong. I would use th whisk attachment. Let me know how it goes!
Jackie says
Hi
If using brown butter instead of melted butter, Is the butter amount the same or do I need more butter.
Jessica Gavin says
Do not increase the amount of butter; just the amount of time cooking it until it browns.
Tiffany says
These were delicious! Took a bit more time to mix so much but definitely worth it. Thanks for sharing!
Jessica Gavin says
You’re welcome, Tiffany!
Michelle A Ryan says
Hats off to you!
Perfect, no substitutions not one.
Simply perfect
Jessica Gavin says
Thank you so much, Michelle!